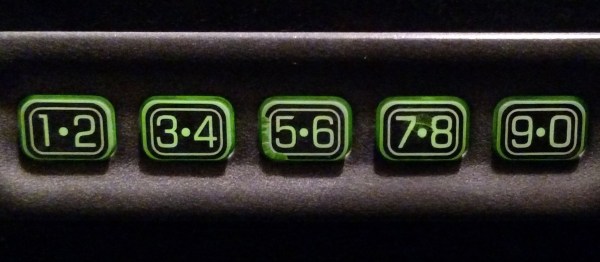
The Ford Securicode, or the keyless-entry keypad available on all models of Ford cars and trucks, first appeared on the 1980 Thunderbird. Even though it’s most commonly seen on the higher-end models, it is available as an option on the Fiesta S — the cheapest car Ford sells in the US — for $95. Doug DeMuro loves it. It’s also a lock, and that means it’s ready to be exploited. Surely, someone can build a robot to crack this lock. Turns out, it’s pretty easy.
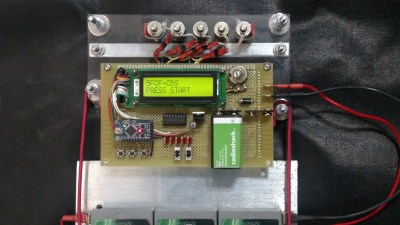 The electronics and mechanical part of this build are pretty simple. An acrylic frame holds five solenoids over the keypad, and this acrylic frame attaches to the car with magnets. There’s a second large protoboard attached to this acrylic frame loaded up with an Arduino, character display, and a ULN2003 to drive the resistors. So far, everything you would expect for a ‘robot’ that will unlock a car via its keypad.
The real trick for this build is making this electronic lockpick fast and easy to use. This project was inspired by [Samy Kamkar]’s OpenSesame attack for garage door openers. In this project, [Samy] didn’t brute force a code the hard way by sending one code after another; (crappy) garage door openers only look at the last n digits sent from the remote, and there’s no penalty for sending the wrong code. In this case, it’s possible to use a De Bruijn sequence to vastly reduce the time it takes to brute force every code. Instead of testing tens of thousands of different codes sequentially, this robot only needs to test 3125, something that should only take a few minutes.
Right now the creator of this project is putting the finishing touches on this Ford-cracking robot. There was a slight bug in the code that was solved by treating the De Bruijn sequence as circular, but now it’s only a matter of time before a 1993 Ford Taurus wagon becomes even more worthless.