Exploring The Cutting Edge Of Desktop ARM Hardware

While the x86 architecture certainly isn’t going away anytime soon, it seems that each year more and more of our computing is done on ARM processors. It started with our smartphones, spread into low-cost Chromebooks, and now Apple’s gone all-in with their M1/M2 chips. But so far we haven’t seen too much movement in the desktop space, a fact which has arguably slowed the development of ARM-compatible software and operating systems.

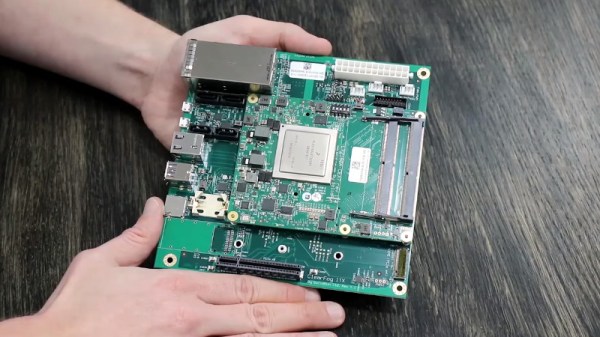
But that doesn’t mean there aren’t options out there, and no, we don’t mean using a Raspberry Pi. [Wooty-B] has been documenting their efforts to switch over to a ARM desktop, which makes for fascinating reading even if you’re currently comfortable with your architecture choices. The key is the HoneyComb LX2K, a Mini-ITX ARM development board that offers enough expansion and raw power to meet most daily computing needs…assuming you’re willing to put in the effort. Continue reading “Exploring The Cutting Edge Of Desktop ARM Hardware”

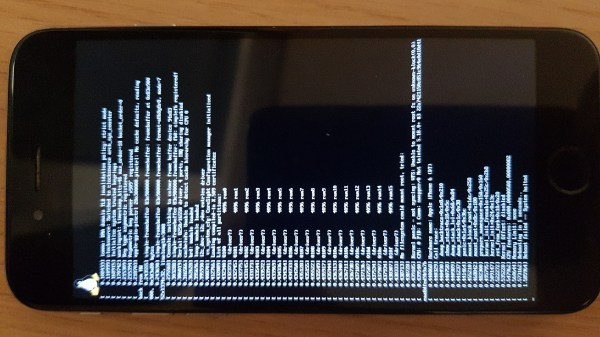
iPhone 6 with Linux boot log on its screen

Boot Mainline Linux On Apple A7, A8 And A8X Devices

[Konrad Dybcio] tells about his journey booting Linux on A7/8/8X processors, playing around with an old iPhone 5 he’s got in a drawer. It’s been a two-year “revisit every now and then” journey, motivationally fueled by the things like Linux on M1 Macs announcement. In the end, what we have here is a way to boot mainline Linux on a few less-than-modern but still very usable iPhones, and a fun story about getting there.

[Konrad]’s work is based on the Sandcastle project research, but he couldn’t quite figure out how to make their code work, and had to make sense of it as he went. At some point, he got stuck on enabling the MMU, which was the main roadblock for a while. Joined by another developer intrigued by Apple hardware, they were hacking away at it, developing tools and neat tricks on their way, but to no avail. With the framebuffer accessible and no other decent debugging methods in sight, he tells about a code snippet they wrote that printed register values as valid barcodes Continue reading “Boot Mainline Linux On Apple A7, A8 And A8X Devices”

SWO: An ARM Printf By Any Other Name

I’ll confess. Although printf-style debugging has a bad rep, I find myself turning to it on occasion. Sure, printf is expensive and brings in a lot of code, but if you have the space and time to use it while debugging you can always remove it before you are finished. However, what if you don’t have an output device or you are using it for something else? If you are using most modern ARM chips, you have another option — a dedicated output channel that is used for several things, including debugging output. I decided I wanted to try that on the Blackpill running mbed, and found out it isn’t as easy as you might think. But it is possible, and when you are done reading, you’ll be able to do it, too.

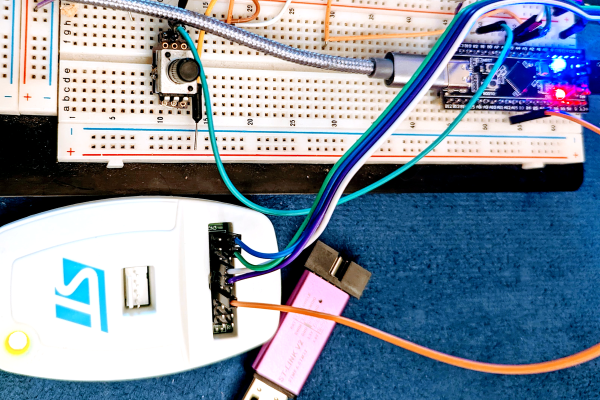
I’m writing this using the STM32-specific ST-LINK hardware. If you use other JTAG devices like the BlackMagic probe, you probably already have this set up for you.

What You Get

I’ll start backward with the end result, then talk about the software, so you’ll be good and motivated by the time you get to the hardware requirements. Spoiler alert: your existing hardware might need a quick hack to make it work, although you can buy something off the shelf if you prefer.

Here is a very simple test program:


SWO_Channel debugport;  // requires #include "SWO.h"
int main() 
  {
  unsigned count=0;
  debugport.printf("\r\nHello World from SWO\r\n");
  debugport.printf("CPU SystemCoreClock is %d Hz\r\n", SystemCoreClock);

  while (1) 
    {
    led = !led; // flip LED if output is true
    ThisThread::sleep_for(rate); // sleepy time
    if (count % 10) debugport.putc('*'); else debugport.printf("%d\r\n",count); 
    count++;
    }
}

Continue reading “SWO: An ARM Printf By Any Other Name”

Arm Pumps Up The Volume With Mbed And A Potentiometer

Last time, I told you how to get started with the “Black Pill” STM32F411 board using the Mbed OS. The example program, admittedly, didn’t use many of the features of the OS, unless you count what the USB serial port driver uses behind the scenes. However, this time, we’ll make a practical toy that lets you adjust your PC’s volume level with a pot.

The Black Pill module on a breadboard.

The Black Pill is a good choice for this application since it has analog inputs and can act as a USB keyboard. In fact, the Mbed OS has drivers for all kinds of USB devices. We’ve seen the serial port, but you can also look like a mass storage device or a mouse, for example. Just for practice, we’ll create two threads of execution. One will read the pot and send a message over to the other thread. That thread will communicate with the PC as a USB keyboard. Any computer that understands media keys on a keyboard should work with the device.

Threads

Creating threads is very simple. For many cases, you just define a void function that takes no arguments and use it with a Thread object:

readknobThread.start(vol_thread);

Of course, the function shouldn’t return unless you want the thread to end. As I mentioned in the last post, you can sleep with the ThisThread::sleep_for call. There is also a yield call if you simply want to give up the time slice without sleeping for a specific amount of time.

Continue reading “Arm Pumps Up The Volume With Mbed And A Potentiometer”

Processing Audio With The RP2040

The Raspberry Pi, although first intended as an inexpensive single-board computer for use in education, is now ubiquitous in electronics communities. Its low price as well as Linux platform and accessible GPIO make it useful in many places outside the classroom. But, if you want to abandon the ease-of-use in favor of an even lower price, the Raspberry Pi foundation makes that possible as well with the RP2040 chip, commonly found on the Pico. [Jason] shows us one way to make use of this powerful chip by putting one in an audio digital signal processing board.

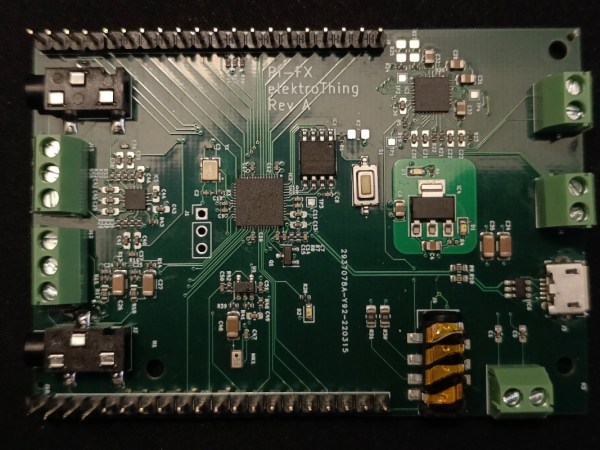
While development boards are available for this chip, [Jason] has opted instead for a custom PCB which he designed himself and includes an integrated headphone amplifier and 3.5 mm audio jacks. To do the actual DSP work, the RP2040 chip uses three 12-bit ADC channels and 16 controllable PWM channels. The platform is also equipped with the TLV320AIC3254 codec from Texas Instruments. With all of this put together, he has a functioning open-source platform he calls the DS-Pi.

[Jason] has built this as a platform for guitar effects and as a customizable guitar amp modeler, but with a platform that is Arduino-compatible and fairly easy to program it could be put to use for anything involving other types of music or audio processing, like this specialized MIDI-compatible guitar effects platform which is built around the same processor.

Arming With An OS

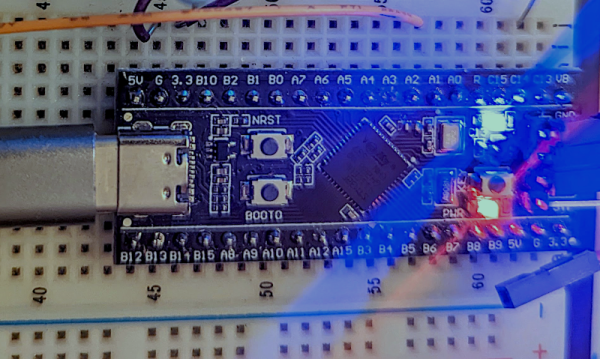
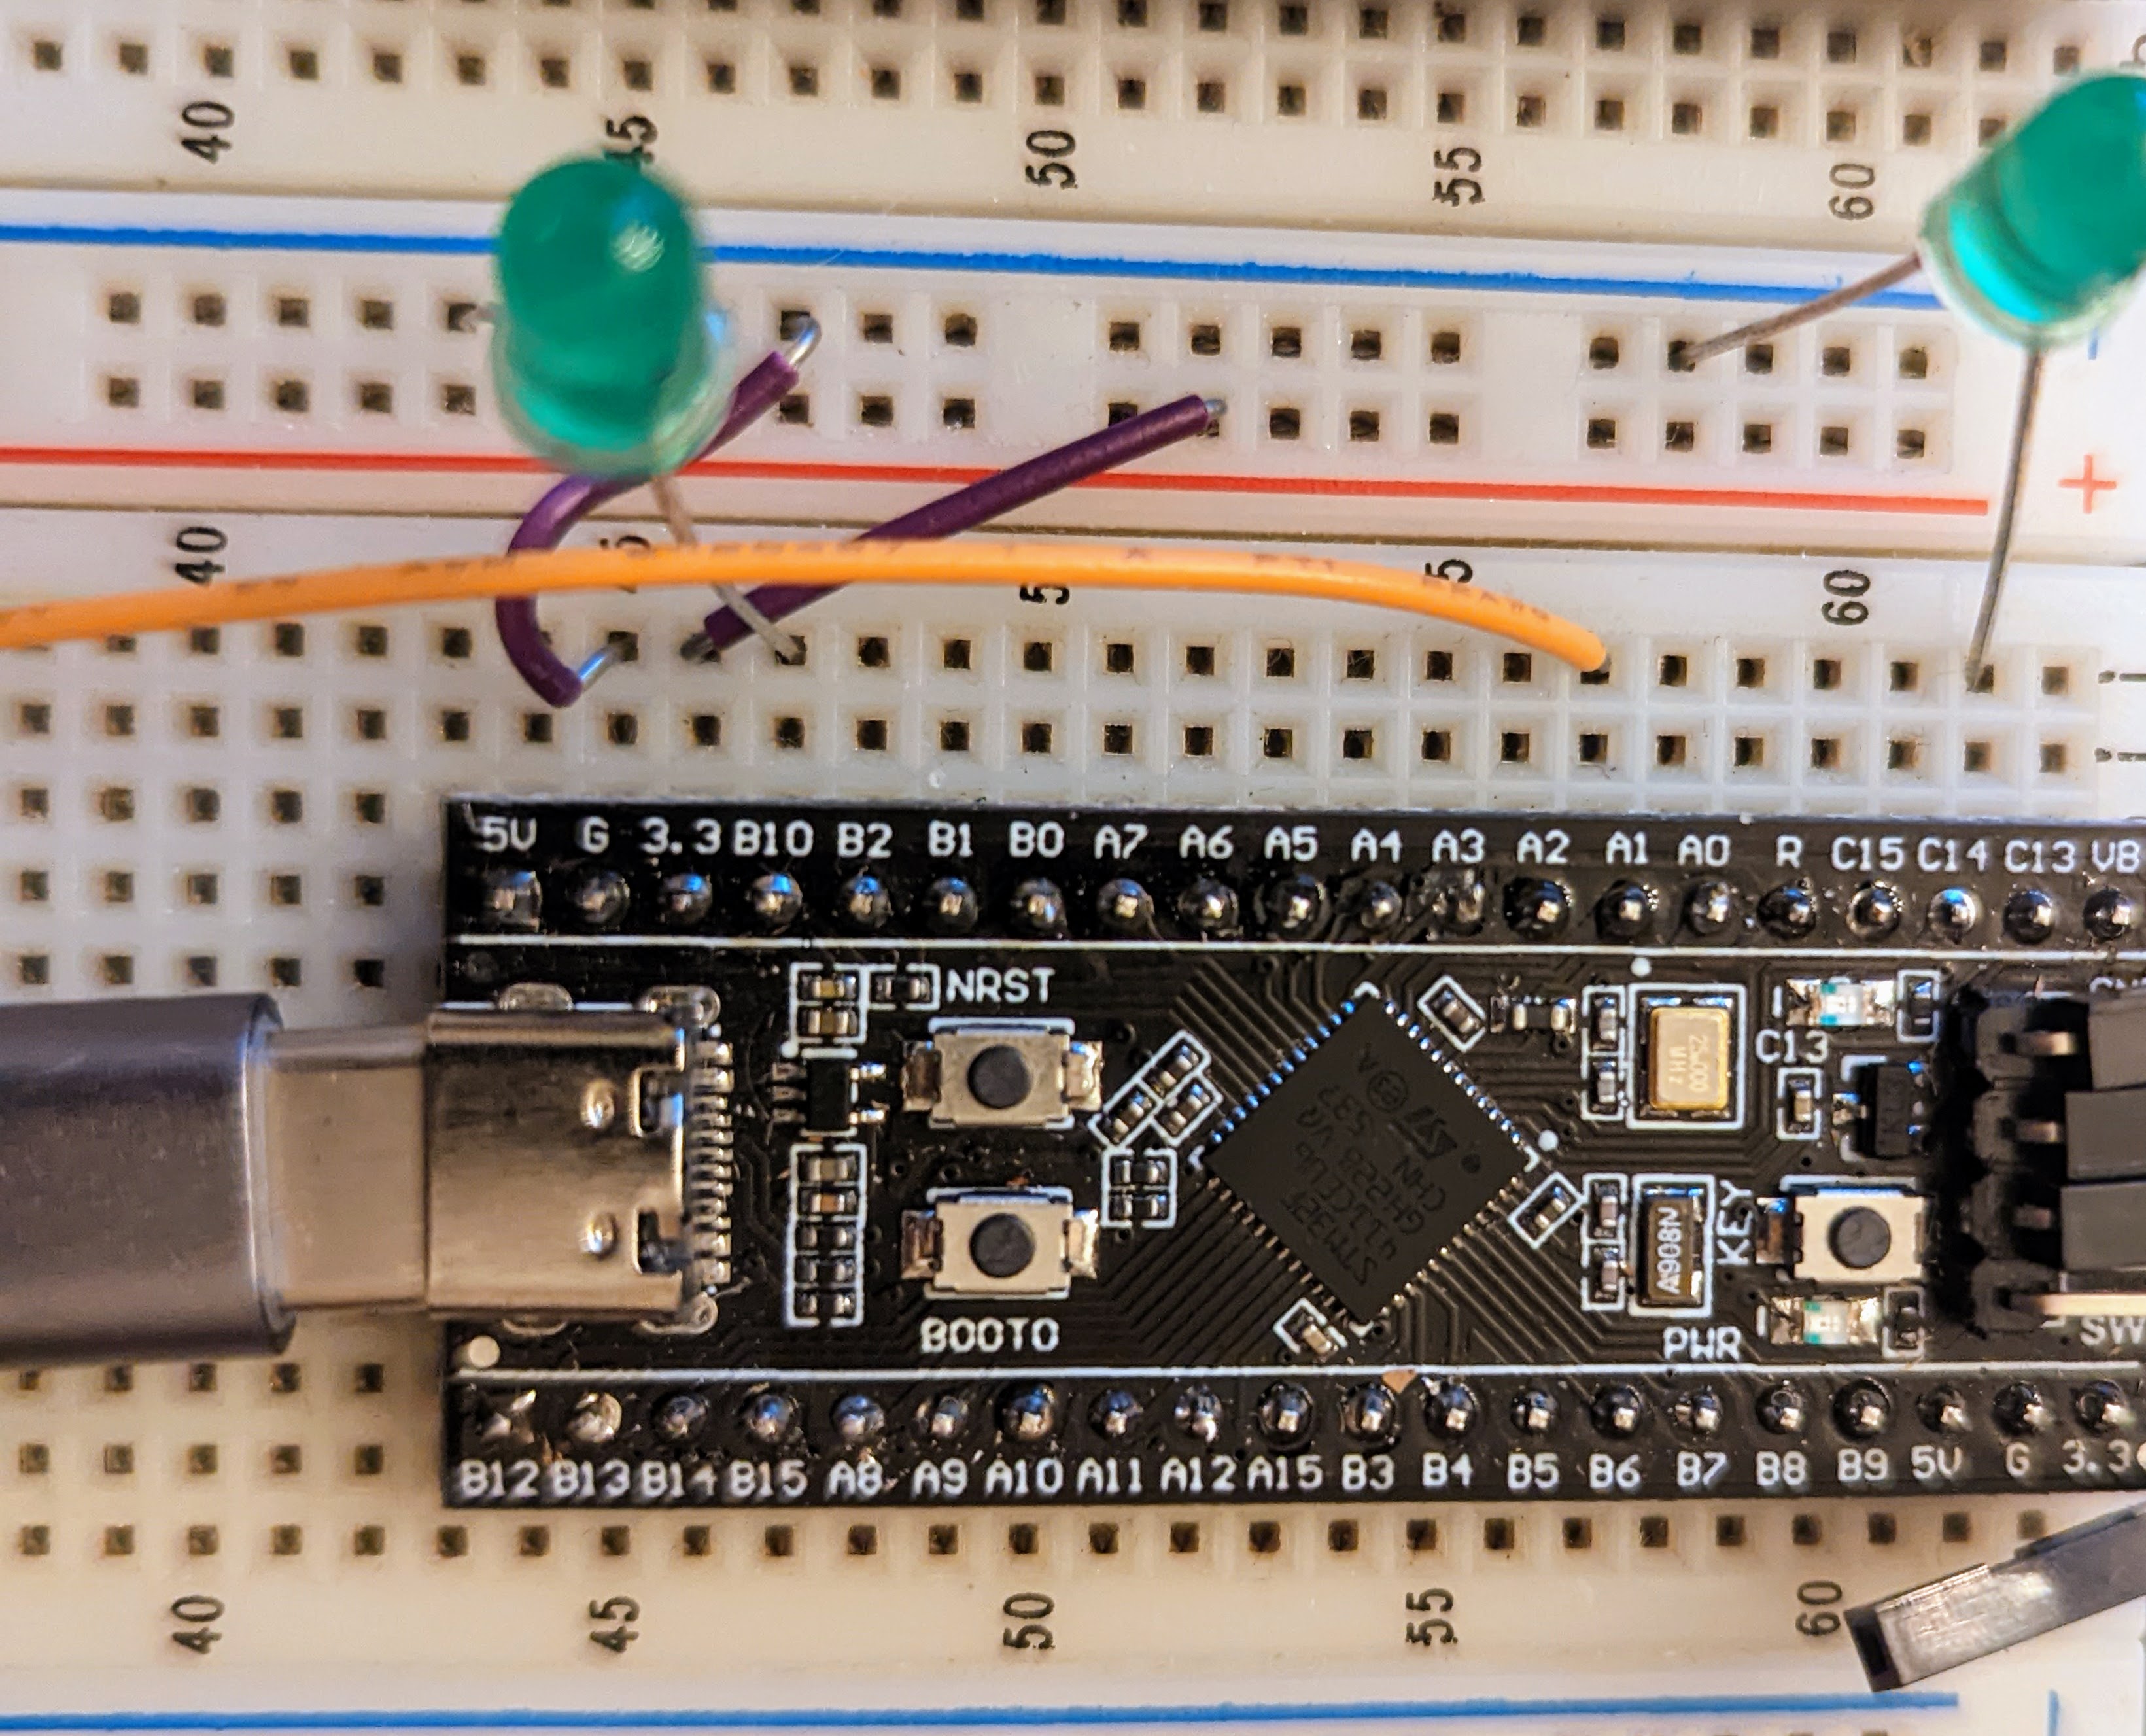
We see tons of projects with the infamous “Blue Pill” STM32 boards. They are cheap and plentiful and have a lot of great features, or at least they were before the chip shortage. I recently picked up a “Black Pill”, which is very similar but has an even more powerful processor. For a few bucks, you get an ARM CPU that can run at 100 MHz (but with USB, probably 96 MHz). There’s 512 kB of flash and 128 kB of RAM. There’s a USB type C port, and even a button and an LED onboard. The thing fits on a breadboard and you can program it with a cheap STLink dongle which costs about $10.

The Black Pill module on a breadboard.

Of course, you then have to consider the software. The STM32Cube stuff is a lot to set up and learn but it does let you do just about anything you can imagine. Then there is the STM32Duino plug-in that lets you use it as a beefy Arduino. That works and is easy enough to set up. However, there’s also Mbed. The only problem is that Mbed doesn’t work right out of the box. Turns out, though, it isn’t that hard to set up. I’ll show you how easy it is to get things going and, next time, I’ll show you a practical example of a USB peripheral that uses the mBed RTOS features.

First Steps

Obviously, you are going to need a Black Pill. There are at least two choices but for as cheap as they are there is little reason not to get the STM32F411 version that has more memory. The DIP form factor will fit in whatever breadboard you happen to have and a USB C cable will power the board so unless you are driving a lot of external circuitry, you probably don’t need an external supply.

Continue reading “Arming With An OS”

Talking To A Texas Instruments Calculator

Texas Instruments is a world-class semiconductors company, but unfortunately what they are best known for among the general public is dated consumer-grade calculators thanks to entrenched standardized testing. These testing standards are so entrenched, in fact, that TI has not had to update the hardware in these calculators since the early 90s. They still run their code on a Z80 microcontroller, but [Ben Heck] found himself in possession of one which has a modern ARM coprocessor in it and thus can run Python.

While he’s not sure exactly what implementation of Python the calculator is running, he did tear it apart to try and figure out as much as he could about what this machine is doing. The immediately noticeable difference is the ARM coprocessor that is not present in other graphing calculators. After some investigation of test points, [Ben] found that the Z80 and ARM chips are communicating with each other over twin serial lines using a very “janky” interface. Jankiness aside, eventually [Ben] was able to wire up a port to the side of the calculator which lets him use his computer to send Python commands to the device when it is in its Python programming mode.

While there are probably limited use cases for 1980s calculators to run Python programs, we can at least commend TI for attempting to modernize within its self-built standardized testing prison. Perhaps this is the starting point for someone else to figure out something more useful to put these machines to work with beyond the classroom too. We’ve already seen some TI-84s that have been modified to connect to the Internet, for example.

Thanks to [Nikša] for the tip!

Continue reading “Talking To A Texas Instruments Calculator”