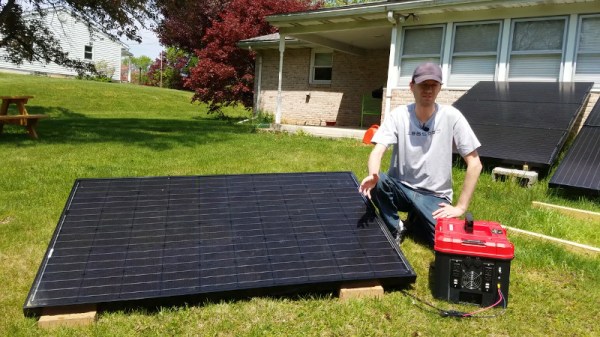
If you’re out in the wilderness, having plenty of electricity on hand is a blessing. Eschewing fossil fuels, [LithiumSolar] is, as their name suggests, a fan of other technologies – undertaking the construction of a 3.5kWh solar generator that’s rugged and ready for the outdoors.
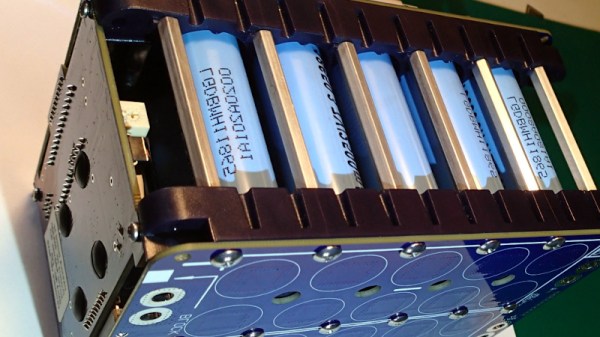
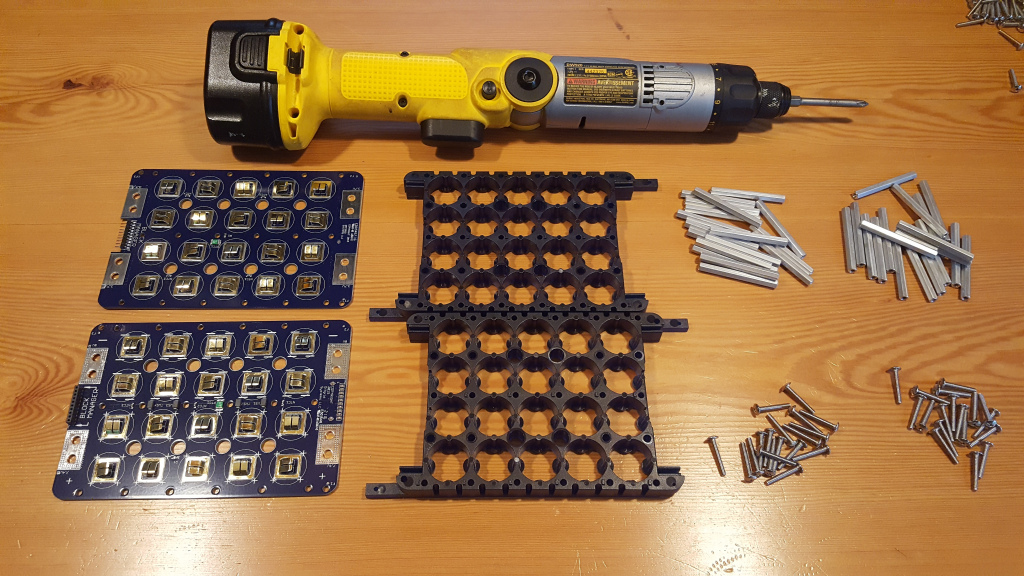
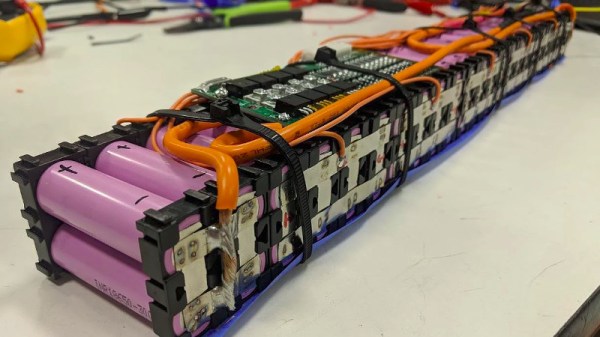
The build starts with 18650 lithium-ion cells sourced from a recycler, packed inside obsolete modem battery packs. After harvesting 390 cells, the best 364 are chosen and assembled into plastic holders to create a 14S26P configuration. A spot welder is employed to weld the pack together, with XT60 connectors used as the main bus connectors, albeit in a very non-standard configuration. Balance leads are hooked up to a 14S battery management system, to keep things in check. The huge pack is then installed inside a stout Craftsman toolbox, along with a MPPT solar charger module, and a 1500W inverter for output.
The build video is a great resource for anyone interested in building custom 18650 packs or battery solar power systems. [LithiumSolar] does a great job of clearly explaining each step and the reasons for part selections along the way. Of course, in a neat dovetail to this project, we’ve even seen solar-powered spot welders before – which would be useful if you need to replicate this build out in the field somewhere. Video after the break.
Continue reading “Building A Serious Solar Inverter Battery Pack”