Getting a good measurement is a matter of using the right tool for the job. A tape measure and a caliper are both useful tools, but they’re hardly interchangeable for every task. Some jobs call for a hands-off, indirect way to measure small distances, which is where this image analysis measuring technique can come in handy.
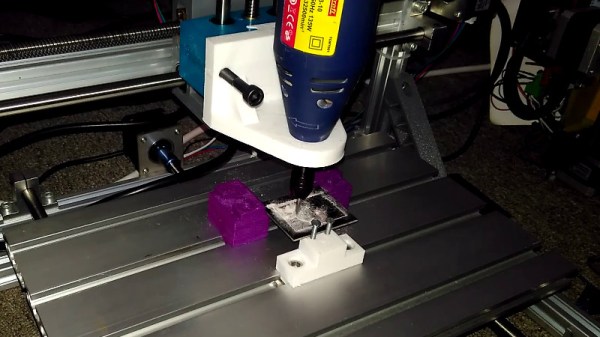
Although it appears [Saulius Lukse] purpose-built this rig, which consists of a microscopic lens on a digital camera mounted to the Z-axis of a small CNC machine, we suspect that anything capable of accurately and smoothly transitioning a camera vertically could be used. The idea is simple: the height of the camera over the object to be measured is increased in fine increments, with an image acquired in OpenCV at each stop. A Laplace transformation is performed to assess the sharpness of each image, which when plotted against the frame number shows peaks where the image is most in focus. If you know the distance the lens traveled between peaks, you can estimate the height of the object. [Salius] measured a coin using this technique and it was spot on compared to a caliper. We could see this method being useful for getting an accurate vertical profile of a more complex object.
From home-brew lidar to detecting lightning in video, [Saulius] has an interesting skill set at the intersection of optics and electronics. We’re looking forward to what he comes up with next.