Minecraft is a simple video game. Well, it’s a simple video game that also has within it the ability to create all of the logic components that you’d need to build a computer. And building CPUs in Minecraft is by now a long-standing tradition.
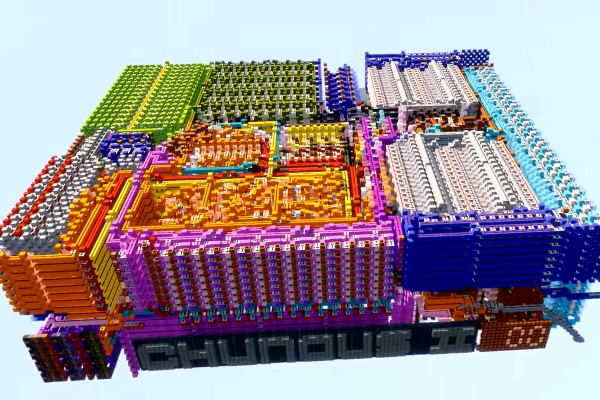
Enter CHUNGUS II. The Computational Humongous Unconventional Number and Graphics Unit by [Sammyuri] is the biggest and baddest Minecraft computer that we’ve ever seen. So big, in fact, that it was finally reasonable to think about porting a stripped-down version of Minecraft to the computer itself. Yes, that’s right, Minecraft running in Minecraft. (Video embedded below.) Writing the compiler and programming the game brought two more hackers to the party, [Uwerta] and [StackDoubleFlow], and quite honestly, we’re amazed that a team as small as three people pulled this off.
Anyway, once you’ve picked your jaw up off the floor, also check out [Sammyuri]’s video on just the CHUNGUS II computer itself. (Also embedded below.) Seeing the architecture is interesting, even if you don’t speak Redstone as fluently as our heroes here. We love that the assembler creates a block of ROM – out of Minecraft blocks – that you can then cut/paste into the game’s reality.
For a “simple” game about breaking blocks and punching trees, Minecraft has inspired hackers to make the game better both inside and outside of the real world. For instance, for the latest in performant open-source Minecraft servers, check out Folia. Maybe, one day, they’ll build CHUNGUS II in the real world. It could happen.
Thanks [dbcdr] for the tip!