It’s getting into the hot summer months for those of us in the Northern Hemisphere, and for many Hackaday readers, that means its time to get the old window air conditioner out of storage and lug it back into position. But what if you’re trying to cool a space that doesn’t have a convenient window? In that case, this clever conversion that [Infrared] came up with to keep his garage cool might be of interest.
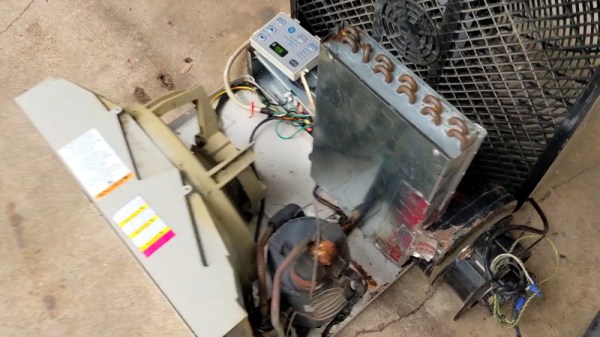
Basically, he’s taken the classic window AC and turned it into an impromptu ductless unit. By rotating the evaporator coils into a vertical position and lengthening the compressor wires, he was able to make the center of the AC thin enough that he could close his garage door over it. The back of the unit looks largely untouched, but the front side has a real Mad Max vibe going on; with sheet metal, exposed wiring, and a couple of fans thrown in for good measure. Fine for the garage or workspace, but probably not a great choice for the kid’s room.
[Infrared] says the hacked up AC can get his garage 18 degrees cooler than the outside air temperature in its current form, but he hopes the addition of some high CFM computer fans will not only improve performance, but let him make the new front panel look a bit neater. Though even in its current form, this is far from the most ridiculous DIY AC project we’ve seen in recent memory.
Continue reading “Hacked AC Window Unit Split In Half To Cool The Garage”