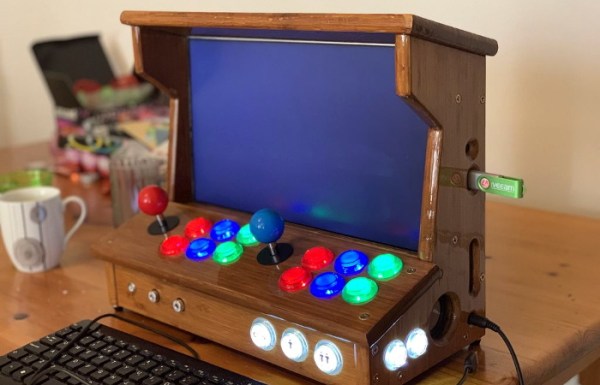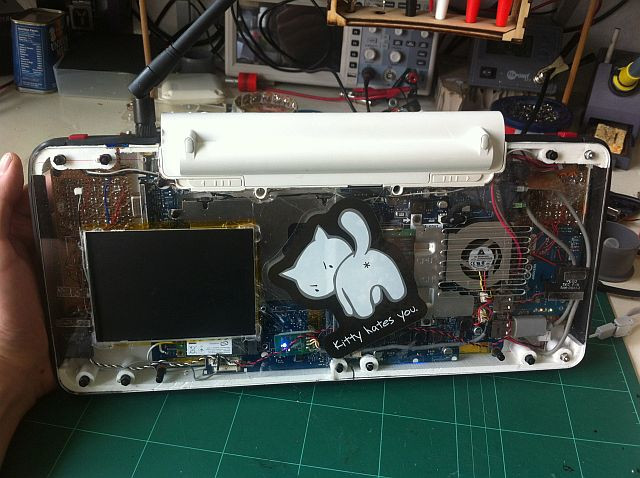
While many a gamer was willing to brave hand-to-hand combat this Black Friday just to get a few bucks off of Microsoft’s premium-tier game console, [jomega] was already cutting his to pieces from the comfort of his own home. Not dissuaded by the system’s fairly high sticker price or relatively limited modding scene, he decided to transplant his Xbox One X into an incredibly slick laptop-style aluminum enclosure.
 Turning a game console into a “laptop” is hardly new, Ben Heck has been doing it for over a decade now, but in general they tend to look pretty clunky. With a few exceptions, the builder’s goal is not so much to make the final result look sleek and professional, but simply to take their favorite games on the go. But from the start [jomega] wanted something that would not only allow him to take long walks in the park with Master Chief, but look gorgeous doing it.
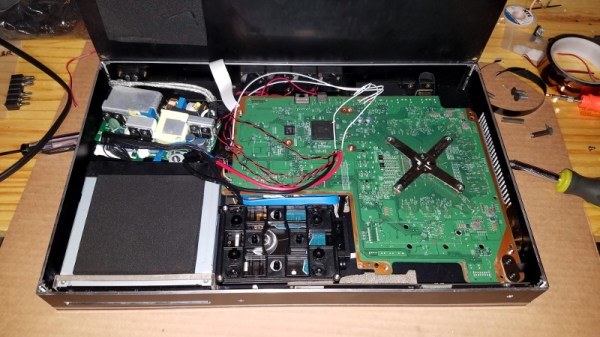
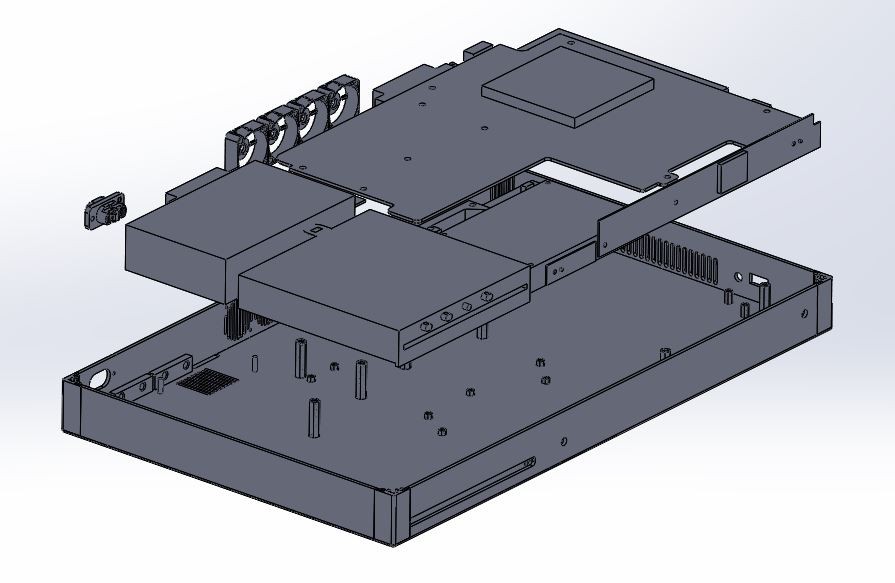
One of his goals was to make the final device thinner than the original system, so the first step was to assemble virtual representations of the Xbox’s principal components in CAD to find the most efficient placement for everything. Long before the first pieces of aluminum were cut, [jomega] already knew where each part and screw was going to end up. The time he invested in planning out the build in CAD more than made up for itself when it came time to assemble the final product, and also means this design is highly reproducible should he decide to build another one on commission.
Even though the final system seems impossibly thin, no hardware or functionality had to be left out. Even the optical drive, which on the stock console is something of an afterthought to begin with in an era of digital downloads (rumor has it the next Xbox will drop optical discs entirely), has been retained. Special consideration did need to be given to cooling the 4K powerhouse though, and [jomega] warns that running the system with the case open or the fans off can have dangerous consequences.
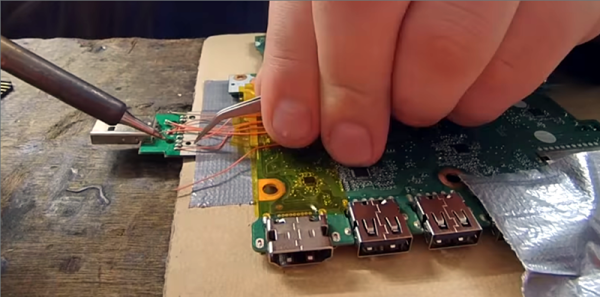
Thanks to the Xbox One’s wireless capabilities (for both Internet connection and controllers), there’s a notable lack of ports on the case. This made the design a bit easier, as [jomega] really only needed to have a connector for the AC power cord in the back and a couple of holes for the system’s power, eject, and controller sync buttons. He did add in a USB port for convenience, but even that could be skipped to make things easier.
In the past we’ve seen some rather husky Xbox 360 laptop builds, and at least one attempt to build a more slimline version, but this latest entry in the long line of portable-ized Xboxen has set the bar very high.