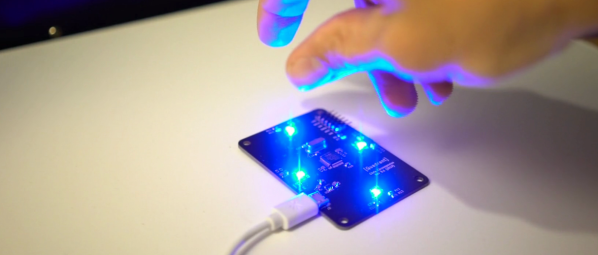
In a world where smartphones have commoditized precision MEMS Sensors, the stage is set to reimagine clusters of these sensors as something totally different. That’s exactly what [chronopoulos] did, taking four proximity sensors and turning them into a custom gesture input sensor for sound generation. The result is Quadrant, a repurposable human-interface device that proves to be well-posed at detecting hand gestures and turning them into music.
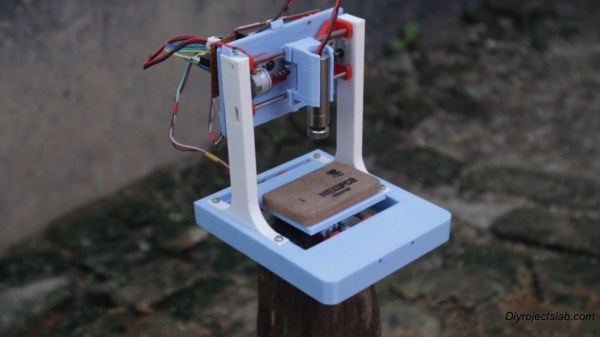
At its core, Quadrant is a human interface device built around an STM32F0 and four VL6180X time-of-flight proximity sensors. The idea is to stream the measured distance data over as fast as possible from the device side and then transform it into musical interactions on the PC side. Computing distance takes some time, though, so [chronopoulos] does a pipelined read of the array to stream the data into the PC over USB at a respectable 30 Hz.
With the data collected on the PC side, there’s a spread of interactions that are possible. Want a laser harp? No problem, as [chronopoulos] shows how you can “pluck” the virtual strings. How about an orientation sensor? Simply spread your hand over the array and change the angle. Finally, four sensors will also let you detect sweeping gestures that pass over the array, like the swoosh of your hand from one side to the other. To get a sense of these interactions, jump to the video demos at the 2:15 mark after the break.
If you’re curious to dig into the project’s inner workings, [chronopoulos] has kindly put the firmware, schematics, and layout files on Github with a generous MIT License. He’s even released a companion paper [PDF] that details the math behind detecting these gestures. And finally, if you just want to cut to the chase and make music of your own, you can actually snag this one on Tindie too.
MEMs sensors are living a great second life outside our phones these days, and this project is another testament to the richness they offer for new project ideas. For more MEMs-sensor-based projects, have a look at this self-balancing robot and magic wand.
Continue reading “Laser Theremin Turns Your Hand Swooshes Into Music”