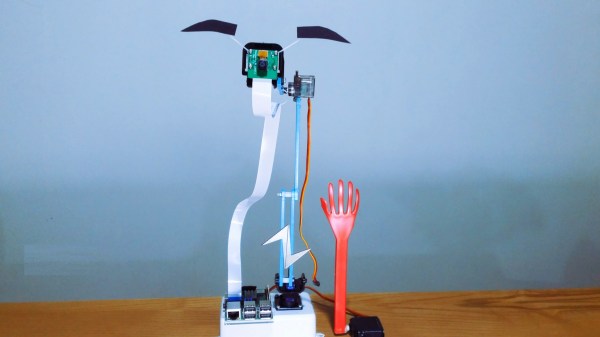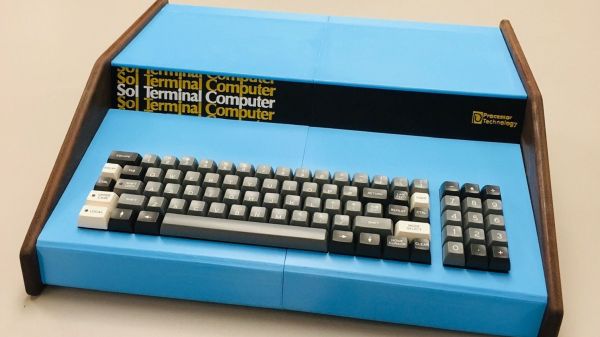
In the early years of the computer revolution, a machine like the Sol-20 really stood out. Where most hobbyist machines had front panels that bristled with toggle switches and LEDs, the Sol-20 was a sleek, all-in-one that looked like an electric typewriter in a walnut-trimmed box. Unfortunately, it was also quite expensive, so not that many were sold. This makes them hard enough to find 40 years later that building his own reproduction Sol-20 is about the only way for [Michael Gardi] to have one of his own.
In a lot of ways, the Sol-20 anticipated many of the design elements that would come into play later. Like the Apple and Commodore machines that were coming down the pike, the Sol-20 was intended to be plug and play. [Mike] celebrates that design with a full-size reproduction of the original, concentrating on its unique aesthetic aspects. The reproduction mimics the striking blue case, with its acrylic front panel and walnut sides. The keyboard is also an exact match for the original, in looks if not in function — the capacitive mechanism proved too difficult to replicate, so he opted for a kit using Cherry switches and custom keycaps. [Mike] also used his proven technique for 3D-printing the memorable Sol-20 logo for the front panel, in the correct font and color.
Under the hood, a Raspberry Pi runs an 8080 emulator, which supports a range of virtual devices, including a cassette tape drive and the video output. For fun, [Mike] also imagined what a CRT display for the Sol-20 would have looked like, and added that to his build. It’s a great-looking machine that never was, and we appreciate the attention to detail. We’ve seen that before — his 2/3-scale VT-100 terminal comes to mind, as does his reproduction of a 1960s computer trainer.
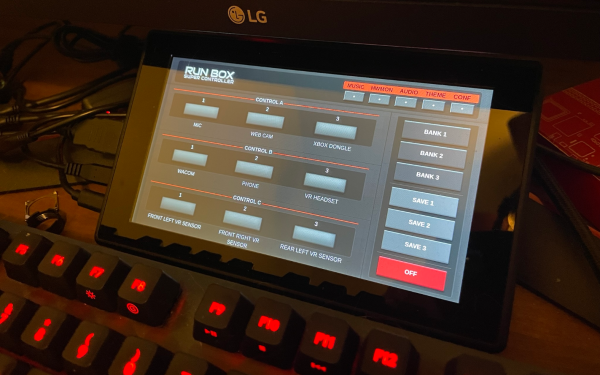
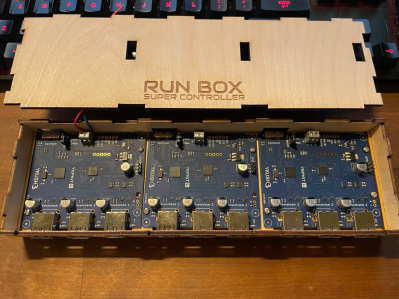 The modified USB hub is housed in a laser-cut enclosure with plenty of space to hook up a variety of USB devices. The touchscreen neatly fits just above [Matt]’s keyboard; this setup was inspired by head-down displays used in aircraft which similarly use a small additional screen for peripheral functions.