Before 3D printers, there was LEGO. And the little bricks are still useful for putting something together on the quick. Proof is YouTuber [Matthias Wandel]’s awesome bottle cap shooter build that uses rudimentary DIY computer vision to track you and then launch a barrage of plastic pieces at you.
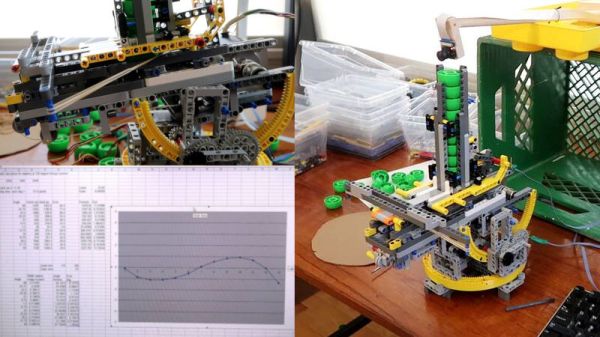
This is an amazing project that has a bit of something for everyone. Lets start with the LEGO. [Matthias Wandel] starts with making a crossbow designed launcher and does an awesome job with showing us how it works in a video. The mechanism is an auto reloading and firing system that can be connected to a stepper motor. Next comes the pan and tilt mechanism which allows the turret to take better aim at moving targets: more LEGO and stepper motors.
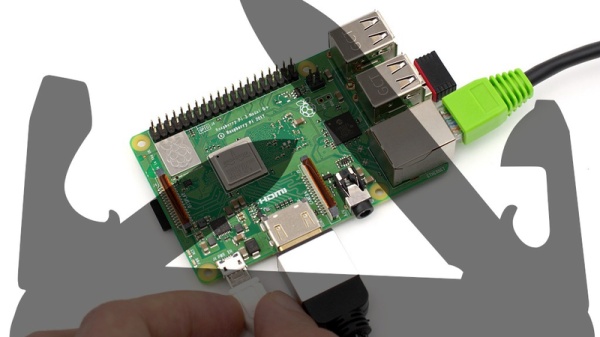
The target tracker uses color matching in a program that curiously uses no OpenCV. It compares consecutive frame and then filters out red objects – the largest red dot is it. Since using a fisheye lens on the Raspbery Pi camera adds distortion, [Matthias Wandel] uses a jig made with more Legos to calibrate the image.
The final testing involved having his own child walk around the room being hunted but the autonomous machine. Kids do love toys even if they are trying to shoot bottle caps at them.
Want more Lego inspiration? Check out the Lego Quadcopter Mod and the Lego Tank with the ESP8266.
Continue reading “Wandel Weaponizes Waste With Lego And A Raspberry Pi”