There are some projects that initially don’t seem to make sense, but actually turn out to have valid use cases. ChimeraOS appears to be one of those. The idea is that if you own a gaming PC, but it is not necessarily located where you want to be all the time (like in a gaming den or office for example) then ChimeraOS allows you to play games on it remotely via a local machine. That machine may be a media PC attached to your main TV, or perhaps a mobile device like a steam deck.
With support for AMD GPUs only, there is one issue with deployment — if you’re an Nvidia owner you’re out of luck — the premise is to be able to boot up into a gaming-friendly environment with minimal fuss. Hook up a controller and you’re good to go. Support is also there for a few mobile devices, specifically some Aokzoe, Aya Neo, and OneXPlayer devices as well as some preliminary support for the Asus ROG Ally not to mention the Steam Deck as we touched on earlier. From a software perspective, it obviously supports the Steam platform but also Epic Games, Good Old Games (GOG), and tentatively a mention of console platforms. Sadly the website doesn’t mention much detail on that last bit, but there are some tantalizing hints in the project’s Twitter/X/whatever feed. Reading the release notes, there are mentions of PCSX2 (Playstation 2) Super Game Boy and Atari platforms, so digging into the GitHub repo might be instructive, or you know, actually installing it and trying. This scribe doesn’t own an AMD GPU so that isn’t an option, but do drop us a line in the comments if you’ve tried it and how it works for you.
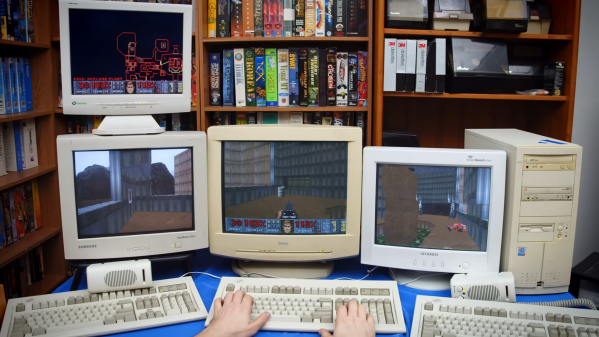
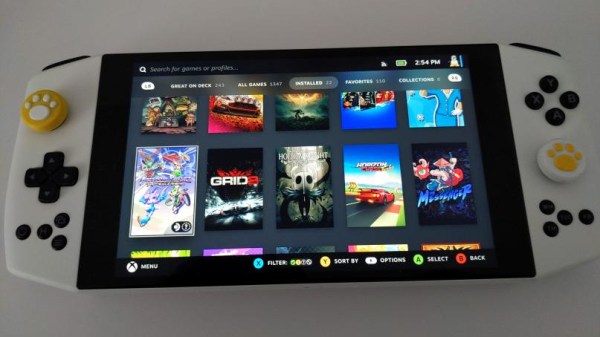
Many of us at Hackday are avid gamers, especially of the retro kind, which is why we really like these projects. Here’s a nice game controller you can print yourself. For self-builds, there’s nothing quite like the satisfaction of a DIY arcade machine, but what if you think outside the box?