Got a retrocomputing itch? So does [David Given], and luckily for us all he indulged it by writing POLF: a first-person 3D game for the Commodore PET that uses only the system’s 40×25 text mode character display for visuals. It’s a fantastic achievement, considering that the 80s-era computer boasts 32 kB of memory and doesn’t even have a graphical display.

Each level in POLF is a small, maze-like room in which one’s goal is to play a sort of cross between billiards and golf, aiming to move the round “ball” object into the square “hole” object. The 3D view is rendered using raycasting, which is a way of efficiently drawing a workable 3D perspective using limited resources. Raycasting can only do so much, but as a method it works fantastically within its limitations, and there are useful tutorials out there that lay the process bare.
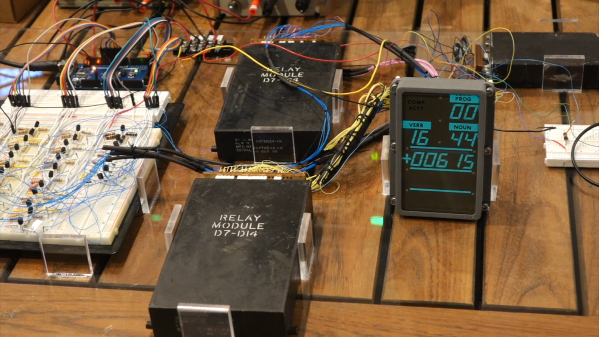
The GitHub repository for the project is here, and it should run on any 40-column screen PET with at least 16 kB of RAM. Watch it in action in the video, embedded below. (Hint: the little bar graphs under the compass headings at the bottom of the screen represent the player’s proximity to the ball and hole objects. )
Continue reading “POLF: Retro 3D Game Uses Only A Character Display”