It’s difficult to nail down exactly what counts as a “real” cyberdeck in this brave new era of bespoke computing. But at the minimum, most in the community would agree that a proper deck should have a non-traditional form factor, and be designed to meet the unique needs of the builder. If you’re looking for a fantastic example of both concepts, check out the Cyberdore 2064 from [Tommi L].
At first glance the 3D printed enclosure of the Cyberdore looks a bit like a Speak & Spell, but it’s really more of an amalgamation of everything that made 1980s computers so unique. You’ve got the vents, the chunky switches, the undersized display, and of course, the handle. The case might have been extruded in 2024, but it’s doing a fantastic impression of a piece of tech from 40 years ago.
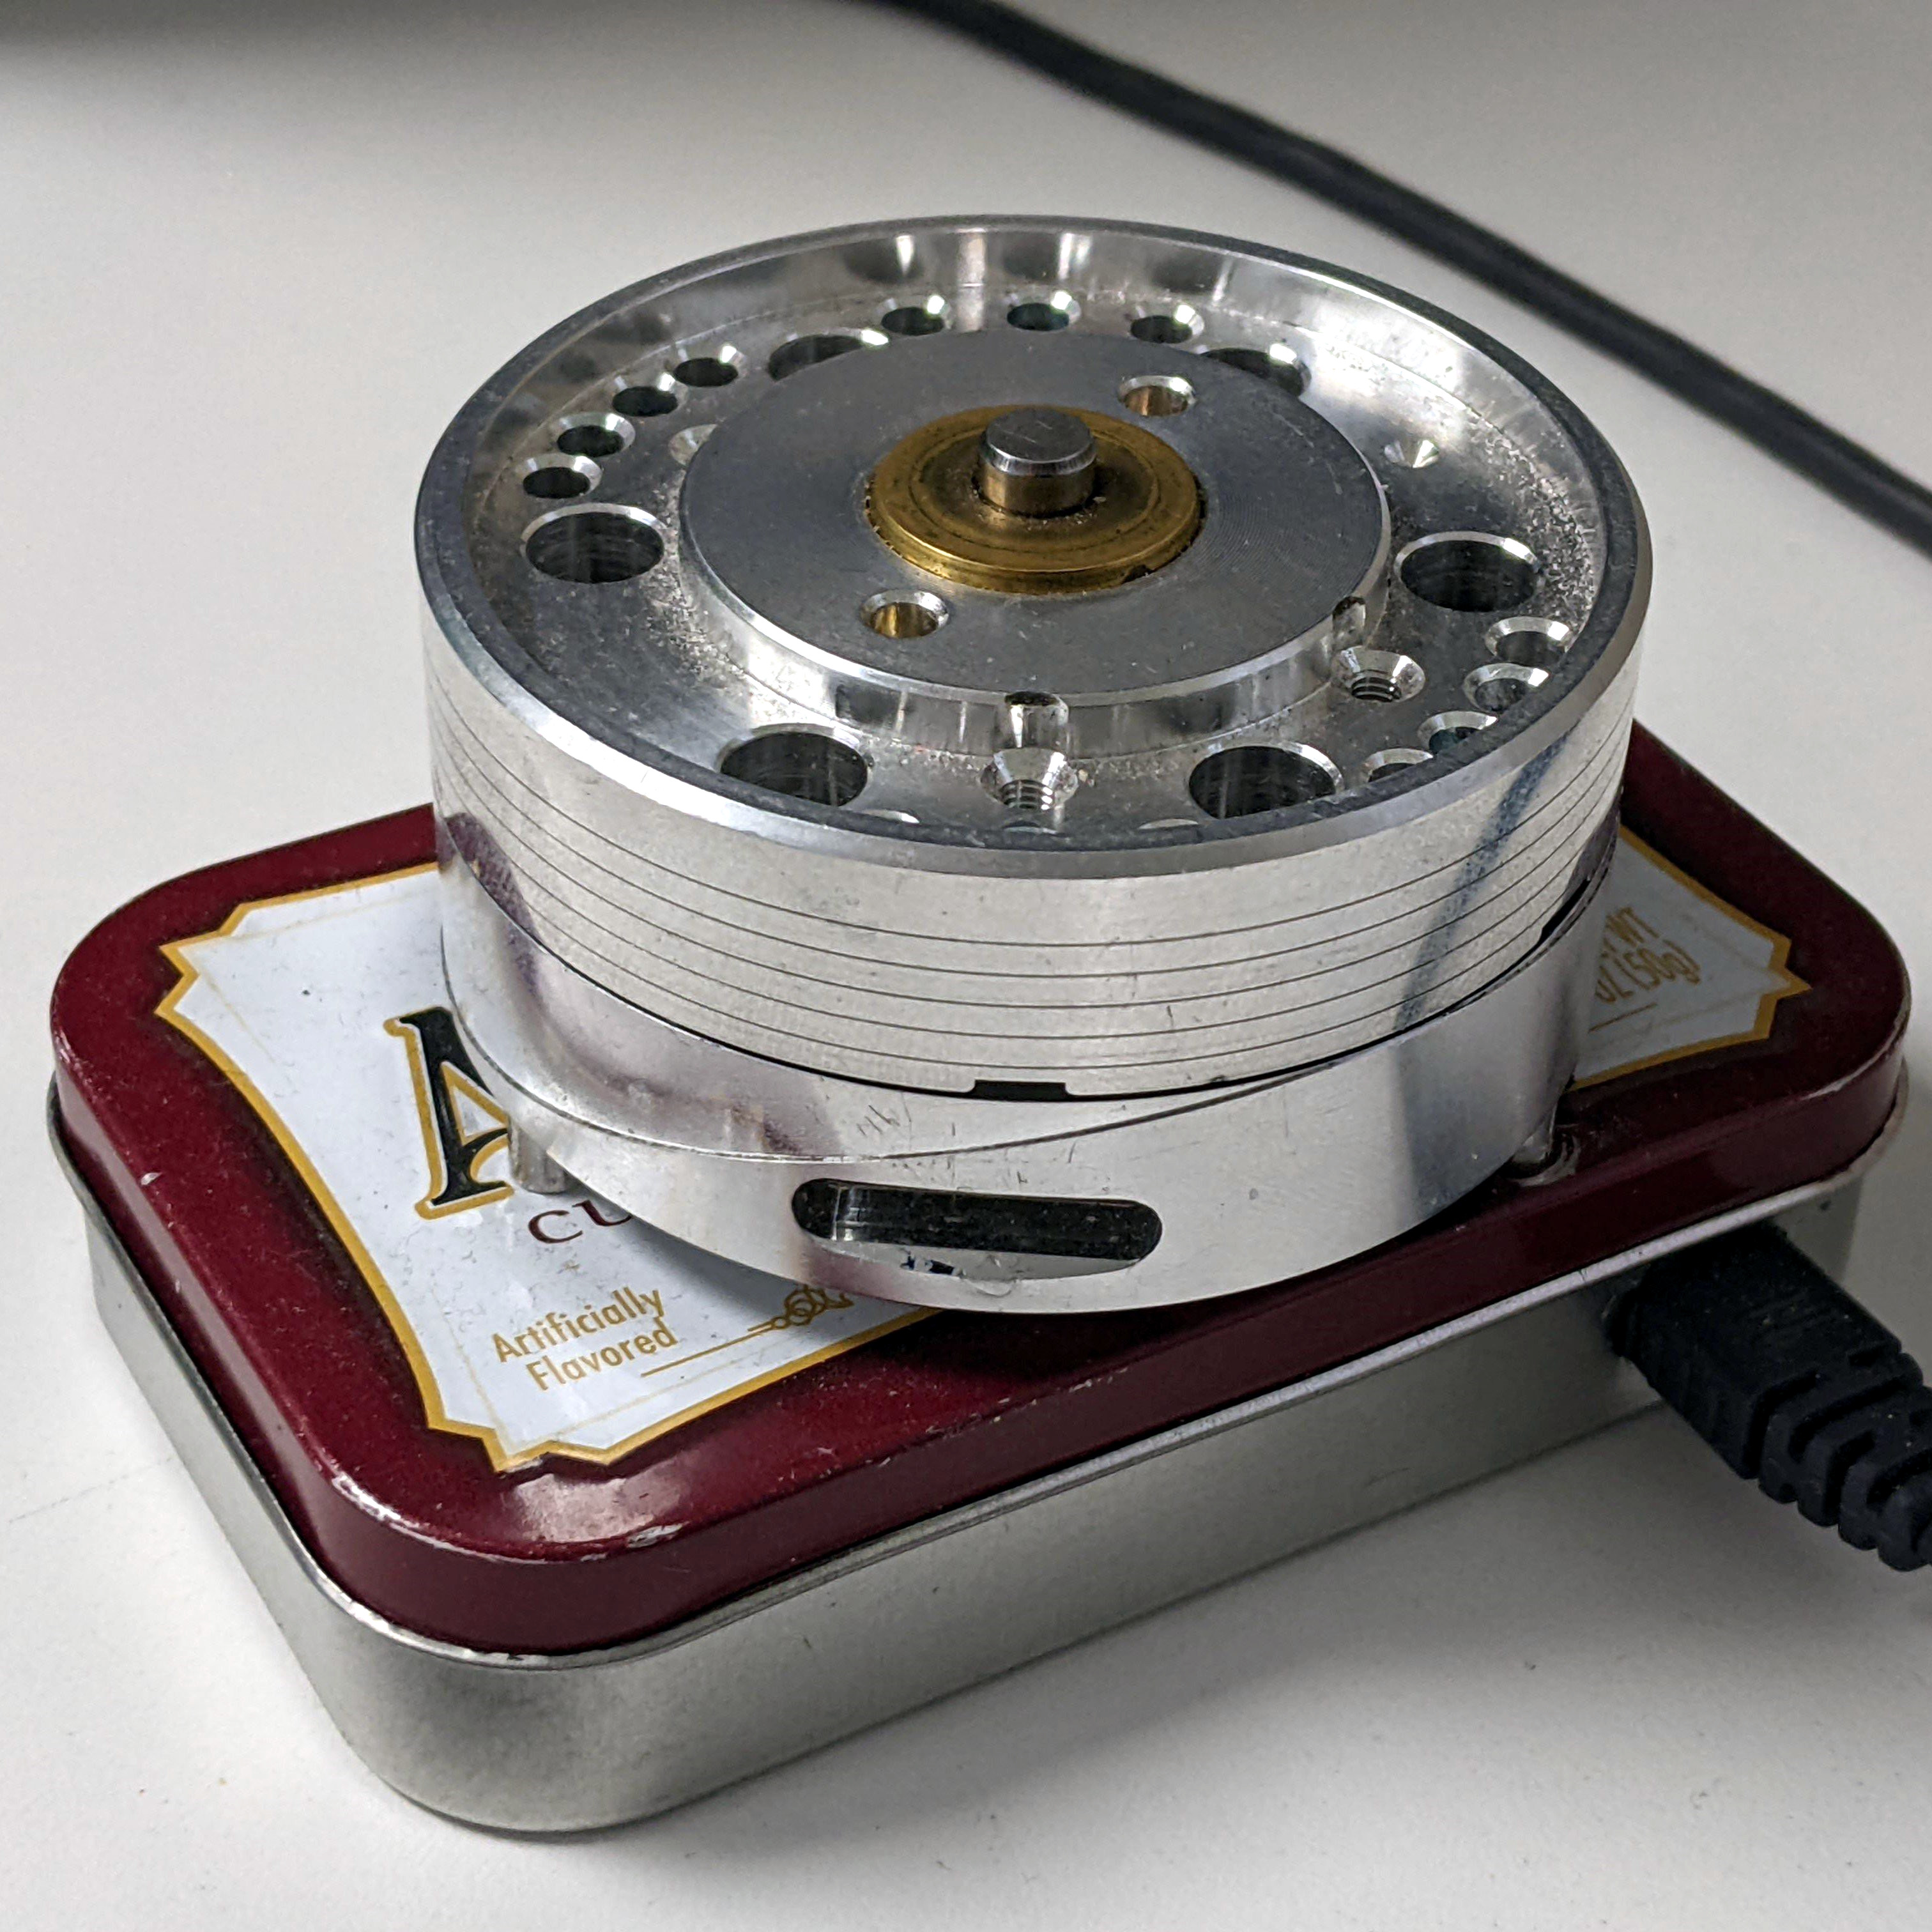
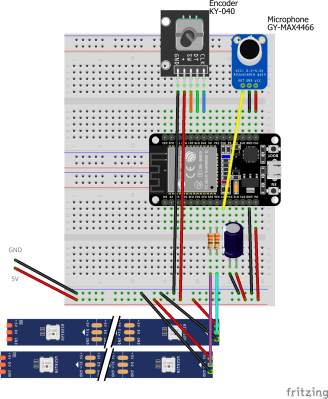
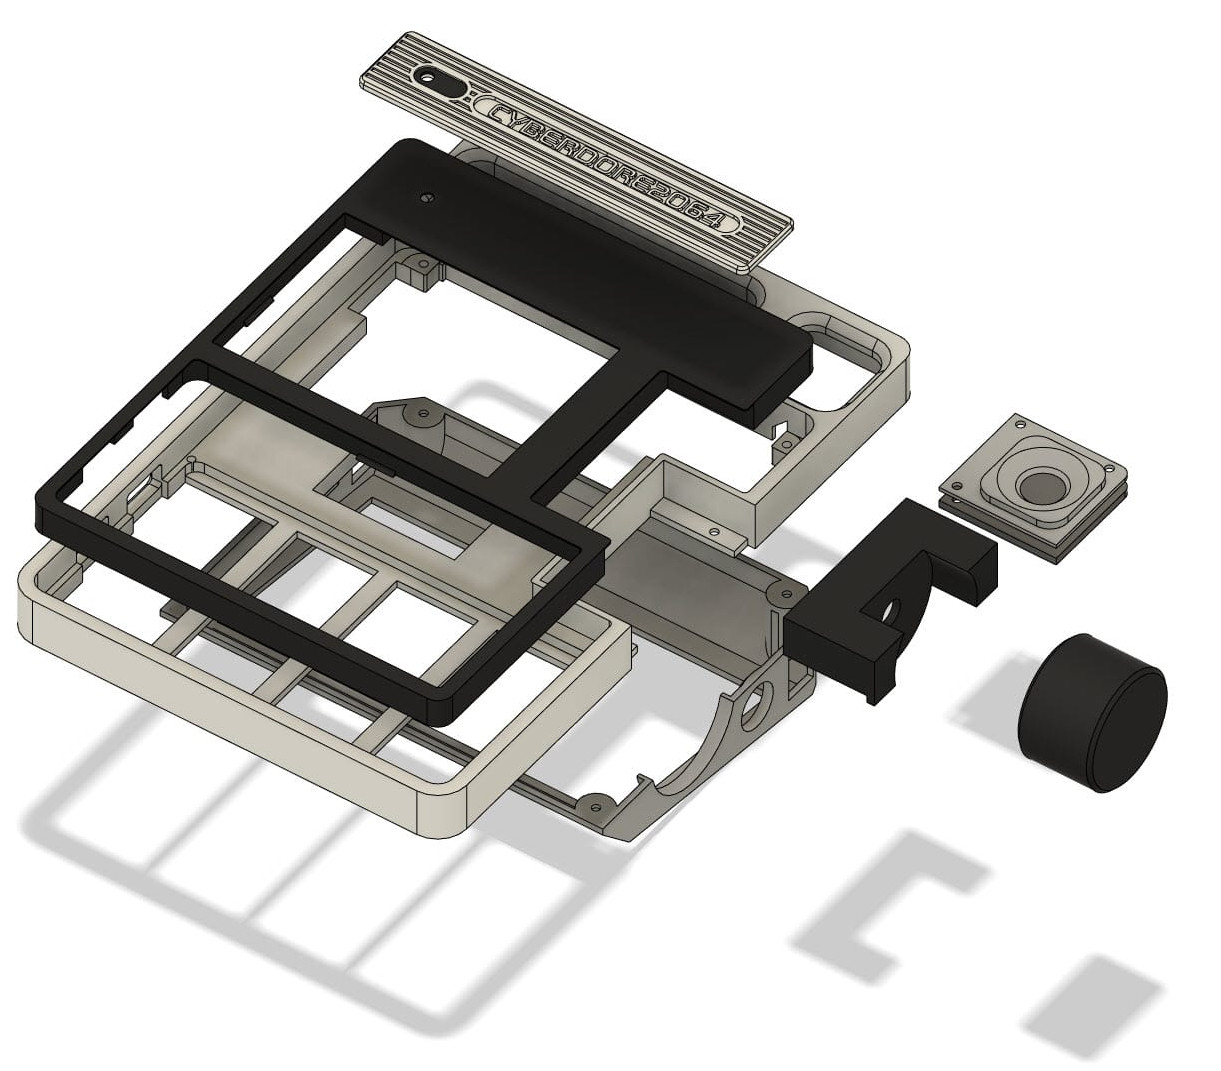 One of the key external features of the Cyberdore 2064 is the side-mounted rotary encoder that allows for smoothly scrolling through online feeds (such as your favorite hardware hacking site) or long documents. The cheap and easy to work with KY-040 encoder has been converted to a USB input device by way of a Pi Pico, and has been paired with an over-sized 3D printed knob that really makes this build stand out — not only visually, but in terms of usability. These cyberdeck builds often rely on touch screens for input, but we always appreciate a physical interface.
Under the hood you’ve got a Raspberry Pi Zero and an 18650 cell to keep the whole thing running while on the go. Though the Zero is certainly showing its age compared to the more modern variants of the Pi, for a device like this, raw computing power isn’t really the driving concern. A mechanical keyboard usually rounds out these cyberdeck builds, but in this case, [Tommi] went with a fairly common Rii 518BT portable board that’s been skillfully integrated into the front of the Cyberdore.
All of the STL files necessary to print out your own Cyberdore 2064 are available on Printables, and while [Tommi] didn’t exactly provide build instructions, the write-up provides plenty of information to get you started.
So is it just us, or does looking at Cyberdore 2064 make you think it’s time for another Hackaday Cyberdeck Challenge?