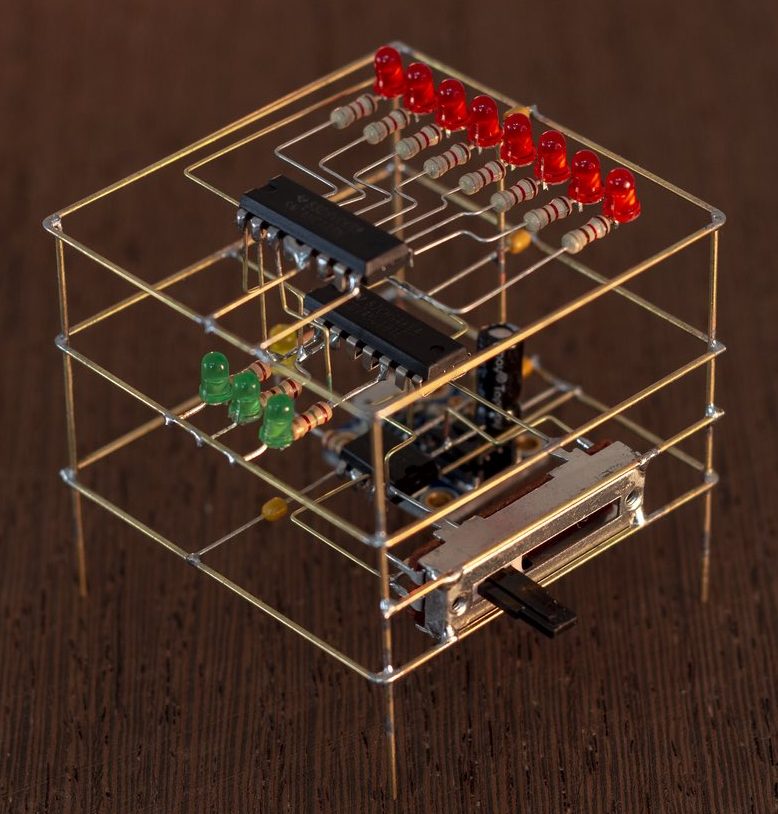
 When it rains, it pours (wonderful electronic sculpture!). The last time we posted about freeform circuit sculptures there were a few eye-catching comments mentioning other fine examples of the craft. One such artist is [Eirik Brandal], who has a large selection of electronic sculptures. Frankly, we’re in love.
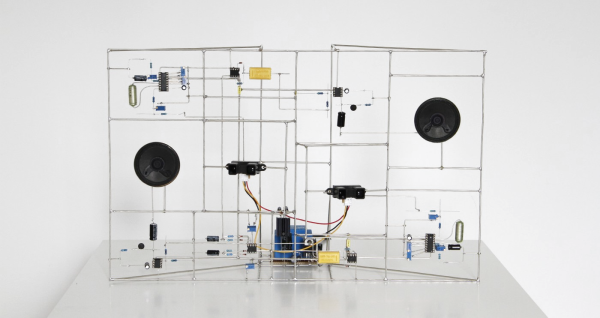
A common theme of [Eirik]’s work is that each piece is a functional synthesizer or a component piece of a larger one. For instance, when installed the ihscale series uses PIR sensors to react together to motion in different quadrants of a room. And the es #17 – #19 pieces use ESP8266’s to feed the output of their individual signal generators into each other to generate one connected sound.
Even when a single sculpture is part of a series there is still striking variety in [Eirik]’s work. Some pieces are neat and rectilinear and obviously functional, while others almost looks like a jumble of components. Whatever the style we’ve really enjoyed pouring through the pages of [Eirik]’s portfolio. Most pieces have demo videos, so give them a listen!
If you missed the last set of sculptural circuits we covered this month, head on over and take a look at the flywire circuits of Mohit Bhoite.
Thanks [james] for the tip!

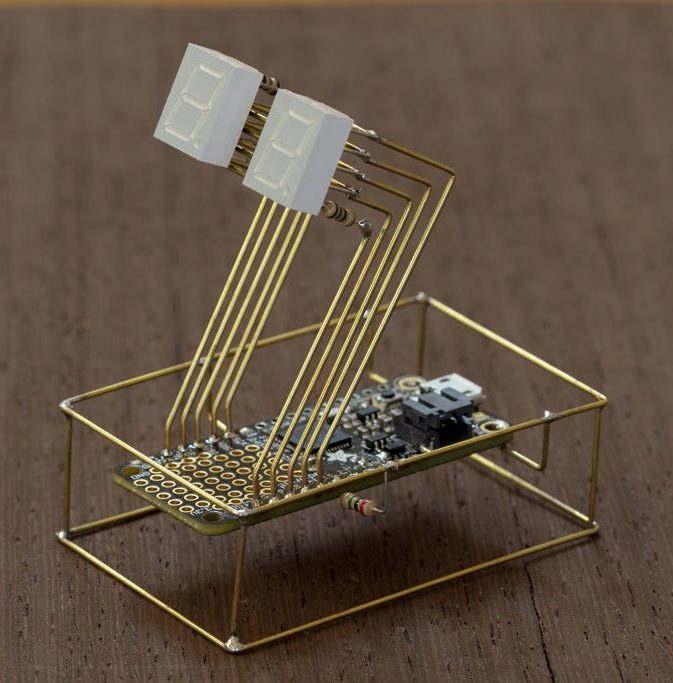
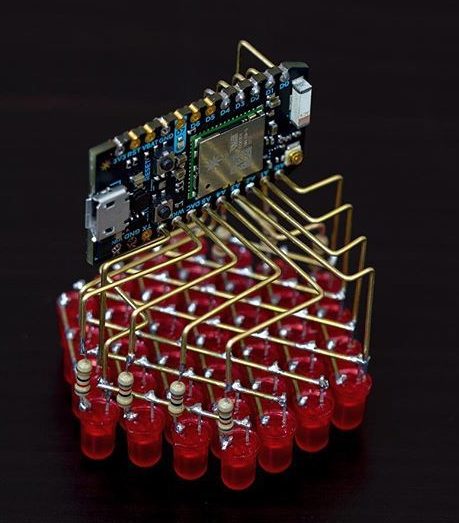
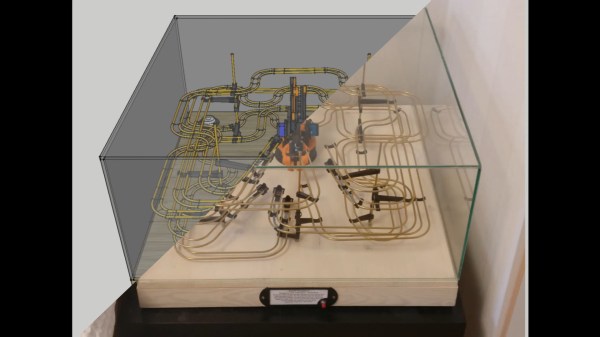
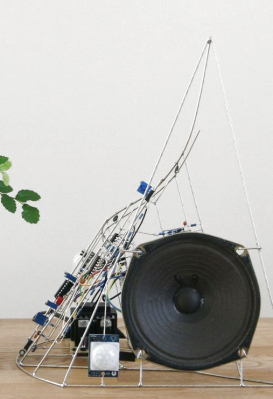
 tiny BGA components (ok, that one might be more cool than practical). Perhaps our favorite use is to create art, and [Mohit Bhoite] is an absolute genius of the form. He’s so prolific that it’s difficult to point to a particular one of his projects as an exemplar, though he has