Pity the poor TTL computer aficionado. It’s an obsession, really — using discrete logic chips to scratch-build a computer that would probably compare unfavorably to an 80s era 8-bit machine in terms of performance. And yet they still forge ahead with their breadboards full of chips and tangles of wire. It’s really quite beautiful when you think about it.
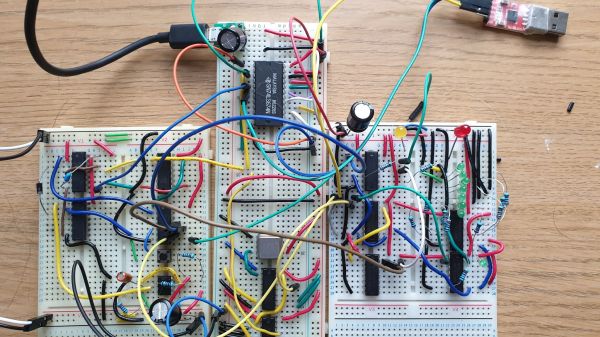
[Duncan] at Shepherding Electrons has caught the TTL bug, and while building his 8-bit machine outfitted it with this discrete logic UART. The universal asynchronous receiver-transmitter is such a useful thing that single-chip versions of the device have been available since the early 1970s. [Duncan]’s version makes the magic of serial communications happen in just 12 chips, all from the 74LS logic family.
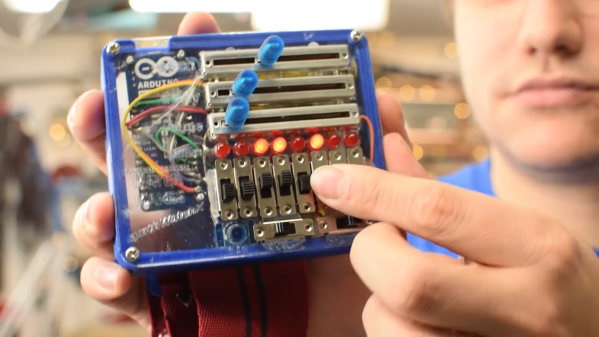
As if the feat of building a discrete logic UART weren’t enough, [Duncan] pulled this off without the aid of an oscilloscope. Debugging was a matter of substituting the 2.4576 MHz crystal oscillator clock with a simple 1 Hz 555 timer circuit; the reduced clock speed made it easier to check voltages and monitor the status of lines with LEDs. Once the circuit was working, the full-speed clock was substituted back in, allowing him to talk to his 8-bit computer at up to 38,400 bps. Color us impressed.
For more TTL computer goodness, and to see where [Duncan] got his inspiration, check out [Ben Eater]’s many discrete logic projects — his scratch-built 6502, a low-end video card, or even his take on serial communications.