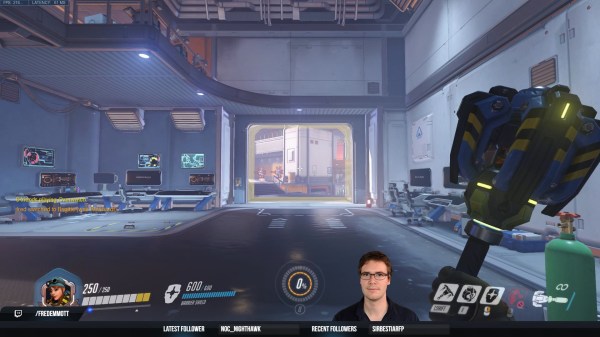
Virtual green screens are pretty neat, but for results, nothing beats the real thing. But what if you have limited space? [Fred Emmott] had about 30 inches behind his desk to work with, and shares what it took to make a green screen work reliably in a limited space.
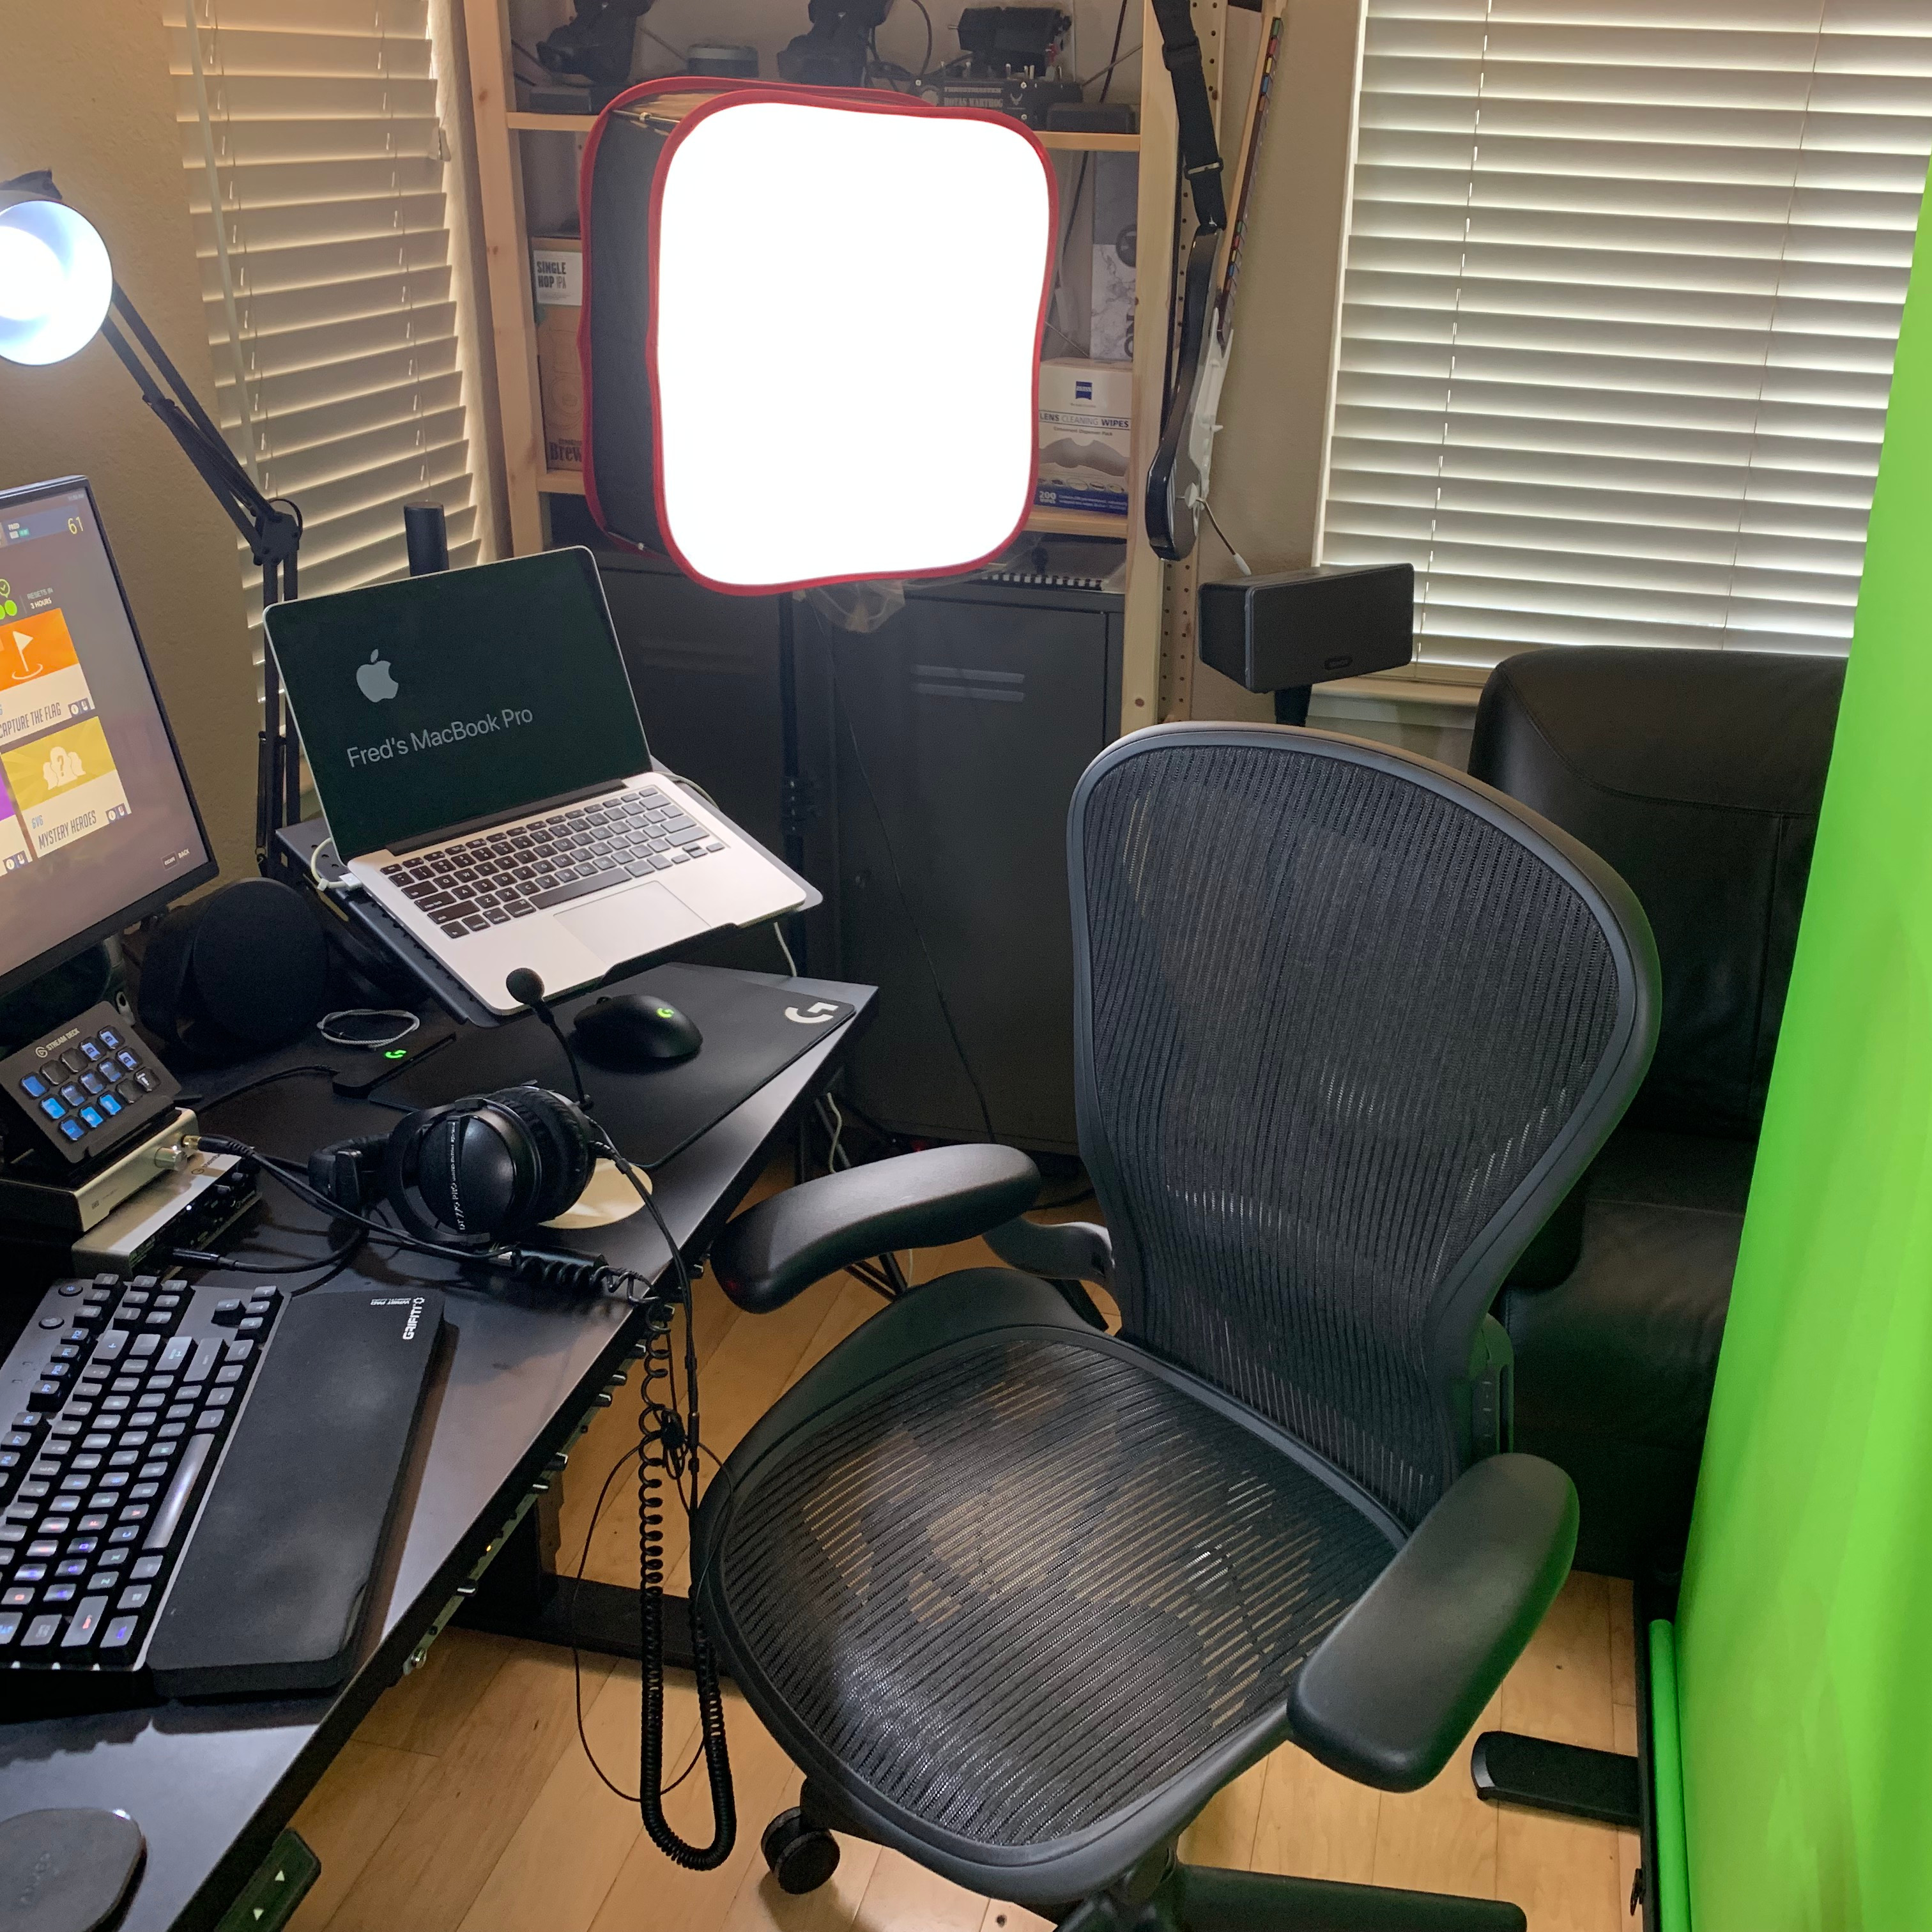
When it comes right down to it, the fundamentals of camera work (lighting, angles, and so on) are unchanged, but hanging a green screen only 30 inches behind one’s desk does make it a bit more challenging to dial in the right environment. In addition, [Fred] wanted a solution that could be deployed and packed away without much of a hassle, and without taking up too much storage space. He ended up using a collapsible green screen that can be pulled straight up and out from its container, similar to portable stand-up banners used at trade shows.
As for the camera end of things, [Fred] found that reliable, quality lighting was critically important, even more so than the camera used. For repeatable results, he suggests disabling any automatic features (such as low light enhancement, or auto white balance, and settings of that nature) and to use LED lighting in the ‘daylight’ range for illumination and fill. The key to good green screen results is to light things evenly, and this is a bit more challenging when working in such a tight space.
To deal with this, [Fred] suggests lights that can be easily repositioned, and put them as far back from things as you can. Get the lighting as even as possible, then adjust your software to match ([Fred] uses OBS Studio) for best results. Once that’s done, it can be more easily set up and torn down with minimal fiddling.
Computers sure make all this much easier than it was back in the day, and if you’re curious, here is all about how green screens were done before the digital age.