Feature creep is typically something to be avoided, since watching a relatively simple project balloon into a rat’s nest of complexity often leads to ineffective, or even abandoned, projects. On the other hand, if you can maintain a tight focus, it’s not always a bad thing. [cbm80Amiga] shows us how to drill down and add specific features in this single-button timer without losing focus on what the original project was all about.
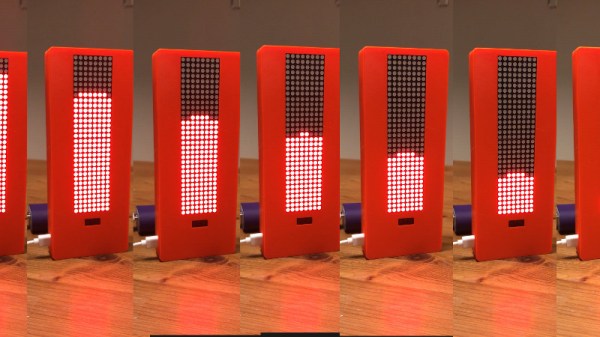
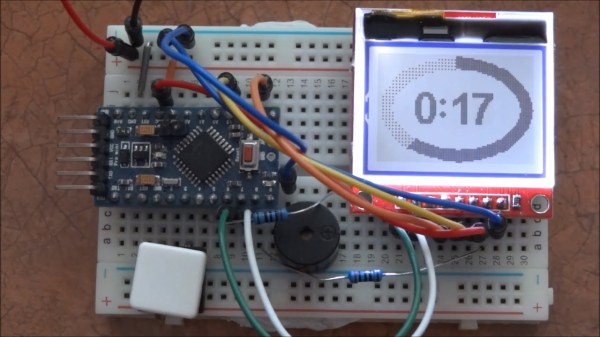
The timer is based on an Arduino Pro Mini and an HX1230 LCD with a simple piezo speaker for audible alerts. A single button controls operation of the timer, with short presses incrementing each digit and long presses moving on to the next digit. Controlling button presses this finely is a project in its own, but then [cbm80Amiga] moves on to other features such as backlight control, low power modes which allow it to operate for around two years on a single battery charge, preset times for various kitchen uses, and different appearance settings.
Honestly we aren’t sure how you could cram any more features on this timer without fundamentally altering the designed simplicity. It doesn’t fall into the abyss of feature creep while being packed with features, and it’s another example of how keeping things simple is often a recipe for success.
Thanks to [Hari] for the tip!