Upgraded Toy Guitar Plays Music

Getting the finishing details on a Halloween costume completed is the key to impressing friends and strangers alike on the trick-or-treat rounds. Especially when it comes to things like props, these details can push a good Halloween costume to great with the right touches. [Jonathan]’s friend’s daughter will be well ahead of the game thanks to these additions to a toy guitar which is part of her costume this year.

The toy guitar as it was when it arrived had the capability to play a few lackluster sound effects. The goal here was to get it to play a much more impressive set of songs instead, and to make a couple upgrades along the way as well. To that end, [Jonathan] started by dismantling the toy and investigating the PCBs for potential reuse. He decided to keep the buttons in the neck of the guitar despite their non-standard wiring configuration, but toss out the main board in favor of an ESP32. The ESP32 is tasked with reading the buttons, playing a corresponding song loaded on an SD card, and handling the digital to analog conversion when sending it out to be played on the speaker.

The project doesn’t stop there, though. [Jonathan] also did some custom mixing for the songs to account for the lack of stereo sound and a working volume knob, plus he used the ESP32’s wireless capabilities to set the guitar up as a local file server so that songs can be sent to and from the device without any wires. He also released the source code on the project’s GitHub page for anyone looking to use any parts of this project. Don’t forget there’s a Halloween contest going on right now, so be sure to submit the final version of projects like these there!

Continue reading “Upgraded Toy Guitar Plays Music”

High Voltage Turns Welder Into Plasma Cutter

For doing basic steel welding, most of us will reach for a MIG welder. It might not be the best tool for every welding job, but it’s definitely the most accessible since they tend to use only basic parts, easy-to-find gas, and can run from a standard electrical outlet. A plasma cutter isn’t as common, and while they’re certainly useful, [Rulof] wanted to forgo the expense of buying one off the shelf. Instead, he used parts of an old welder and a few other odds and ends to build his own plasma cutter.

The welder he’s working from in this project uses low-voltage alternating current to drive the welding process, but since a plasma cutter ionizes gas it needs high-voltage direct current. A 200 A bridge rectifier with some heat sinks from a Mac and an old stereo get this job done, but that’s not the only step in the process. A driver board and flyback transformer is used to generate the high voltage needed for the cutting head. There are some DIY circuit protection and safety features built in as well, including a spark gap using two nails, galvanic isolation from a transformer built from copper pipe, and some filtering coils made from old copper wire and iron bars.

With everything connected to the old welding machine and some pressurized air inside to push out the plasma, [Rulof] has a functional plasma cutter that can make short work out of a variety of metals at a fraction of the cost of a commercial tool. With the cutting tool finished, we’d recommend mounting it to a home-built CNC machine next.

Continue reading “High Voltage Turns Welder Into Plasma Cutter”

Light Guns Aren’t Just For CRTs Anymore

For how much of a cultural phenomenon light gun games like Duck Hunt were, they didn’t survive the transition from CRT televisions to LCDs particularly well because of all of the technological quirks the light guns exploited in older technology that simply disappeared with modern TVs. But it’s not impossible to get a similar gameplay from modern technology as evidenced by the success of the Wii and its revolutionary Wiimote, and there are plenty of modern games that use similar devices. There are a few paths to getting older light guns working again, though.

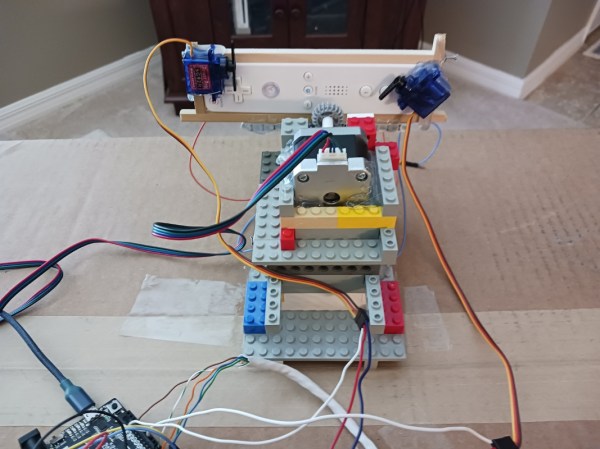
The first system to note, called SAMCO, uses a system of LEDs and a camera to synchronize the game’s flashes to the new technology and translate the input back into the game. Gun4ir uses a similar technique, and boasts extremely high accuracy and low latency largely due to being programmed in assembly. Both systems can use either an infrared tracking sensor or a Wiimote sensor as the LEDs and while the SAMCO system can run on a Raspberry Pi Pico, Gun4ir exclusively uses ATmega32U4 boards with the optimized assembly programming.

Both SAMCO and Gun4ir offer PCBs for anyone looking to try them out without designing their own circuit boards, and once the electronics are assembled they can either be put in an original NES-era light gun, put in a custom printed enclosure, or even stuffed into a Nerf gun. For others looking for a more turnkey solution, there are also offerings from companies like Sinden which make complete system. You can always build your own system to restore the functionality of original light guns from scratch if that’s more your style.

Thanks to [LookAtDaShinyShiny] for tipping us off to the latest happenings in the light gun community!

Photo courtesy of Wikimedia Commons

DIY Shredder Creates Insulation

Plenty of us have experience with paper shredders, but there are all kinds of machines designed to completely destroy other materials as well, from metal and plastic, to entire cars. [Action BOX] built their own heavy-duty shredder capable of dismantling things like cell phones and other robust handheld objects, but after seeing what it would physically shred they decided to give it an actual job creating insulation for the attic space in their garage.

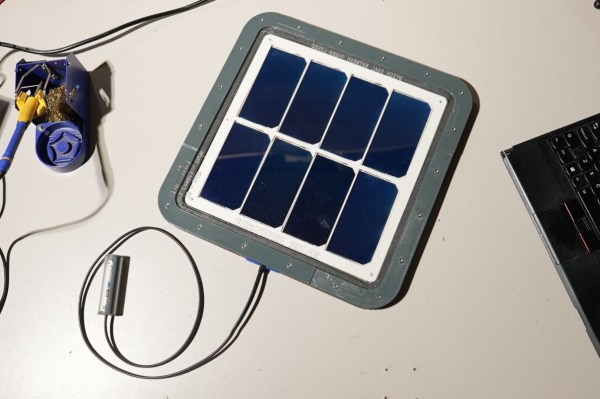
The shredder itself uses opposing metal plates arranged on sets of two cylinders, with each cylinder powered by it’s own large motor. In total, the entire system uses around 1.5 kW, so to make their green insulation project as green as possible they decided to power it with an equivalent amount of solar panels. For the insulation they’re using a year’s worth of boxes from various deliveries, and after a time-consuming process preparing the boxes for the shredder, shredding the strips of cardboard, and packaging it in garbage bags their efforts netted them enough to partially fill the space between four ceiling joists. Continue reading “DIY Shredder Creates Insulation”

Custom Fume Hood For Safe Electroless Plating

There are plenty of chemical processes that happen commonly around the house that, if we’re really following safety protocols to the letter, should be done in a fume hood. Most of us will have had that experience with soldering various electronics, especially if we’re not exactly sure where the solder came from or how old it is. For [John]’s electroless plating process, though, he definitely can’t straddle that line and went about building a fume hood to vent some of the more harmful gasses out of a window.

This fume hood is pretty straightforward and doesn’t have a few of the bells and whistles found in commercial offerings, but this process doesn’t really require things like scrubbing or filtering the exhaust air so he opted to omit these pricier and more elaborate options. What it does have, though, is an adjustable-height sash, a small form factor that allows it to easily move around his shop, and a waterproof, spill-collecting area in the bottom. The enclosure is built with plywood, allowing for openings for an air inlet, the exhaust ducting, and a cable pass-through, and then finished with a heavy-duty paint. He also included built-in lighting and when complete, looks indistinguishable from something we might buy from a lab equipment supplier.

While [John] does admit that the exhaust fan isn’t anything special and might need to be replaced more often than if he had gone with one that was corrosion-resistant, he’s decided that the cost of this maintenance doesn’t outweigh the cost of a specialized fan. He also notes it’s not fire- or bomb-proof, but nothing he’s doing is prone to thermal anomalies of that sort. For fume hoods of all sorts, we might also recommend adding some automation to them so they are used any time they’re needed.

Continue reading “Custom Fume Hood For Safe Electroless Plating”

Humble Arduino As PLC

On the surface, a programmable logic controller (PLC) might seem like nothing more than a generic microcontroller, perhaps outfitted to operate in industrial settings with things like high temperatures or harsh vibrations. While this is true to some extent, PLCs also have an international standard for their architecture and programming languages. This standard is maintained by the International Electrotechnical Commission, making it so that any device built under these specifications will be recognizable to control engineers and maintenance personnel worldwide. And, if you use this standard when working with certain Arduinos, this common platform can become a standard-compliant PLC as well.

The IDE itself supports programming ladder diagrams, functional block diagrams, and other programming systems covered under the IEC 61131-3 standard. Not only that, it allows the combination of these types of PLC programming with Arduino sketches. The system offers many of the perks of PLC programming alongside the familiar Arduino platform, and supports a number of protocols as well including CANOpen, Modbus RTU, and Modbus TCP. It can also be used for monitoring a PLC system, essentially adding IoT capabilities to existing systems, enabling continuous monitoring, debugging, and program updates.

While not every Arduino is a great platform to build a PLC around, there are a few available for those looking for a system a little less proprietary and a little more user-friendly than typical PLC systems tend to be. There’s a reason that PLCs are built around an international standard and generally have certain hardware in mind to run it, though, and this comparison of a Raspberry Pi with an off-the-shelf PLC goes into detail about why certain components aren’t good choices for PLCs.

Variable-Nozzle Ducted Fan Provides Fluid Dynamics Lessons

Any student new to the principles of fluid dynamics will be familiar with Bernoulli’s principle and the Venturi effect, where the speed of a liquid or gas increases when the size of the conduit it flows through decreases. When applying this principle to real-world applications, though, it can get a bit more complex than a student may learn about at first, mostly due to the shortcomings of tangible objects when compared to their textbook ideals. [Mech Ninja] discovered this while developing a ducted fan based around an RC motor.

The ducted fan is meant to be a stand-in for a model jet engine, based around a high-powered motor generally designed for drone racing. Most of the build is 3D printed including duct system, but in order to improve the efficiency and thrust beyond simple ducting, [Mech Ninja] designed and built a variable nozzle to more finely control the “exhaust” of his engine. This system is also 3D printed and can restrict or open up the outflow of the ducted fan, much like a real jet engine would. It uses two servos connected to collars on the outside of the engine. When the servos move the collars, a set of flaps linked to the collars can choke or expand the opening at the rear of the engine.

This is where some of the complexity of real-life designs comes into play, though. After testing the system with a load cell under a few different scenarios, the efficiency and thrust weren’t always better than the original design without the variable nozzle. [Mech Ninja] suspects that this is due to the gaps between the flaps, allowing air to escape and disrupting the efficient laminar flow of the air leaving the fan, and plans to build an improved version in the future. Fluid dynamics can be a fairly complex arena to design within, sometimes going in surprising directions like this ducted fan that turned out better than the theory would have predicted, at least until they accounted for all the variables in the design.

Continue reading “Variable-Nozzle Ducted Fan Provides Fluid Dynamics Lessons”