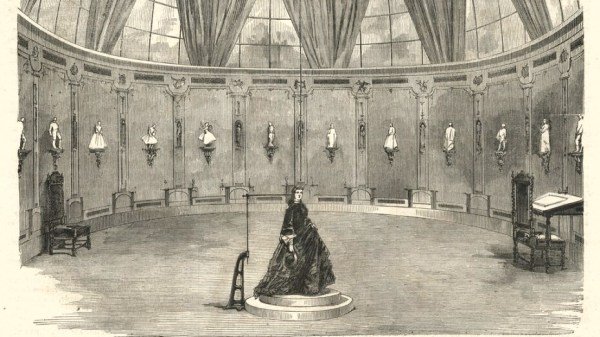
In France during the mid-to-late 1800s, one could go into François Willème’s studio, sit for a photo session consisting of 24 cameras arranged in a circle around the subject, and in a matter of days obtain a photosculpture. A photosculpture was essentially a sculpture representing, with a high degree of exactitude, the photographed subject. The kicker was that it was both much faster and far cheaper than traditional sculpting, and the process was remarkably similar in principle to 3D scanning. Not bad for well over a century ago.
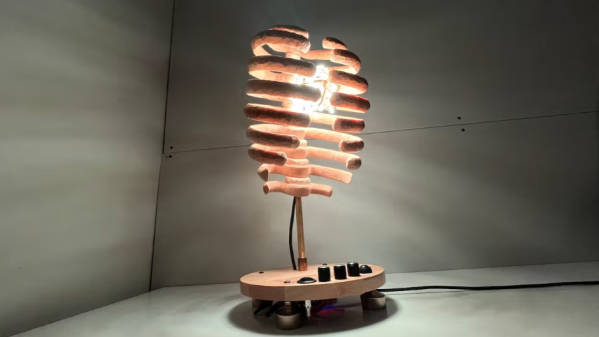
We think [Michelle]’s sound-reactive rib cage lamp turned out great, and the photos and details around how it was made are equally fantastic. The lamp is made of carved and waxed wood, and inside is a bundle of LED lighting capable of a variety of different color palettes and patterns, including the ability to react to sound. Every rib cage should have a party mode, after all.
The LED strip is fashioned into an atom-like structure.
Turns out that designing good rib cage pieces is a bigger challenge than one might think. [Michelle]’s method was to use an anatomical 3D model as reference, tracing each piece so that it could be cut from a flat sheet of wood.
The resulting flat pieces then get assembled into a stack, with each rib pointed downward at a roughly 20 degree angle. This process is a neat hack in itself: instead of drilling holes all at exactly the same angle, [Michelle] simply made the holes twice the diameter of the steel rod they stack on. The result? The pieces angle downward on their own.
The LED lighting is itself a nice piece of work. The basic structure comes from soldered solid-core wire. The RGB LED strip gets wound around that, then reinforced with garden wire. The result is an atomic-looking structure that sits inside the rib cage. An ESP32 development board drives everything with the FastLED library.
Code for everything, including the sound-reactive worky bits, which rely on an INMP441 I2C microphone module is all available on GitHub. And if you want to make your own sound-reactive art, make sure to check out these arms as well.
Want to see the rib cage in action? A short demo video is embedded below that demonstrates the sound reactivity. Equally applicable to either party or relaxation modes, we think.
There are plenty of resins advertised as being suitable for functional applications and parts, but which is best and for what purpose?
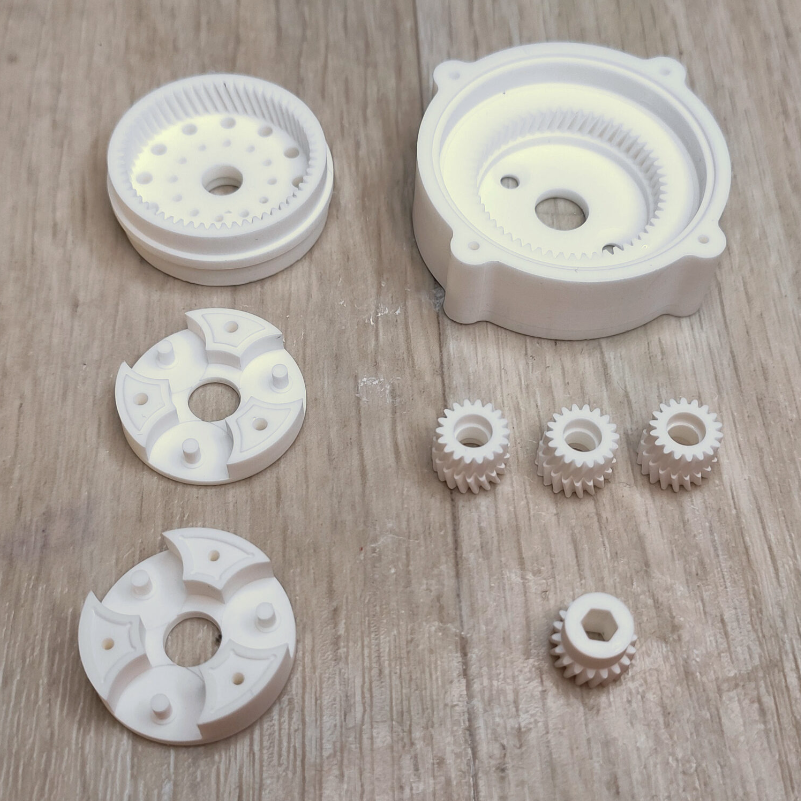
According to [Jan Mrázek], if one is printing gears, then they are definitely not all the same. He recently got fantastic results with Siraya Tech Fast Mecha, a composite resin that contains a filler to improve its properties, and he has plenty of pictures and data to share.
[Jan] has identified some key features that are important for functional parts like gears. Dimensional accuracy is important, there should be low surface friction on mating surfaces, and the printed objects should be durable. Of course, nothing beats a good real-world test. [Jan] puts the resin to work with his favorite method: printing out a 1:85 compound planetary gearbox, and testing it to failure.
The results? The composite resin performed admirably, and somewhat to his surprise, the teeth on the little gears showed no signs of wear. We recommend checking out the results on his page. [Jan] has used the same process to test many different materials, and it’s always updated with all tests he has done to date.
Air Quality Index for one’s region can be a handy thing to know, but it’s such a dry and humorless number, isn’t it? Well, all that changes with [Andrew Kleindolph]’s AQI Funnies: a visual representation of live AQI data presented by a friendly ghost character in a comic panel presentation. The background, mood, and messaging are all generated to match the current conditions, providing some variety (and random adjectives) to spruce things up.
We love the attention paid to the super clean presentation, and the e-paper screen looks fantastic. Inside the unit is a Raspberry Pi using Python to talk to the AirNow.gov API to get local conditions and update every four hours (AirNow also has a number of useful-looking widgets, for those interested.)
The enclosure is 3D printed, and [Andrew] uses a Witty Pi for power management and battery conservation. The display is a color e-paper display that not only looks great, but has the advantage of not needing power unless the display is updating. The Pi can be woken up to update the screen with new info when needed, but otherwise can spend its time asleep.
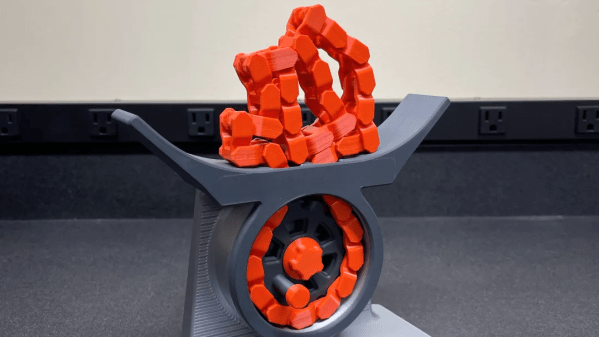
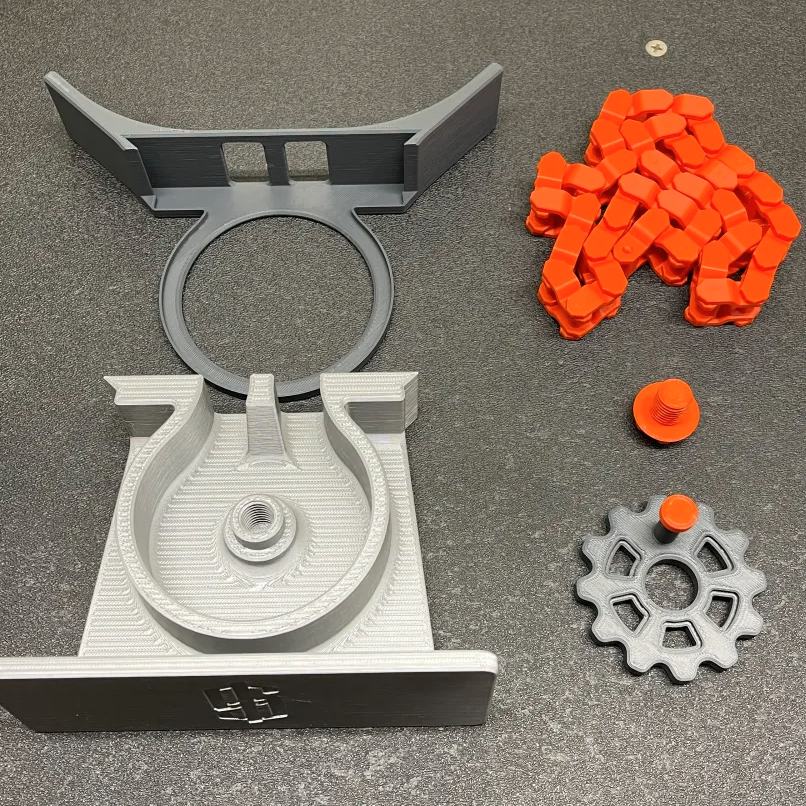
[davemoneysign] designed this fascinating roller chain kinetic sculpture, which creates tumbling and unpredictable patterns and shapes as long as the handle is turned; a surprisingly organic behavior considering the simplicity and rigidity of the parts.
3D-printed, with a satisfying assembly process.
The inspiration for this came from [Arthur Ganson]’s Machine With Roller Chain sculpture (video, embeded below). The original uses a metal chain and is motor-driven, but [davemoneysign] was inspired to create a desktop and hand-cranked manual version. This new version is entirely 3D-printed, and each of the pieces prints without supports.
According to [davemoneysign], the model works well with a chain of 36 links, but one could easily experiment with more or fewer and see how that changes the results. Perhaps with the addition of a motor this design could be adapted into something like this chains-and-sprockets clock?
You can see [Arthur Ganson]’s original in action in the video embedded below. It demonstrates very well the piece’s chaotic and unpredictable — yet oddly orderly — movement and shapes. Small wonder [davemoneysign] found inspiration in it.
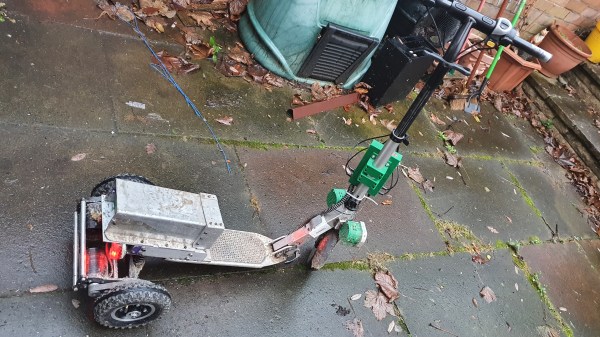
The story of how [Tony]’s three-wheeled electric scooter came to be has a beginning that may sound familiar. One day, he was browsing overseas resellers and came across a new part, followed immediately by a visit from the Good Ideas Fairy. That’s what led him to upgrade his DIY electric scooter to three wheels last year, giving it a nice speed boost in the process!
The part [Tony] ran across was a dual brushless drive unit for motorizing a mountain board. Mountain boards are a type of off-road skateboard, and this unit provided two powered wheels in a single handy package. [Tony] ended up removing the rear wheel from his electric scooter and replacing it with the powered mountain board assembly.
He also made his own Arduino-based interface to the controller that provides separate throttle and braking inputs, because the traditional twist-throttle of a scooter wasn’t really keeping up with what the new (and more powerful) scooter could do. After wiring everything up with a battery, the three-wheeled electric scooter was born. It’s even got headlights!
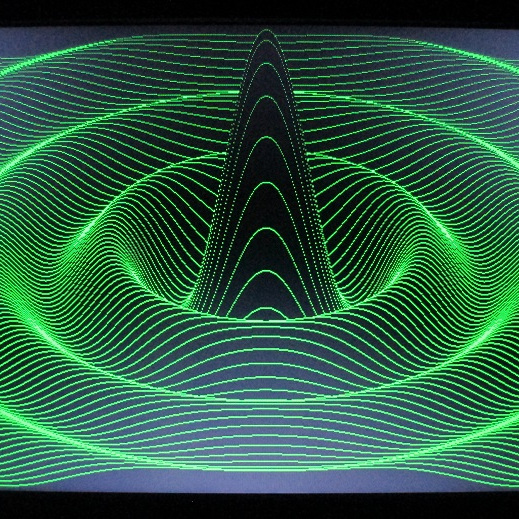
Drawing this sin(x)/x ripple surface can be done in only 17 lines of BASIC.
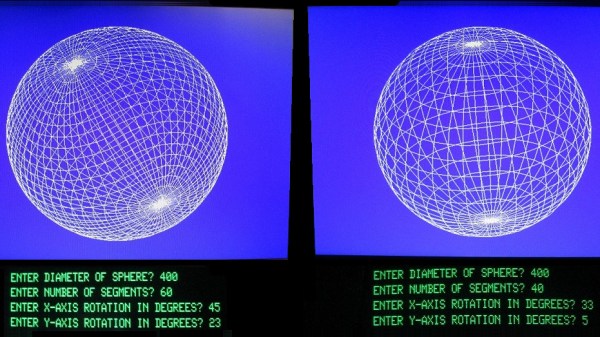
How does a TRS-80 even manage to output anything useful to these monitors? [Glen] wrote his own low-level driver in machine code to handle that. The driver even has useful routines that are callable from within BASIC, meaning that programs written on the TRS-80 are granted powerful drawing abilities. Oh, and did we mention that the VGA graphics cards themselves were designed and made by [Glen]?
Interested in making your own? [Glen] provides all the resources you’ll need to re-create his work, including machine code drivers and demonstration BASIC programs as downloadable audio files, just as they would have been on original cassette tapes.
Watch things in action in the videos embedded below. The first draws a Land Rover, and the second plots a simple Moiré pattern star. Not bad for 70s-era hardware and 74xx logic!