Restoring An Unusual Piece Of Computing History

Trawling classified ads or sites like Craigslist for interesting hardware is a pastime enjoyed by many a hacker. At a minimum, you can find good deals on used tools and equipment. But if you’re very lucky, you might just stumble upon something really special.

Which is exactly how [John] came into possession of the TRANSBINIAC. Included in a collection of gear that may have once belonged to a silent key, the device is a custom-built solid-state computer that appears to have been assembled in the early 1960s. Featuring a large see-through window not unlike what you might find on a modern gaming computer and a kickstand that tilts it back at a roughly 45° angle, it was obviously built to be shown off. Perhaps it was a teaching aid or even a science fair entry.

After some digging, it looks like the design of the TRANSBINIAC was based on plans published in the January 1960 issue of Electronics Illustrated. Though there are some significant differences. This computer uses eight bistable flip-flip modules instead of the original six, deletes the multiplication circuit, and employs somewhat simplified wiring. Whoever built this machine clearly knew what they were doing, which for the time, is really saying something. This truly unique machine may well have been one of the first privately owned digital computers in the world.

Which is why we’re glad to see [John] trying to restore the device to its former glory. Naturally it’s a little tricky since the computer came with no documentation and its design doesn’t exactly match anything out there. But with the help of other Hackaday.io users, he’s hoping to get everything figured out. It sounds like the first step is to try and diagnose the 2N554 germanium transistor flip-flop modules, as they appear to be behaving erratically. If you have experience with this sort of hardware, feel free to chime in.

We’re supremely proud of the fact that so many of these early computer examples (and the people that are fascinated by them) have recently found their way to Hackaday.io. They’re literally the building blocks on which so much of our modern technology is based on, and the knowledge of how they were designed and operated deserves to live on for future generations to learn from. If it wasn’t for 1960s machines like the TRANSBINIAC or the so-called “Paperclip Computer”, Hackaday might not even exist. It seems like the least we can do is return the favor and make sure they aren’t forgotten.

[Thanks to Yann for the tip.]

Pocket-sized Device Sniffs Out Damp Masks

The realities of wearing a mask when you go out, from forgetting the thing in the car to dealing with fogged up glasses, have certainly taken some getting used to for most of us. But not every issue is immediately obvious. For example, experts say that as a mask gets damp from exhalation or perspiration it becomes less effective. Which is precisely why [Rick Pannen] has designed the Mask Moisture Meter.

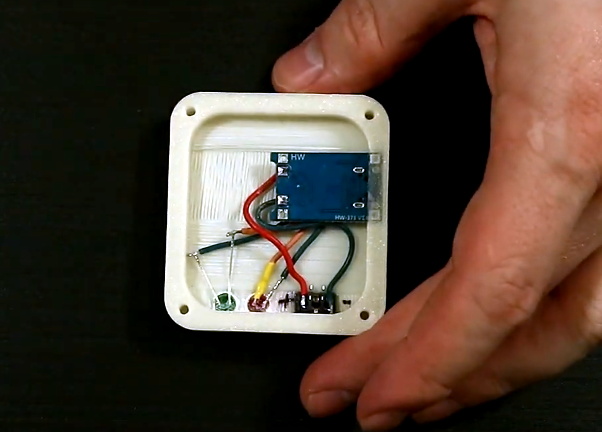
As deep as we are into the Microcontroller Era, we really appreciate the simplicity of this design. It’s just a 555 timer, a buzzer, some LEDs, and a handful of passive components to get them all talking to each other. There’s no firmware or programming required; just put a fresh battery in the holder and away you go. The traces of the PCB serve as a moisture detector, so when the board is pushed against something wet enough, the red LED and buzzer will go off to warn the user.

Now admittedly, there’s a point where you certainly won’t need an electronic gizmo to tell you a mask is wet. But as [Rick] demonstrates in the video after the break, the circuit is sensitive enough to indicate when there’s moisture in the material that might not be immediately obvious to the eye.

Continue reading “Pocket-sized Device Sniffs Out Damp Masks”

A Free Software OS For The ReMarkable E-Paper Tablet

If you’re looking to rid your day to day life of dead trees, there’s a good chance you’ve already heard of the reMarkable tablet. The sleek device aims to replace the traditional notebook. To that end, remarkable was designed to mimic the feeling of writing on actual paper as closely as possible. But like so many modern gadgets, it’s unfortunately encumbered by proprietary code with a dash of vendor lock-in. Or at least, it was.

[Davis Remmel] has been hard at work porting Parabola, a completely free and open source GNU/Linux distribution, to the reMarkable. Developers will appreciate the opportunity to audit and modify the OS, but even from an end-user perspective, Parabola greatly opens up what you can do on the device. Before you were limited to a tablet UI and a select number of applications, but with this replacement OS installed, you’ll have a full-blown Linux desktop to play with.

You still won’t be watching videos or gaming on the reMarkable (though technically, you would be able to), but you could certainly use it to read and edit documents the original OS didn’t support. You could even use it for light software development. Since USB serial adapters are supported, microcontroller work isn’t out of the question either. All while reaping the considerable benefits of electronic paper.

The only downside is that the WiFi hardware is not currently supported as it requires proprietary firmware to operate. No word on whether or not [Davis] is willing to make some concession there for users who aren’t quite so strict about their software freedoms.

We’ve been waiting patiently for the electronic paper revolution to do more than replace paperbacks with Kindles, and devices like the reMarkable seem to be finally moving us in the right direction. Thankfully, projects that aim to bring free and open source software to these devices mean we won’t necessarily have to let Big Brother snoop through our files in the process.

Turning The Raspberry Pi Into A MCU Programmer

Once you graduate beyond development boards like the Arduino or Wemos D1, you’ll find yourself in the market for a dedicated programmer. In most cases, your needs can be met with a cheap USB to serial adapter that’s not much bigger than a flash drive. The only downside is that you’ve got to manually wire it up to your microcontroller of choice.

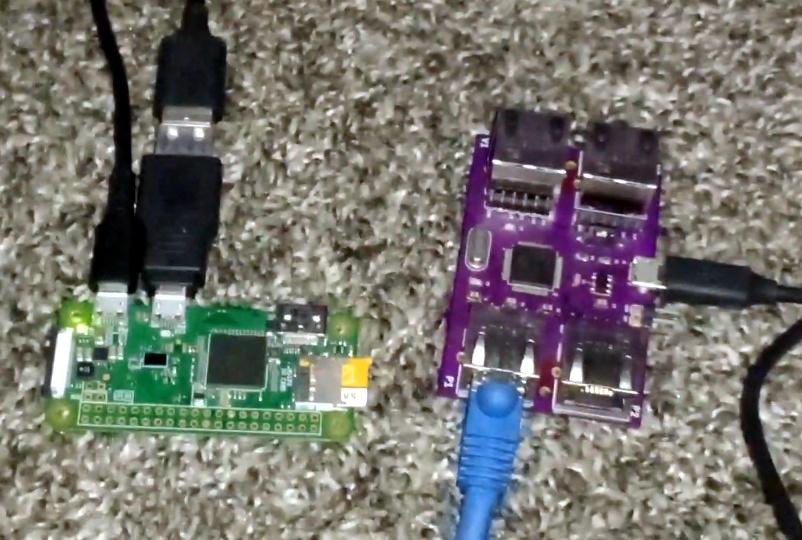
Unless you’re [Roey Benamotz], that is. He’s recently created the LEan Mean Programming mAchine (LEMPA), an add-on board for the Raspberry Pi that includes all the sockets, jumpers, and indicator LEDs you need to successfully flash a whole suite of popular MCUs. What’s more, he’s written a Python tool that handles all the nuances of getting the firmware written out.

After you’ve configured the JSON file with the information about your hardware targets and firmware files, they can easily be called up again by providing a user-defined ID name. This might seem overkill if you’re just burning the occasional hex, but if you’re doing small scale production and need to flash dozens of chips, you’ll quickly appreciate a little automation in your process.

Of course, if you’re just trying to flash some code in a pinch, there are some more expedient options out there. We’re particularly fond of using a development board to program the bare MCU.

Continue reading “Turning The Raspberry Pi Into A MCU Programmer”

Incredible Soldering In The Name Of Hardware Support

If you’re developing a performant IP-KVM based on the Raspberry Pi, an HDMI capture device that plugs into the board’s CSI port would certainly be pretty high on your list of dream peripherals. Turns out such devices actually exist, and somewhat surprisingly, are being sold for reasonable prices. Unfortunately the documentation for the chipset they use is a bit lacking, which is a problem if you’re trying to wring as much performance out of them as possible.

As the creator of Pi-KVM, [Maxim Devaev] needed to truly understand how the Toshiba TC358743 chip used in these capture devices worked, so he decided to build his own version from scratch. In the name of expediency, he didn’t have a proper breakout board made and instead decided to hand-solder the tiny BGA chip directly to some parts bin finds. The resulting perfboard capture device is equal parts art and madness, but more importantly, actually works as expected even with 1080p video signals.

Ultimately, the lessons learned during this experiment will lead to a dedicated KVM board that will plug into the Pi’s expansion header and provide all the necessary hardware in one shot. As [Maxim] explains in the Pi-KVM docs, the move to the CSI connected Toshiba TC358743 cuts latency in half compared to using a USB capture device. That said, USB capture devices will remain fully supported for anyone who just needs a quick way to get things working.

This DIY capture card is a perfect example of how the skills demonstrated while working on a project can be just as impressive as the end result. [Maxim] didn’t set out to hand-solder a BGA HDMI capture chip, it was merely one step in the process towards creating something better. Those intermediary achievements are often lost in the rush to document the final project, so we’re always glad when folks take the time to share them.

[Thanks to Eric for the tip.]

An Arduino Controller For Hot Air Handles

In general, the cost of electronic components and the tools used to fiddle with them have been dropping steadily over the last decade or so. But there will always be bargain-hunting hackers who are looking to get things even cheaper. Case in point, hot air rework stations. You can pick up one of the common 858D stations for as little as $40 USD, but that didn’t keep [MakerBR] from creating an Arduino controller that can be used with its spare handles.

Now to be fair, it doesn’t sound like price was the only factor here. After all, a spare 858D handle costs about half as much as the whole station, so there’s not a lot of room for improvement cost-wise. Rather, [MakerBR] says the Arduino version is designed to be more efficient and reliable than the stock hardware.

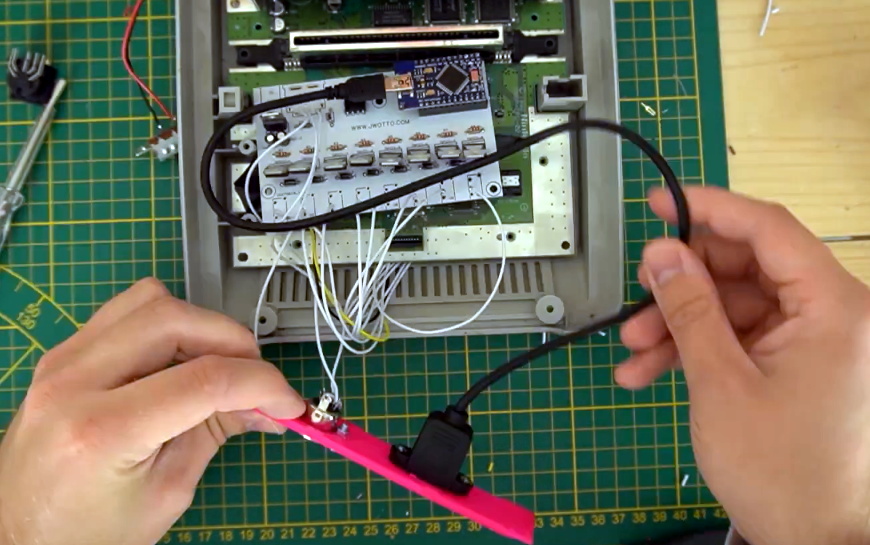
The seven wires in the handle connector have already been mapped out by previous efforts, though [MakerBR] does go over the need to verify everything matches the provided circuit diagrams as some vendors might have fiddled with the pinout. All the real magic happens in the handle itself, the controller just needs to keep an eye on the various sensors and provide the fan and heating element with appropriate control signals. An Arduino Pro Mini is more than up to the task, and a custom PCB makes for a fairly neat installation.

This isn’t the first time we’ve seen somebody replace the controller on one of these entry-level hot air stations, but because there are so many different versions floating around, you should do some careful research before cracking yours open and performing a brain transplant.

Continue reading “An Arduino Controller For Hot Air Handles”

Autonomous Off-Road Food Delivery With Pixhawk

It should come as no surprise that the COVID-19 pandemic has sparked renewed interest in robotic deliveries. Amazon saying they would some day land Prime orders in your backyard with a drone sounded pretty fanciful a few years ago, but now that traditional delivery services are under enormous strain and people are looking to avoid as much human contact as possible, it’s starting to make a lot more sense.

Pro Tip: Avoid drifting while towing seafood.

Now to be clear, we don’t think you’ll be seeing this modified RC truck rolling up your driveway with a pizza in tow anytime soon. But the experiments that [Sean] has been doing with it are certainly interesting, and show just how far autonomous rover technology has progressed at the hobbyist level. Whether you need to move some sushi or a sensor package, his build is a great starting point for anyone interested in DIY robotic ground vehicles.

Especially if you want to take things off the beaten path once and awhile. By combining the Pixhawk autopilot system with an off-road RC truck by Traxxas, [Sean] has created a delivery bot that’s not afraid of a little mud. Or even the occasional jump, should the need arise. Just don’t expect your shrimp cocktail and champagne to arrive in one piece after they’ve been given the Dukes of Hazzard treatment.

In the video after the break [Sean] goes over some of the lessons learned on this build, including how he managed to keep the electronics from cooking themselves in the Texas heat. He also goes over the realities of building an autonomous driving system that doesn’t actually have a camera onboard; sure you can plan a route for it in advance, but all bets are off if an unexpected obstacle blocks the path. It’s a pretty serious shortcoming he’s looking to address in the future, as well as upgrading to a far more accurate RTK-GPS receiver.

Continue reading “Autonomous Off-Road Food Delivery With Pixhawk”