It’s a meme come true: DEF CON is canceled. Or at least canceled as the large, IRL conference that the hacker gathering has grown into. Rather than risk drawing people from all over the world and stuffing them into a Las Vegas convention hall in August, Dark Tangent has taken the prudent step of switching DEF CON 28 to a virtual meeting. If you’re interested in his reasoning behind the switch, check out his blog post on the decision. For more details on participating in DEF CON 28 in “Safe Mode”, see the FAQ.
Think that wearing a mask in public protects you from the surveillance state? Think again. Facial recognition software concern Rank One has announced new algorithms that only need to see your face from the mask up to make a match. It would seem to us that the limited number of mappable features in the periocular space would increase the error rate, and according to Rank One’s published data, that seems to be the case. But the relative error rate is still low, so expect to see this and similar periocular algorithms deployed widely. Your only defense may be to adopt the tactical shemagh as everyday wear. If only they made an N95 version.
The tech news this week was abuzz with descriptions of a new “non-fossil fuel jet engine” that could soon be powering aircraft devoid of paying passengers across our skies and perhaps directly into space using only battery power. Those reports were a bit overwrought since the experiment in question was a laboratory-scale setup using a magnetron that could have come from a smallish microwave to generate a plasma-air stream with 11 Newtons of thrust. That corresponds to an efficiency that beats that of current electric airplane engines, like those used on the Airbus E-Fan, if the extrapolation holds. So the technology is promising, but it still has a long way to go.
In what’s perhaps the longest beta in history, Inkscape 1.0 was officially released this week.
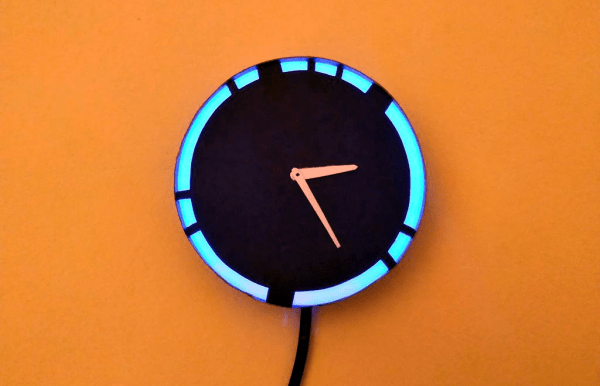
Something big — literally — is going on at Dalibor Farný’s Nixie tube factory. He dropped a video this week teasing the production of enormous Nixies for a large display installation. Each tube in the 11 by 11 tube display will be 150 mm in diameter, making them the largest Nixies ever made. Dalibor has already done much of the design work and has even started on the glasswork; the resulting tube looks a bit like the old iconoscope tubes from early TV cameras. We expect that scaling up a Nixie and producing 121 of them will present some interesting challenges, and we look forward to watching his progress.
If you’re part of a hackerspace, you should probably look at Vancouver Hackspace’s virtual tour. Not only does it show off what appears to be a great hackerspace, the video style is a great lesson in building up the excitement needed to recruit new members. There are also some great ideas in there about space layout and organization that you can leverage for your own hackerspace or even your home shop.
And finally, it’s Mother’s Day here in the US and almost 100 other countries, and circumstances may sadly keep many of us from being with Mom today. So here’s to the women who tolerated the often messy hobbies many of us pursued in our youths, who were always attentive audiences as we showed off our latest blinkenlights, and perhaps even inspired us to follow in their footsteps. Thanks, Mom!