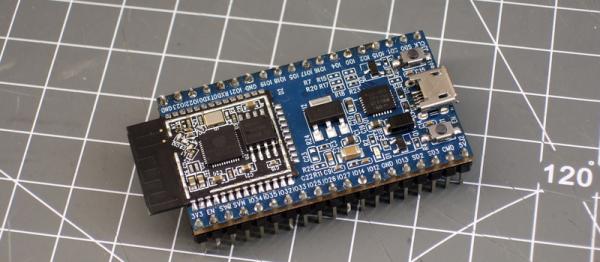
Sometimes you build a computer and use it every day. Sometimes you build a different type of computer and it sits alone on a mountaintop for years. The design considerations for these two setups are remarkably different, right down to the type of file system used. For small computers like [Jo] is using, and for the amount of time they sit alone in remote locations, he decided to build his own file system for them.
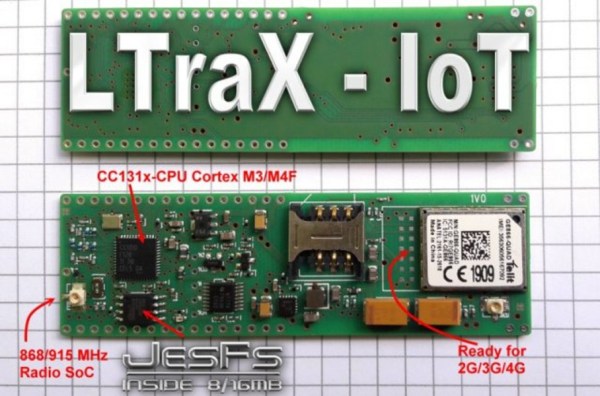
Known as JesFs ([Jo]’s embedded serial File system), the file system is for SPI Flash and intended for use in scientific data logging. It can be used on the chip-scale processors found in many development boards, and is robust enough to use in applications where remoteness is a concern. It has a small RAM footprint, is completely open source, includes wear leveling, and has a number of security features built-in as well.
Some of the benefits of using a file system on such a tiny chip aren’t immediately obvious unless you’re doing a lot of data logging, but it does allow you to change virtually any aspect of the firmware much more easily if everything is accessible as a file, and not something you would have to change by reflashing the whole chip, for example. There are also a number of traps that you can easily fall into when working with file systems for tiny devices.