There was a time when you had to get up from the couch to change the channel on your TV. But then came the remote control, which saved us from having to move our legs. Later still we got electronic assistants from the likes of Amazon and Google which allowed us to command our home electronics with nothing more than our voice, so now we don’t even have to pick up the remote. Ushering in the next era of consumer gelification, [Nick Bild] has created ShAIdes: a pair of AI-enabled glasses that allow you to control devices by looking at them.
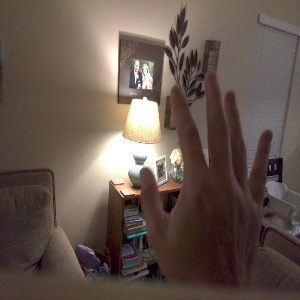 Of course on a more serious note, vision-based home automation could be a hugely beneficial assistive technology for those with limited mobility. By simply looking at the device you want to control and waving in its direction, the system knows which appliance to activate. In the video after the break, you can see [Nick] control lamps and his speakers with such ease that it almost looks like magic; a defining trait of any sufficiently advanced technology.
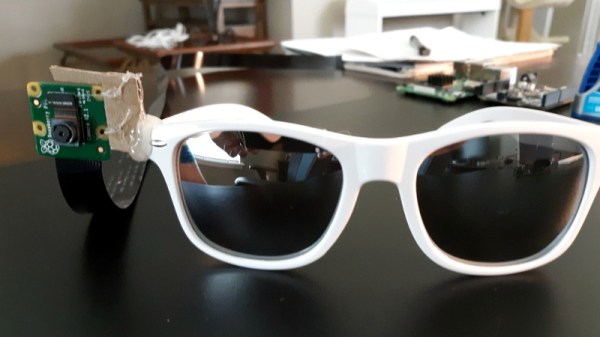
So how does it work? A Raspberry Pi camera module mounted to a pair of sunglasses captures video which is sent down to a NVIDIA Jetson Nano. Here, two separate image classification Convolutional Neural Network (CNN) models are being used to identify objects which can be controlled in the background, and hand gestures in the foreground. When there’s a match for both, the system can fire off the appropriate signal to turn the device on or off. Between the Nano, the camera, and the battery pack to make it all mobile, [Nick] says the hardware cost about $150 to put together.
But really, the hardware is only one small piece of the puzzle in a project like this. Which is why we’re happy to see [Nick] go into such detail about how the software functions, and crucially, how he trained the system. Just the gesture recognition subroutine alone went through nearly 20K images so it could reliably detect an arm extended into the frame.
If controlling your home with a glance and wave isn’t quite mystical enough, you could always add an infrared wand to the mix for that authentic Harry Potter experience.
Continue reading “Home Automation At A Glance Using AI Glasses”