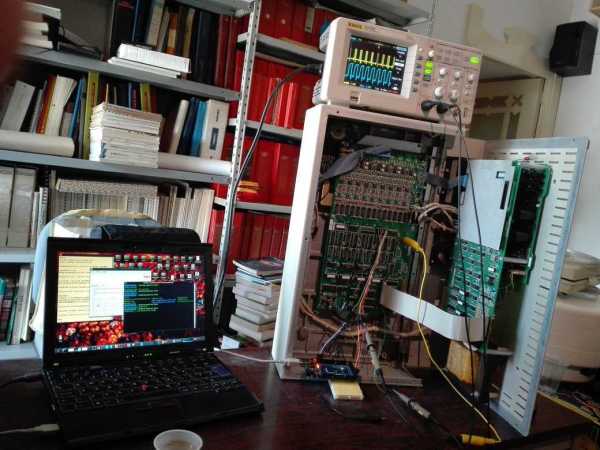
If you’ve ever needed an example of why you should not plug random USB peripherals into your computer, you need only look at BadUSB. The BadUSB attack relies on the fact that the microcontroller inside every USB device is a black box. If you plug a USB thumb drive into your computer, the microcontroller could quickly set up an additional network interface, forward all your traffic to the attacker’s server, and still keep serving up all those files and documents on the drive. Do you want a thumb drive that attaches a virus to every file? Bad USB can do that.
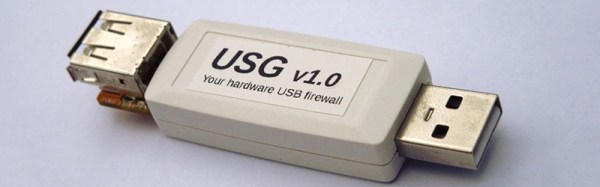
Until now, there is no cure or fix for a device using an implementation of BadUSB. [Robert Fisk] just came up with the first prophylactic USB device, designed to keep BadUSB off your computer. He’s calling it USG, and it’s basically a hardware firewall for USB devices.
The basic design of the system goes something like this: take an ARM microcontroller with a USB host port, take another microcontroller with a USB device port, and have these devices talk to each other over SPI. The command protocol between these two microcontrollers is very simple, and thus decreases the attack surface.
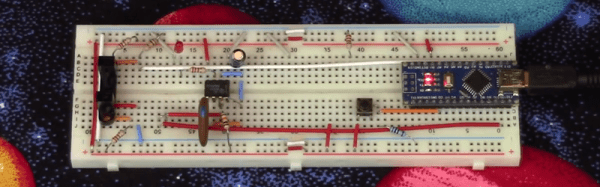
[Robert] is building USG dongles, but in the spirit of Open Hardware and verifiable hardware, he’s also released a design based on two dev boards wired together. This DIY version is basically two STM32F4 dev boards smashed together with bodge wires. The total cost – less solder and a JTAG programmer – is about $50 USD. No, it doesn’t look as pretty as [Robert]’s commercial version of USG, but it does the same job of keeping your computer safe from BadUSB devices.