I’m sure many of us remember building toy car race tracks as kids, racing the cars, and then arguing over which car came in first and who cheated because they let go of their car too soon. Ah, good times. [Phil] wanted to create a drag strip race track for his son to introduce him to die-cast cars. The only commercial drag strip [Phil] could find didn’t have an electronic start gate or a timer, so he created his own with the help of an Arduino, a servo, and some light dependent resistors.
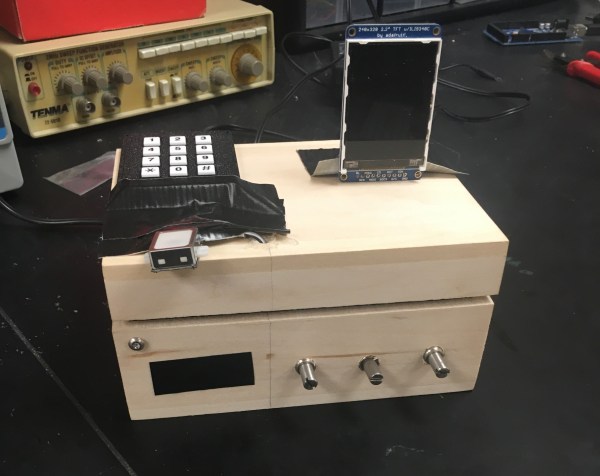
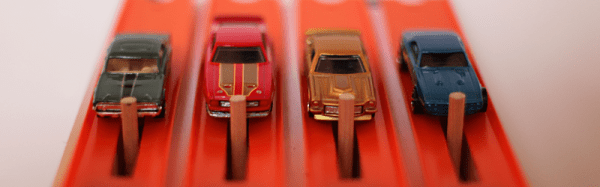
The Arduino controls everything, the button input, the light sensor input, and the servo. A button press tells the Arduino to start the race by pulling the start gate down and starting the timer. When the light sensor is covered, the timer for that lane stops. The time is shown for each lane using a different colored 4-digit 7-segment LED.
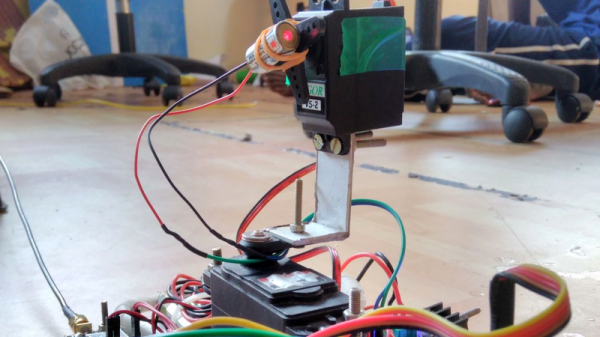
There were a couple of problems that had to be solved. The servo launching the cars was pulling too much power when activated so that the IR LEDs used at the finish line would dim enough to trigger before the race had even begun! [Phil]’s article goes over these issues and his design ideas as he built the track.
It’s a simple build that should provide hours of fun for [Phil]’s son and his friends over the years and will hopefully put to rest any arguments over who won. There are lots of photos in [Phil]’s article, as well as several videos showing off how things work and at the end of the article, he includes the code he used to control everything. This would be a great surprise for any nieces and nephews coming to visit over the holidays — you might want to wait for final assembly and include them in the fun!
If you like these kind of projects, we’ve seen a similar Hot Wheels timing system, and a different kind of race track based on a turntable system.
Continue reading “Speed-Test Your Toys With Die-Cast Drag Strip”