It won’t replace your beloved Rasbperry Pi, but it’s worth saying hello to this “Strawberry Jam”, straight out of Japan. It’s an equally delicious way to get people interested in the basics of coding.
My hackerspace friend Jim is a lucky bloke, for last year he was able to take an extended holiday through a succession of East Asian countries. We were treated to online pictures of beautiful scenery and beaches, city lights, and of course exciting tech destinations such as hardware markets and hackerspaces. On his return he tossed a package on the table in front of me and said “Jenny, you might like to take a look at that, these are big in Japan!” Inside was an electronic kit and a few pieces of documentation, with Japanese text.
A Different Way To Get Kids Coding
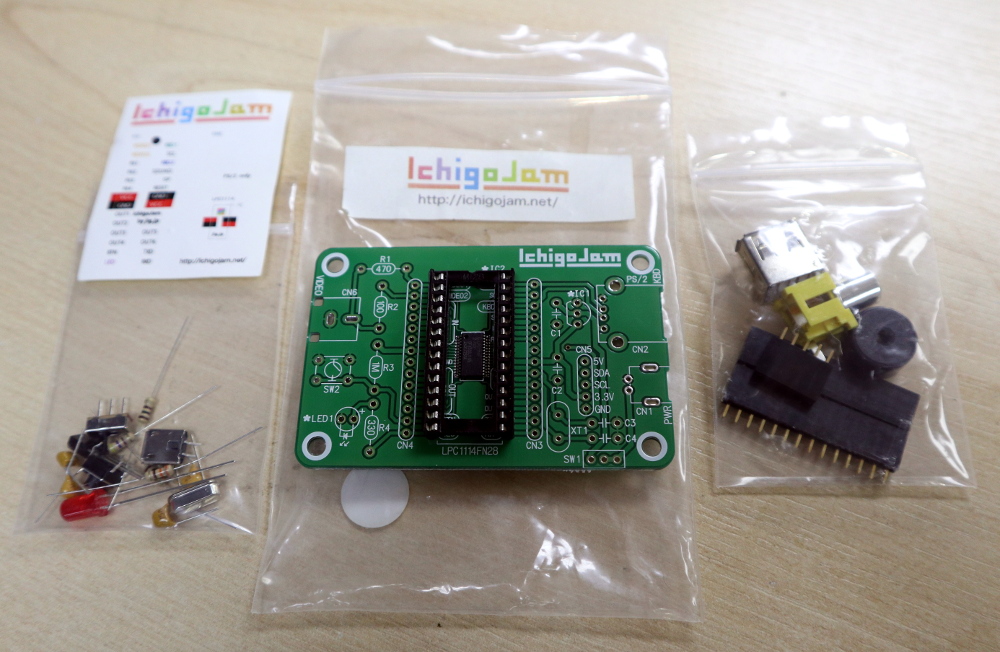
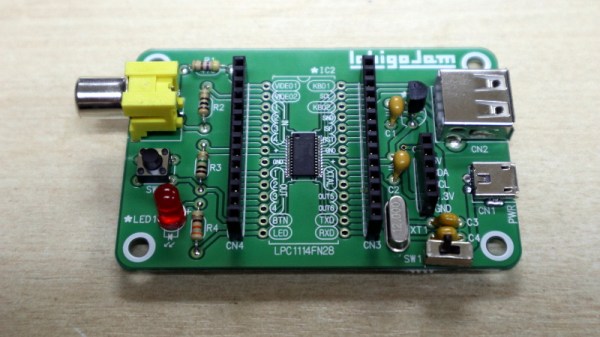
What he’d given me was an IchigoJam (Best translation I’ve been given is “Strawberry Jam”), a small single-board computer aimed at young people. In the style of the 8-bit machines of the 1980s, it runs a comprehensive BASIC interpreter and plugs into a TV set, though it brings itself up-to-date with a USB-A socket for a keyboard. At its heart is an NXP LPC1114F102 ARM Cortex-M0 microcontroller with 32KB of Flash and 4KB of SRAM, and though the board Jim passed to me has a surface-mount example it’s clear that it was also designed for the now-obsolete DIP variant of the chip. If you were to think of this as an odd hybrid of a BASIC Stamp, a Raspberry Pi, and one of the smaller MBED boards, you probably wouldn’t be too far from the mark. What follows is my impression of it based on the information at hand. Sadly the IchigoJam website and forum seems only available to Japanese viewers and returns an error code from my European perspective.