Wiring is one of those things that we’ve all had to do on a project, but probably didn’t give a lot of thought to. It’s often the last thing that happens during the build, and almost certainly doesn’t get approached with any kind of foresight. You look at the components you need to connect, dig through the parts bins until you find something that looks like it should fit, and tack it in with a blob of solder and perhaps some hot glue if you’re feeling really fancy. We’re all guilty of it from time to time, but Bradley Gawthrop is here to tell you there’s a better way.
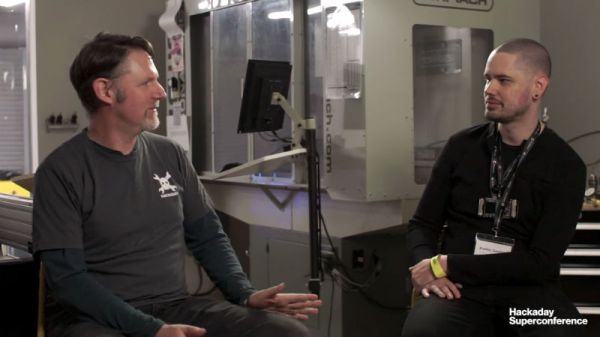
If you’re hoping his talk from the 2017 Hackaday Superconference contains “One crazy trick” for turning your normal rat’s nest of wiring into a harness worthy of the Space Shuttle, sorry to disappoint. Bradley acknowledges it takes some extra planning and a couple specialized tools, but the end results speak for themselves. While his talk is a must-watch for anyone looking to master the arcane arts of electron corralling, his post-talk chat with Elliot Williams after the break is a great primer for the how and why of everyone’s least favorite part of building their own hardware.
Bradley will be at Supercon again this year. It’s one anecdote for the concentration of awesome people you find at the event. We’re now just two seeks away so go get your ticket and then join us after the break for the interview.
Continue reading “Bradley Gawthrop Loves Wiring And So Should You”