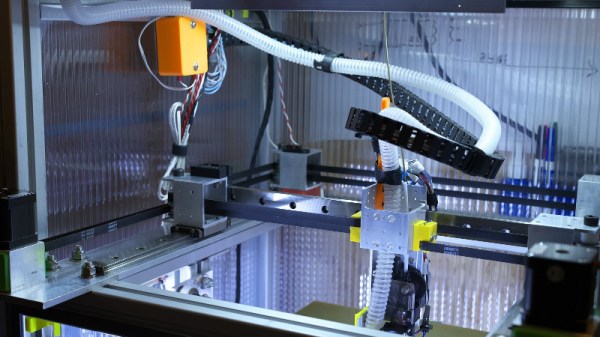
Of all the parts on your average desktop 3D printer, the nozzle itself is arguably where the real magic happens. Above the nozzle, plastic is being heated to the precise temperature required to get it flowing smoothly. Immediately below the nozzle there’s a fan blowing to get the plastic cooled back down again. This carefully balanced arrangement of heating and cooling is the secret that makes high quality fused deposition modeling (FDM) printing possible.
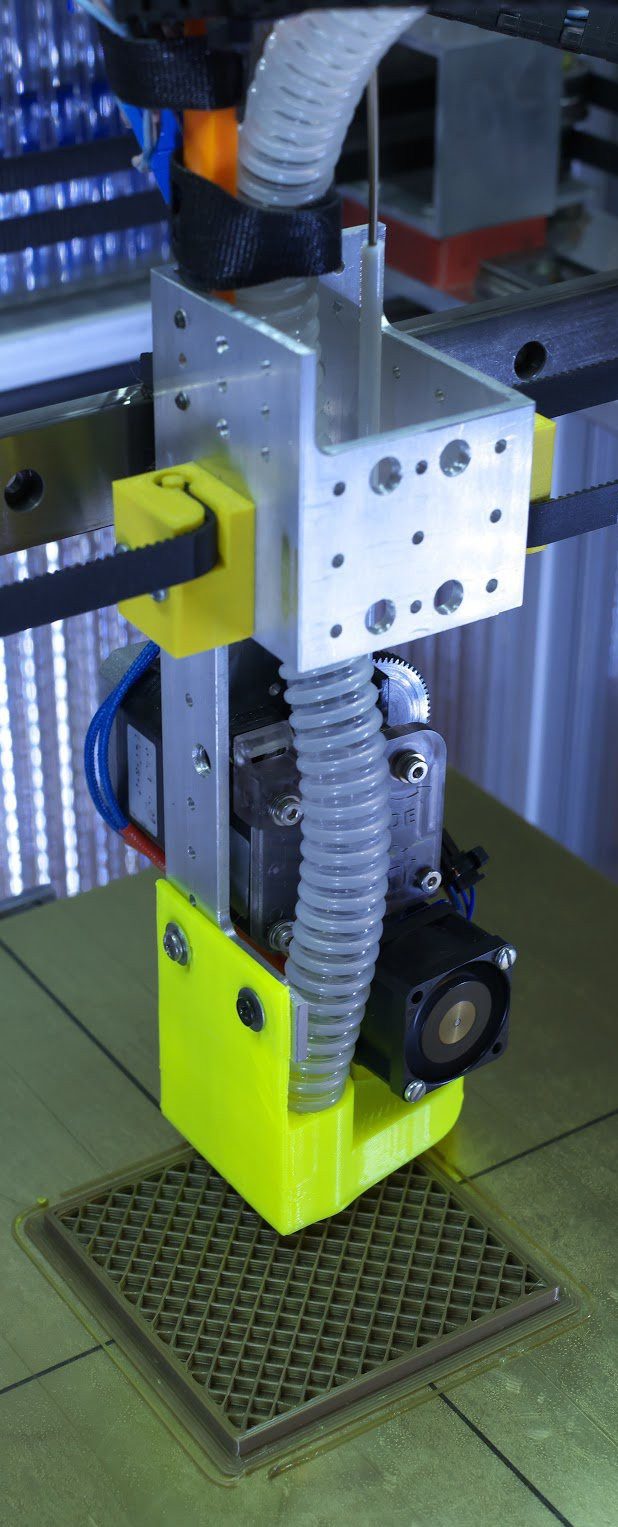 But as it turns out, getting the plastic hot ends up being easier than cooling it back down again. The harsh reality is that most of the fans small enough to hang on the side of a 3D printer nozzle are pretty weak. They lack the power to push the volume of air necessary to get the plastic cooled down fast enough. But with his latest project, [Mark Rehorst] hopes to change that. Rather than using some anemic little fan that would be better suited blowing on the heatsink of a Raspberry Pi, he’s using a hacked CPAP machine to deliver some serious airflow.
The brilliance of using a CPAP machine for this hack is two-fold. For one, the machine uses a powerful centrifugal fan rather than the wimpy axial “muffin” fans we usually see on 3D printers. Second, the CPAP pushes air down a lightweight and flexible hose, which means the device itself doesn’t have to be physically mounted to the printer head. All you need is manifold around the printer’s nozzle that connects up to the CPAP hose. This “remote” fan setup means the print head is lighter, which translates (potentially) into higher speed and acceleration.
[Mark] was able to connect the fan MOSFET on his printer’s SmoothieBoard controller up to the brushless motor driver from the CPAP motor, which lets the printer control this monster new fan. As far as the software is concerned, nothing has changed.
He hasn’t come up with a manifold design that’s really optimized yet, but initial tests look promising. But even without a highly optimized outlet for the air, this setup is already superior to the traditional part cooler designs since it’s got more power and gets the fan motor off of the print head.
Getting your 3D printed parts to cool down is serious business, and it’s only going to get harder as printers get faster. We wouldn’t be surprised if fan setups like this start becoming more common on higher-end printers.
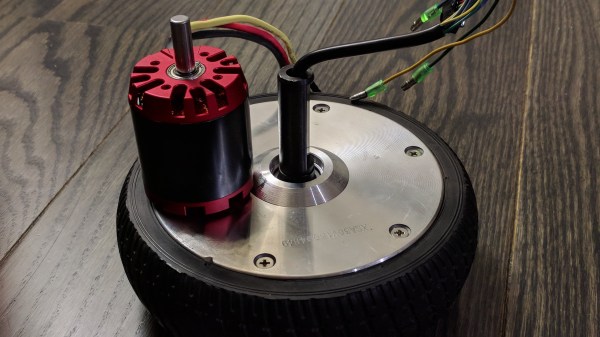
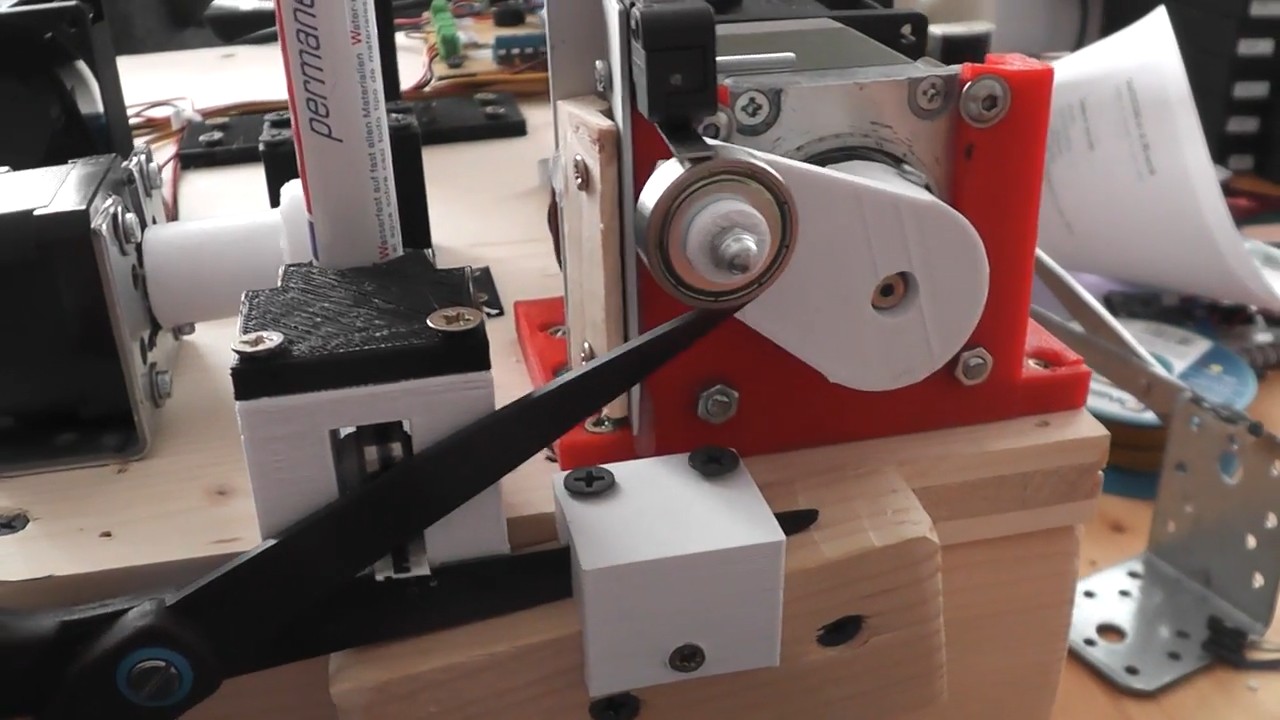
 [madcowswe] starts by pointing out that the entire premise of ODrive (an open-source brushless motor driver board) is to make use of inexpensive brushless motors in industrial-type applications. This usually means using hobby electric aircraft motors, but robotic applications sometimes need more torque than those motors can provide. Adding a gearbox is one option, but there is another: so-called “hoverboard” motors are common and