As a quantified-self experiment, [Ayan] has tracked several daily habits and moods for a couple of years and discovered some insights. Too much coffee is followed by anxiety while listening to music leads to feelings of motivation and happiness. There was a strong correlation in the data, but [Ayan] wondered if external factors like the weather and air quality also played a role.
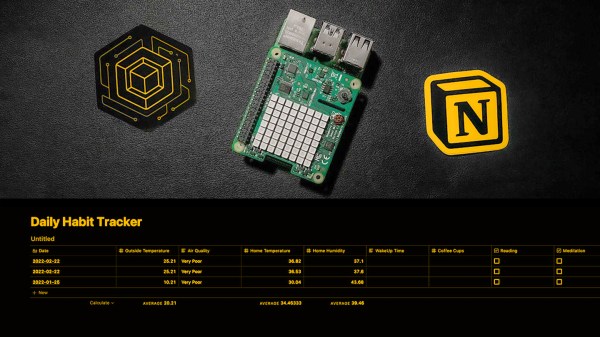
To find out, [Ayan] extended the custom dashboard built in Notion.so with weather data and some local sensors. Working at Balena.io (yes, the makers of the ubiquitous Raspberry Pi SD card flashing tool, Etcher), [Ayan] turned to balenaCloud to translate the data from (you guessed it) a Raspberry Pi into the dashboard via Notion’s API beta. We think Notion holds a lot of promise for all sorts of web-based dashboards as a research notebook and organizational tool. Who knows where the API will lead any interested readers?
Check out the full tutorial where [Ayan] walks you through the hardware used and each step to connect the APIs that bring it all together. [Ayan] plans to add a coffee-maker integration to automate that data entry and would welcome help getting a manual trigger set up for the data integrations.