LED cubes are all the rage right now. High-end hardware capable of driving large arrays keeps getting cheaper in price, and 3D printers and pre-built boards can make assembly a snap. After attending a major hacker con and seeing the builds on display, [Sebastian] wanted a piece of the action, so set out to build his own.
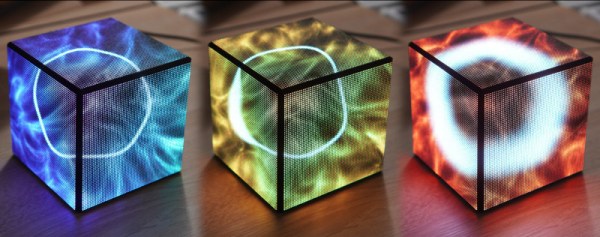
While many elect to build an LED cube you can hold in your hand, [Sebastian] preferred a stationary tabletop design. This would reduce costs, allowing him to only use 3 LED boards, as the base and remaining two sides would face away from him and not be visible when placed on his desk. The 64×64 arrays are driven by an Adafruit LED matrix bonnet on top of a Raspberry Pi 2. The Pi was a tactical choice, as [Sebastian] had one lying around, and it packed enough processing power to run an OpenGL shader that creates an image for the cube that varies with the CPU load and temperature on his main desktop. As a nice final touch, the Raspberry Pi is set up to have a read-only filesystem. This allows the project to be turned off suddenly without risk of corrupting the SD card.
It’s a tidy build, and one which gives [Sebastian] useful information at a glance. We’ve featured a few stylish cubes before, and even a LED D20 that really breaks the bank. Video after the break.