There’s something mesmerizing about delta robots. Whether they are used at a stately pace for a 3D-printer or going so fast you can barely see them move in a pick and place machine, the way that three rotary actuators can work together to produce motion in three axes is always a treat to watch. Especially with a delta robot as small as this one.
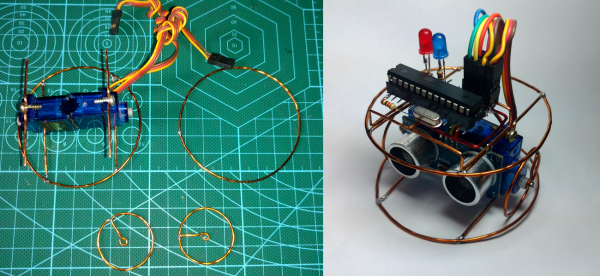
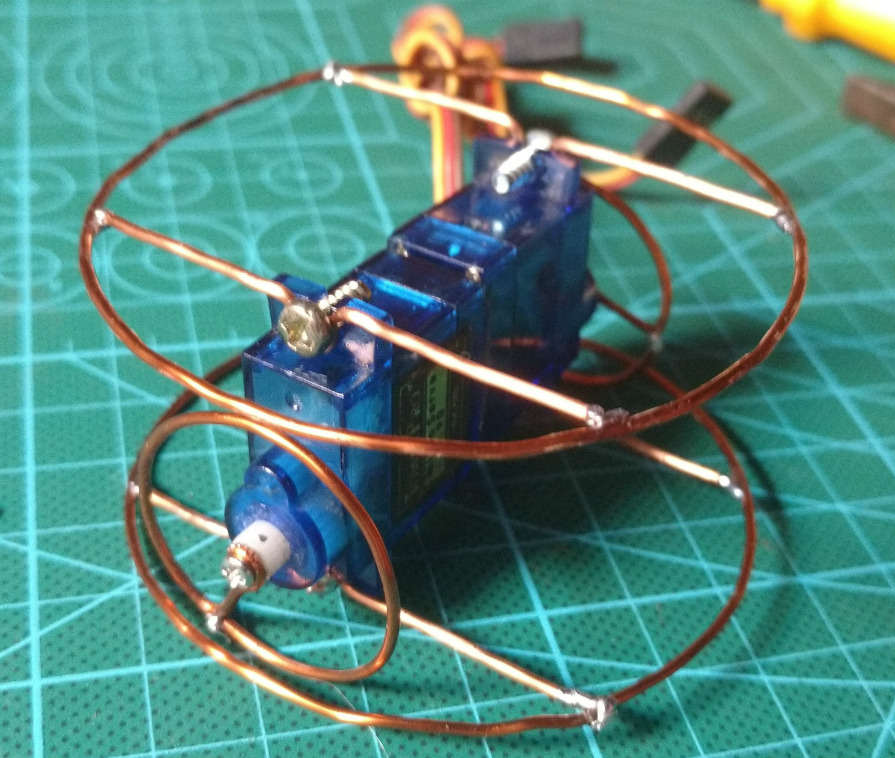
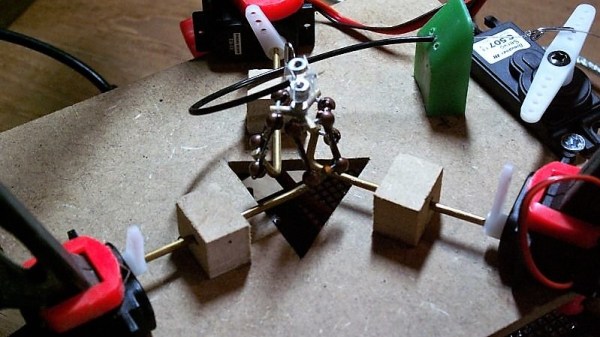
[KarelK16] says this is one of those “just because I can” projects with no real application. And he appears to have been working on it for a while; the video below is from eight years ago. Regardless, the post is new, and it’s pretty interesting stuff. The tiny ball joints used in the arms are made from jewelry parts; small copper crank arms connect the three upper arms to micro-servos. The manipulator [KarelK16] attached is very clever, too – rather than load down the end of the arms with something heavy, a fourth servo opens an closes a flexible plastic grasper through a Bowden cable. It’s surprisingly nimble, and grasps small objects firmly.
There are certainly bigger deltas – much bigger – and more useful ones, too, but we really like this build. And who knows – perhaps model robotics will join model railroading as a hobby someday. If it does, [KarelK16]’s diminutive delta might be the shape of things to come.
Continue reading “Dainty Delta Is About As Small As A Robot Can Be”