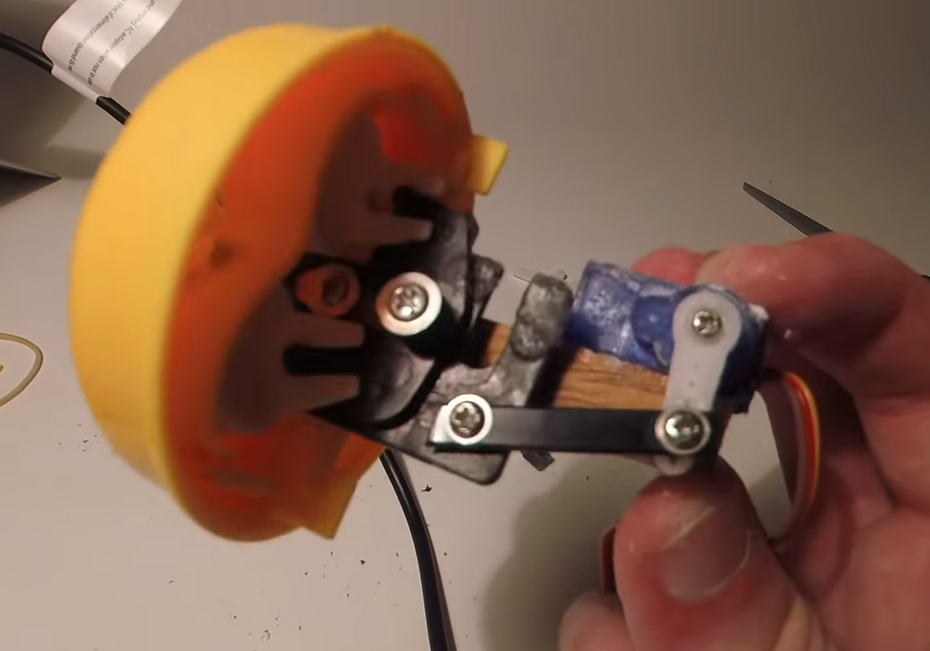
Cycloidal drives are fascinating pieces of hardware, and we’ve seen them showing up in part due to their suitability for 3D printing. The open source robot arm makers [Haddington Dynamics] are among those playing with a cycloidal drive concept, and tucked away in their August 2018 newsletter was a link they shared to a short but mesmerizing video of a prototype, which we’ve embedded below.

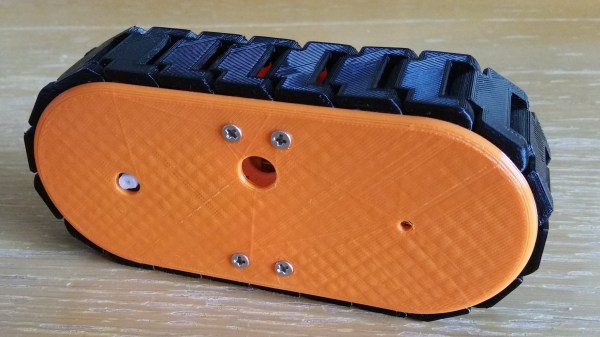
[Haddington Dynamics] are the folks responsible for the open source robot arm Dexter (which will be competing in the Hackaday Prize finals this year), and their interest in a cycloidal drive design sounds extremely forward-thinking. Their prototype consists of 3D printed parts plus some added hardware, but the real magic is in the manufacturing concept of the design. The idea is for the whole assembly to be 3D printed, stopping the printer at five different times to insert hardware. With a robot working in tandem with the printer, coordinating the print pauses with automated insertion of the appropriate hardware, the result will be a finished transmission unit right off the print bed. It’s a lofty goal, and really interesting advancement for small-scale fabrication.
Continue reading “A Peek At The Mesmerizing Action Of A Cycloidal Drive”