Review: CXG E90W Temperature-Controlled Soldering Iron

It’s an entertaining pastime when browsing the array of wonders available from the other side of the world at the click of the mouse, to scour the listings of the unusual, the interesting, or the inexpensive. Sometimes when you find something unexpected you are rewarded with a diamond in the rough, while at other moments your bargain basement purchase is revealed as a hilariously useless paperweight. This is a game in which the stake is relatively low and the reward can be significant, so rarely does an order for some parts or sundries go by without a speculative purchase.

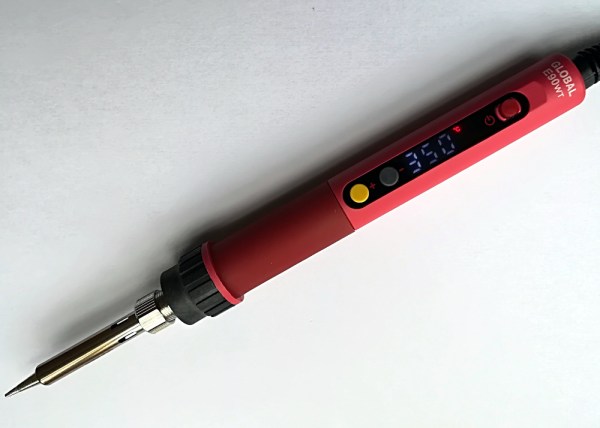
The latest to arrive is a soldering iron. The CXG E90W is a 90W mains-powered temperature controlled iron with its control electronics built into its handle. Such irons are by no means unusual, what makes this one different is that it has a low price tag.

The Miniware TS100, an iron I quite like and the current darling of the pack, is priced at nearly £50 ($71). Just how can this iron priced at just under £15 ($21) be any good? I placed one on the order, and waited for delivery.

Continue reading “Review: CXG E90W Temperature-Controlled Soldering Iron”

Build A Tiny Hot Wire Foam Cutter

Let’s face it: cutting foam with a knife, even a serrated plastic knife meant for the job, is a messy pain in the ass.  This is as true for insulation board as it is for the ubiquitous expanded polystyrene kind of foam used for everything from coffee cups to packaging material.

Those stick-type hot wire cutters from the craft store that plug into the wall aren’t much better than a knife. The actual cleaving of foam is easier, but dragging a long, hot flexible wand through rigid foam just right, without making burn marks, is pretty frustrating. It’s not like you can hold the other end to keep it steady. A foam cutter built like a coping saw but held parallel to the wire would offer much better control.

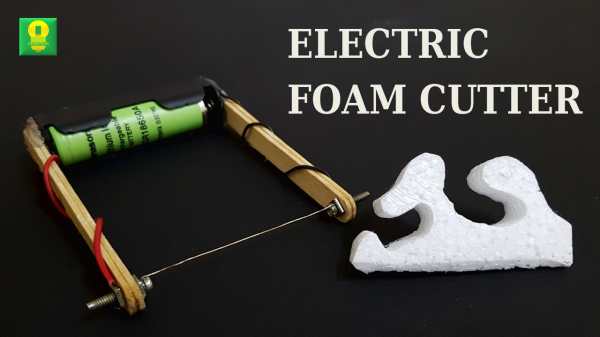
[Techgenie]’s handheld hot wire foam cutter is a simple build based on a single 18650 and a piece of nichrome wire. While this is probably not the most Earth-shattering hack you’ll see today, it’s a useful tool that can be made in minutes with items on hand. Laptop chargers are full of 18650s, and nichrome wire can be sourced from old toasters, hair dryers, or space heaters.

You shouldn’t use just any old wire for this, though, or the battery will get hot and potentially explode. Nichrome wire has a high resistance, and that’s exactly what you want in a tool that essentially shorts a battery to make heat. [Techgenie] used a momentary button instead of a switch, which is a good way to stay safe while using it. It wouldn’t hurt to add some protection circuitry and take the battery out when you’re done. Burn past the break to watch him build it and cut a few tight turns with ease.

If you have bigger, more complicated foam-cutting jobs in mind, why not build a CNC version out of e-waste?

Continue reading “Build A Tiny Hot Wire Foam Cutter”

Ball and socket helping hands

Printed It: Do More With Lockable Ball And Socket Helping Hands

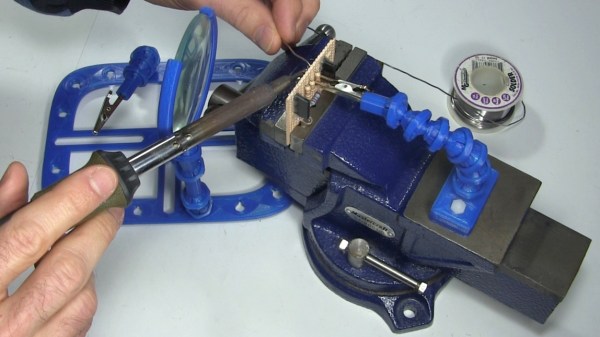
In one hand you hold the soldering iron, in the other the solder, and in two more hands the parts you’re trying to solder together. Clearly this is a case where helping hands could be useful.

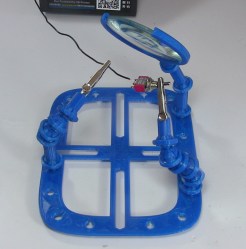
Magnifying glass with helping hands

Luckily helping hands are easy to make, coolant hoses will do the job at under $10. Attach alligator clips to one end, mount them on some sort of base, and you’re done. Alternatively, you can steal the legs from an “octopus” tripod normally used for cell phones. So why would you 3D print them?

One reason is to take advantage of standardized, open source creativity. Anyone can share a model of their design for all to use as is, or to modify for their needs. A case in point is the ball and socket model which I downloaded for a helping hand. I then drew up and printed a magnifying glass holder with a matching socket, made a variation of the ball and socket joint, and came up with a magnetic holder with matching ball. Let’s takea  look at what worked well and what didn’t.

Continue reading “Printed It: Do More With Lockable Ball And Socket Helping Hands”

The Tachometer Inside Your Smartphone

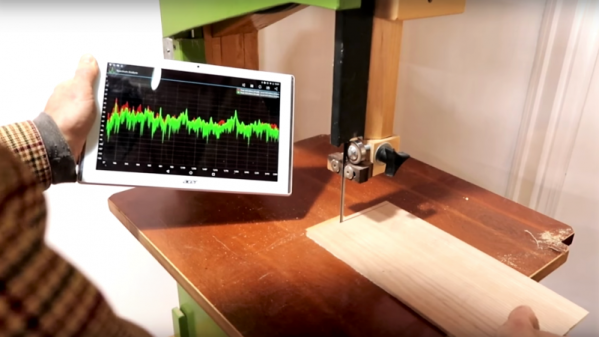
It’s the latest in instrumentation for the well-appointed shop — an acoustically coupled fast Fourier transform tachometer. Sounds expensive, but it’s really just using a smartphone spectrum analyzer app to indirectly measure tool speeds. And it looks like it could be incredibly handy.

Normally, non-contact tachometers are optically coupled, using photoreceptors to measure light flashing off of a shaft or a tool. But that requires a clear view of the machine, often putting hands far too close to the danger zone. [Matthias Wandel]’s method doesn’t require line of sight because it relies on a cheap spectrum analyzer app to listen to a machine’s sound. The software displays peaks at various frequencies, and with a little analysis and some simple math, the shaft speed of the machine can be determined. [Matthias] explains how to exclude harmonics, where to find power line hum, isolating commutator artifacts, and how to do all the calculations. You’ll need to know a little about your tooling to get the right RPM, and obviously you’ll be limited by the audio frequency response of your phone or tablet. But we think this is a great tip.

[Matthias] is no stranger to shop innovations and putting technology to work in simple but elegant ways. We wonder if spectrum analysis could be used to find harmonics and help with his vibration damping solution for a contractor table saw.

Continue reading “The Tachometer Inside Your Smartphone”

A Freeze Dryer You Can Build In Your Garage

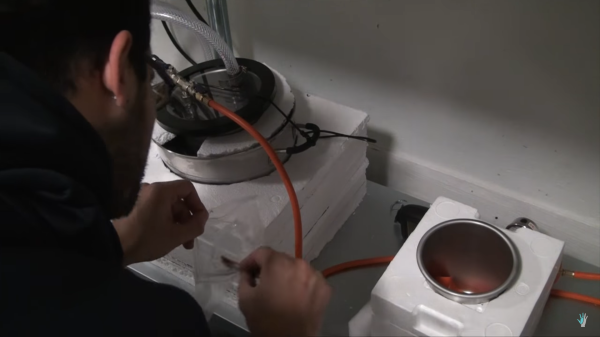
What do trail mix, astronaut ice-cream, and cryogel have in common? This may sound like the introduction to a corny riddle, but they are all things you can make in your garage with a homemade freeze dryer. [The Thought Emporium] built his own freeze dryer with minimum fuss and only a few exotic components like a vacuum pump and a high-quality pressure gauge. The video is also posted after the break which contains a list for the parts and where they can be purchased.

Freeze drying uses a process called cryodesiccation or lyophilization. Below a certain pressure, water skips the liquid phase and goes directly to a gas, so frozen items can transition from ice to dry without a soggy step. When you jump the liquid phase, objects hold their shape when they were frozen, and since no heat is used, you don’t carmelize your sugars.

A freeze-dryer like this has three parts. The first is the pump which doesn’t need any explanation. Next to the pump there must be a water trap. This chilly compartment recondenses the water vapor, so it doesn’t get inside the pump or saturate the things you’re trying to dry. Lastly, there is the drying chamber where your items are placed to have their moisture taken out.

Astronaut ice cream has been made on Hackaday before. [The Thought Emporium] has also been seen including a piece on making your own graphene.

Continue reading “A Freeze Dryer You Can Build In Your Garage”

3D Printering: Printing Sticks For A PLA Hot Glue Gun

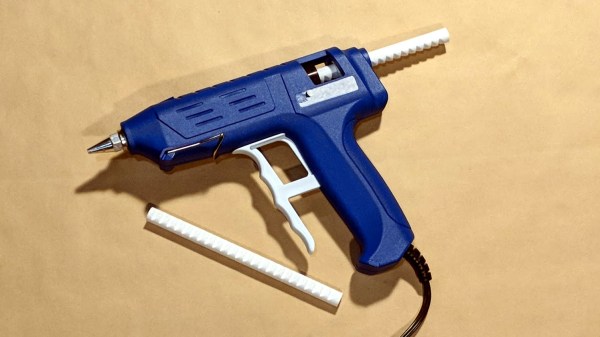
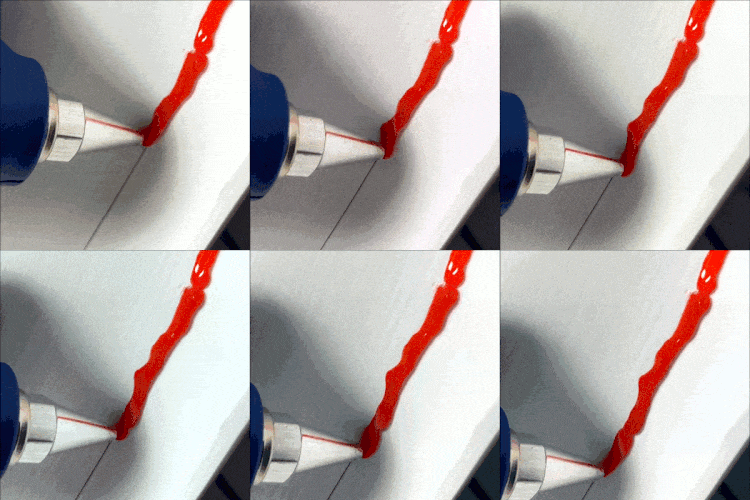
When is a hot glue stick not a hot glue stick? When it’s PLA, of course! A glue gun that dispenses molten PLA instead of hot glue turned out to be a handy tool for joining 3D-printed objects together, once I had figured out how to print my own “glue” sticks out of PLA. The result is a bit like a plus-sized 3D-printing pen, but much simpler and capable of much heavier extrusion. But it wasn’t quite as simple as shoving scrap PLA into a hot glue gun and mashing the trigger; a few glitches needed to be ironed out.

Why Use a Glue Gun for PLA?

Some solutions come from no more than looking at two dissimilar things while in the right mindset, and realizing they can be mashed together. In this case I had recently segmented a large, hollow, 3D model into smaller 3D-printer-sized pieces and printed them all out, but found myself with a problem. I now had a large number of curved, thin-walled pieces that needed to be connected flush with one another. These were essentially butt joints on all sides — the weakest kind of joint — offering very little surface for gluing. On top of it all, the curved surfaces meant clamping was impractical, and any movement of the pieces while gluing would result in other pieces not lining up.
An advantage was that only the outside of my hollow model was a presentation surface; the inside could be ugly. A hot glue gun is worth considering for a job like this. The idea would be to hold two pieces with the presentation sides lined up properly with each other, then anchor the seams together by applying melted glue on the inside (non-presentation) side of the joint. Let the hot glue cool and harden, and repeat. It’s a workable process, but I felt that hot glue just wasn’t the right thing to use in this case. Hot glue can be slow to cool completely, and will always have a bit of flexibility to it. I wanted to work fast, and I wanted the joints to be hard and stiff. What I really wanted was melted PLA instead of glue, but I had no way to do it. Friction welding the 3D-printed pieces was a possibility but I doubted how maneuverable my rotary tool would be in awkward orientations. I was considering ordering a 3D-printing pen to use as a small PLA spot welder when I laid eyes on my cheap desktop glue gun.

Continue reading “3D Printering: Printing Sticks For A PLA Hot Glue Gun”

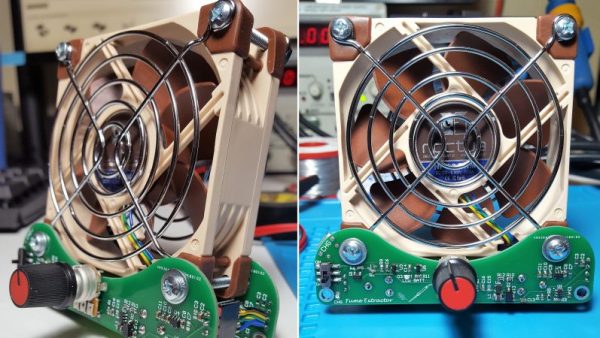
Benchtop Fume Extractor Cuts The Cord, Clears The Air

What good is safety gear that isn’t used because it’s annoying and gets in the way of getting the job at hand completed? None, really, and the solder fume extractor is one item that never seems to live in harmony with your workspace. They’re often noisy, they obstruct your vision, and a power cord draped across your bench is a sure way to ruin your soldering zen.

To fix those problems, [Nate] has built a nice battery powered solder fume extractor that’s so low profile and so quiet, you won’t mind sharing a bench with it. Based on a standard 80-mm case fan, the extractor has a built-in 18650 battery for power and a USB charging port. There are nice little features, like a speed control and a low-battery indicator. The fan mounts to a pair of custom PCBs, which form the feet for the fan. [Nate] claims to have run the fan for 12 hours straight on battery before needing a charge, and that it’s so quiet he needs to add a power indicator to the next version. Also making an appearance in rev 2 will be a carbon filter to catch the fumes, but as [Nate] notes, better to spread them around for now than let them go directly up his nose.

Are you in the hacking arts for the long haul? Let’s hope so. If you are, make sure you’re up on the basics of mitigating inhalation hazards.