Did you know that chocolate candy production and sorting LEGO bricks have something in common? They both use the same techniques for turning clumps of chocolates or bricks into individual ones moving down a conveyor belt. At least that’s what [Paco Garcia] found out when making his LEGO Sorter.
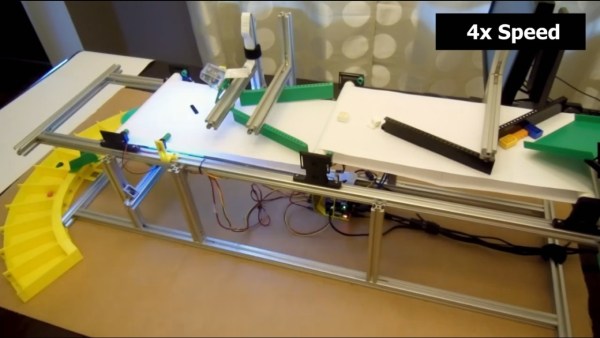
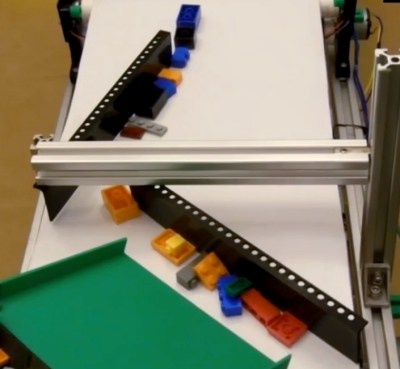 However, he didn’t find that out right away. He first experimented with his own techniques, learning that if he fed bricks to his conveyor belt by dropping a batch of them in a line perpendicular to the direction of belt travel then no subsequent separation attempt of his worked. He then turned to [akiyuky’s] LEGO sorter for inspiration and dropped them onto the belt at an angle, ensuring that some bricks would be in front of others. A further trick he found is very well demonstrated in the chocolate sorting video below and shown in the image here. That is to use guides on the belt which serve to create speed differentials. Bricks move slower than the conveyor belt while pressed against a guide but when a brick leaves the guide, it accelerates to the speed of the conveyor belt, pulling away from the bricks still at the guide and thus separating them.
A further discovery had nothing to do with chocolate production, unless maybe for quality control. Once an individual brick had been separated out, it had to be classified. To do that he used Google’s Inception v3 neural network. But first, he had to retrain it for recognizing different types of LEGO bricks, something we’ve seen done before for use with recognizing playing cards. And to do the retraining, he needed many images of different bricks all separated into their different types. That’s where he came up with a clever trick. He used his own sorter for that. For example, to get a bunch of images of 1×1 bricks of different colors and orientations, he simply ran them through the sorter, saving the images to files and assigning them to the 1×1 brick class. He then used his desktop machine with a GeForce GT 730 GPU for the retraining, taking around 2.7 seconds per brick. For sorting though, he runs the trained neural network on a Raspberry Pi, taking 3.8 seconds for each brick. The resulting sorter works quite well, sorting with 89% accuracy. Watch it in action in the video below.
Continue reading “Sorting LEGO Is Like Making A Box Of Chocolates”