We’ll admit that most of the Hackaday staff wouldn’t get too far on a skateboard, but that doesn’t mean we can’t appreciate the impressive DIY wheels that [Chris McCann] has managed to cast using 3D printed molds. From unique color combinations to experimental materials, the process certainly opens up some interesting possibilities for those looking to truly customize their rides. Though it’s worth noting there’s a certain element of risk involved; should a set of homemade wheels fail at speed, it could go rather poorly for the rider.
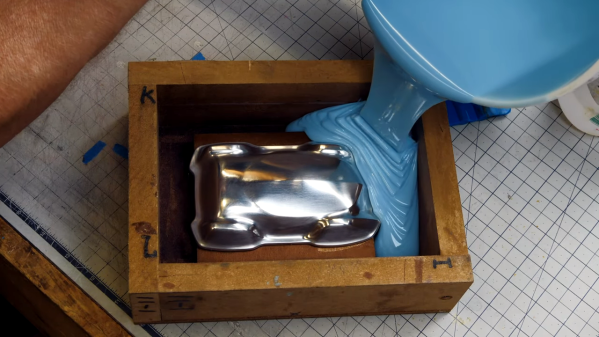
Both the STL and STEP files for the mold have been released under the Creative Commons Attribution 4.0 license, meaning anyone with a 3D printer can follow along at home. Unfortunately, it’s not quite as simple as clicking print and coming back to a usable mold. Because of the layer lines inherent to FDM 3D printing, the inside of the mold needs to be thoroughly sanded and polished. [Chris] mentions that printing the mold in ABS and using vapor smoothing might be a workable alternative to elbow grease and PLA, but he hasn’t personally tried it yet.
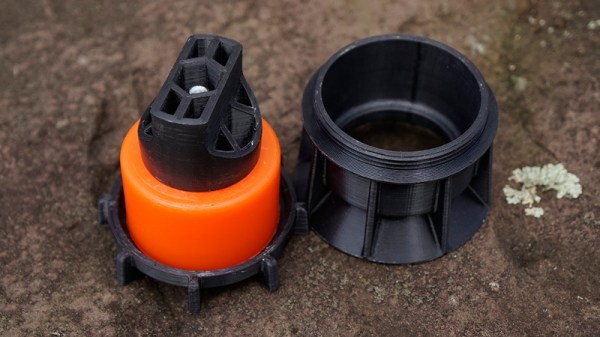
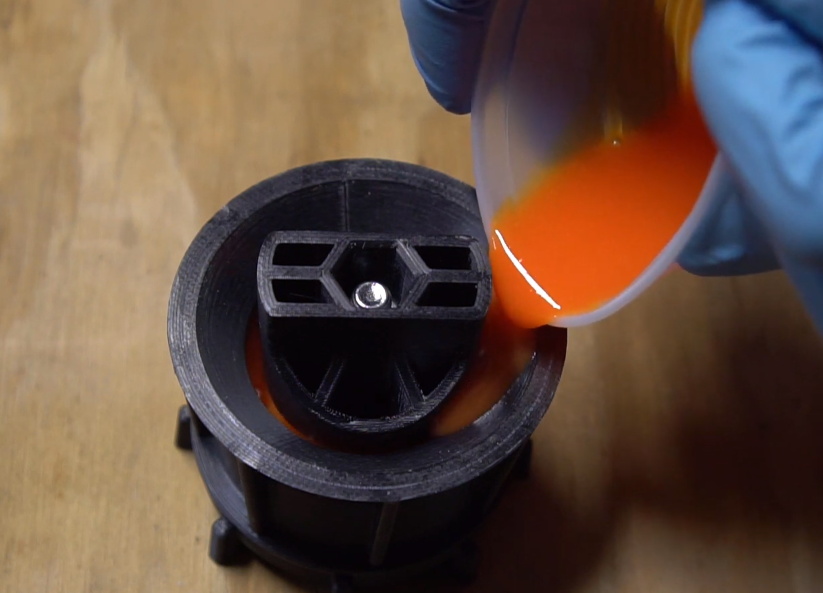 Once you’ve got the three part mold printed, smoothed, and coated with an appropriate release agent like petroleum jelly, it’s time to make some wheels. The core of each wheel is actually 3D printed from PETG, which should give it pretty reasonable impact resistance. If you have access to a lathe, producing aluminum cores shouldn’t be too difficult either. With the core loaded into the mold, urethane resin is poured in through the top until all the empty space is filled.
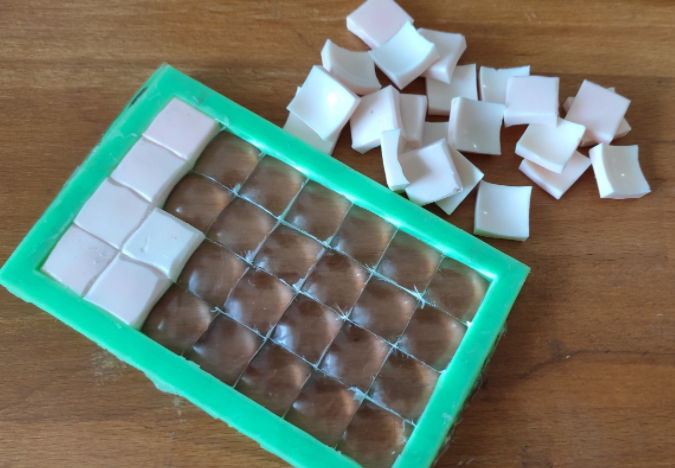
But you’re not done yet. All those little air bubbles in the resin need to be dealt with before it cures. [Chris] puts his filled molds into a pressure chamber, though he mentions that vacuum degassing might also be a possibility depending on the urethane mixture used. After everything is solidified, the mold can easily be taken apart to reveal the newly cast wheel.
While there’s often some trial and error involved, 3D printing and resin casting are an undeniably powerful combination. If you can master the techniques involved, you can produce some very impressive parts that otherwise would be exceptionally difficult to produce on a hacker’s budget. Especially when you’re ready to start casting molten metal.
Continue reading “Casting Skateboard Wheels With A 3D Printed Mold”