Sometimes it’s the simplest hacks that make the biggest impact.
Take these DIY magnetic PCB vises for example. Sure, you can go out and buy purpose-built tools, but [Dylan Radcliffe] just made a trip to the hardware store for some nuts and bolts. He chose 3/8″-16 bolts, which would probably be around M10 for the rest of the world. The head of each bolt is ground flat so a ceramic disc magnet can be attached to it with CA glue, while the head of the bolt gets a plastic washer glued to it. Another plastic washer gets glued to a nut, which when threaded onto the bolt provides the light clamping force needed to hold a PCB. Make four of those and stick them to a steel plate with the magnets, and you can stop chasing your boards around the bench with a soldering iron.
As much as we like this idea — and we do; we’re heading to Home Depot to buy the needed parts this very evening — we can think of a few useful modifications. With a long bolt and two nuts rather than one, you could make a set of vises that are easily adjustable along the Z-axis. This could prove useful to those of us working under a microscope. Also, rather than making the bolts the magnetic part we bet you could lay down a flexible magnetic sheet, the kind you can feed into a printer to roll your own fridge magnets. We suspect that would hold the bolts firmly enough for most work while still allowing easy repositioning. We’d also favor flange nuts over plain hex nuts, to give a larger clamping area. We’d still include the plastic washers, though, or possibly switch to rubber ones.
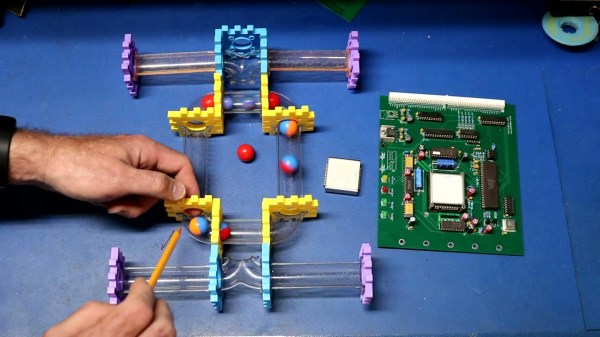
There’s more than one way to skin this cat, of course, especially if you’ve got a Harbor Freight nearby and a well-stocked Lego bin.