As the pandemic rages on, so does the desire to spend the idle hours tinkering. [knaylor1] spent the second UK lockdown making a sweet Theremin-inspired noise machine with a low parts count that looks like a ton of fun.
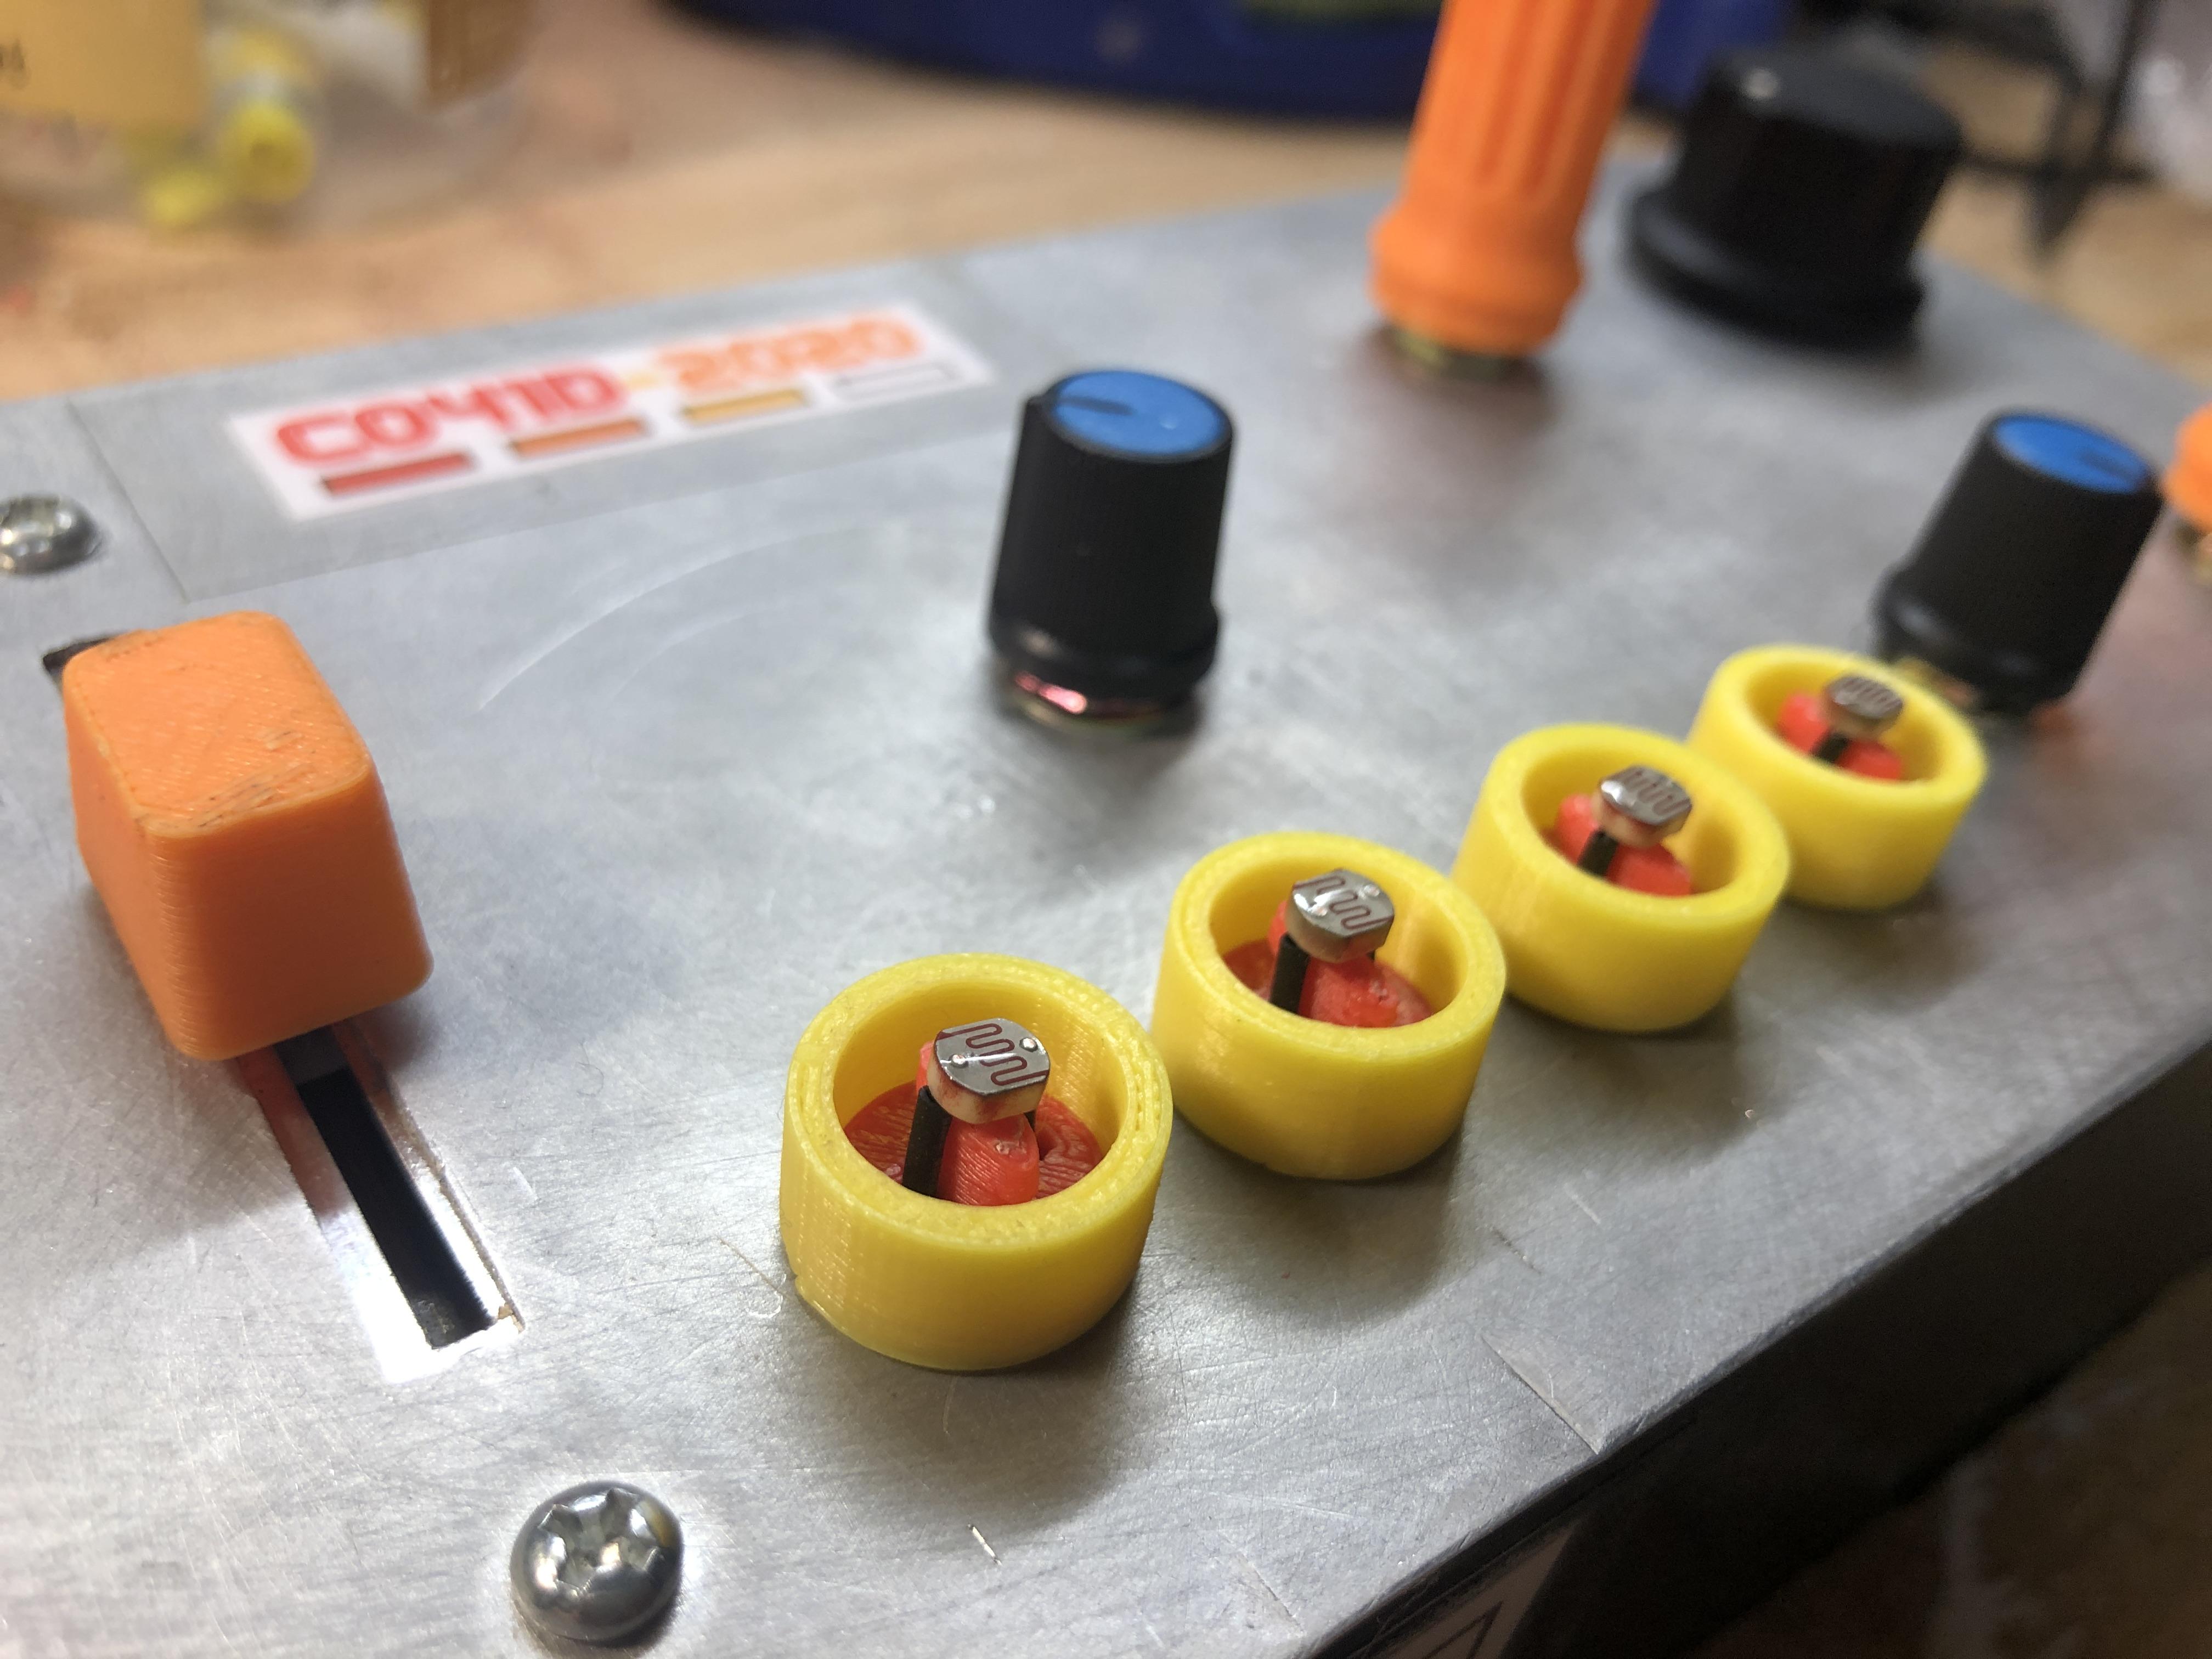 It works like this: either shine some light on the photocells, cover them up, or find some middle ground between the two. No matter what you do, you’re going to get cool sounds out of this thing.
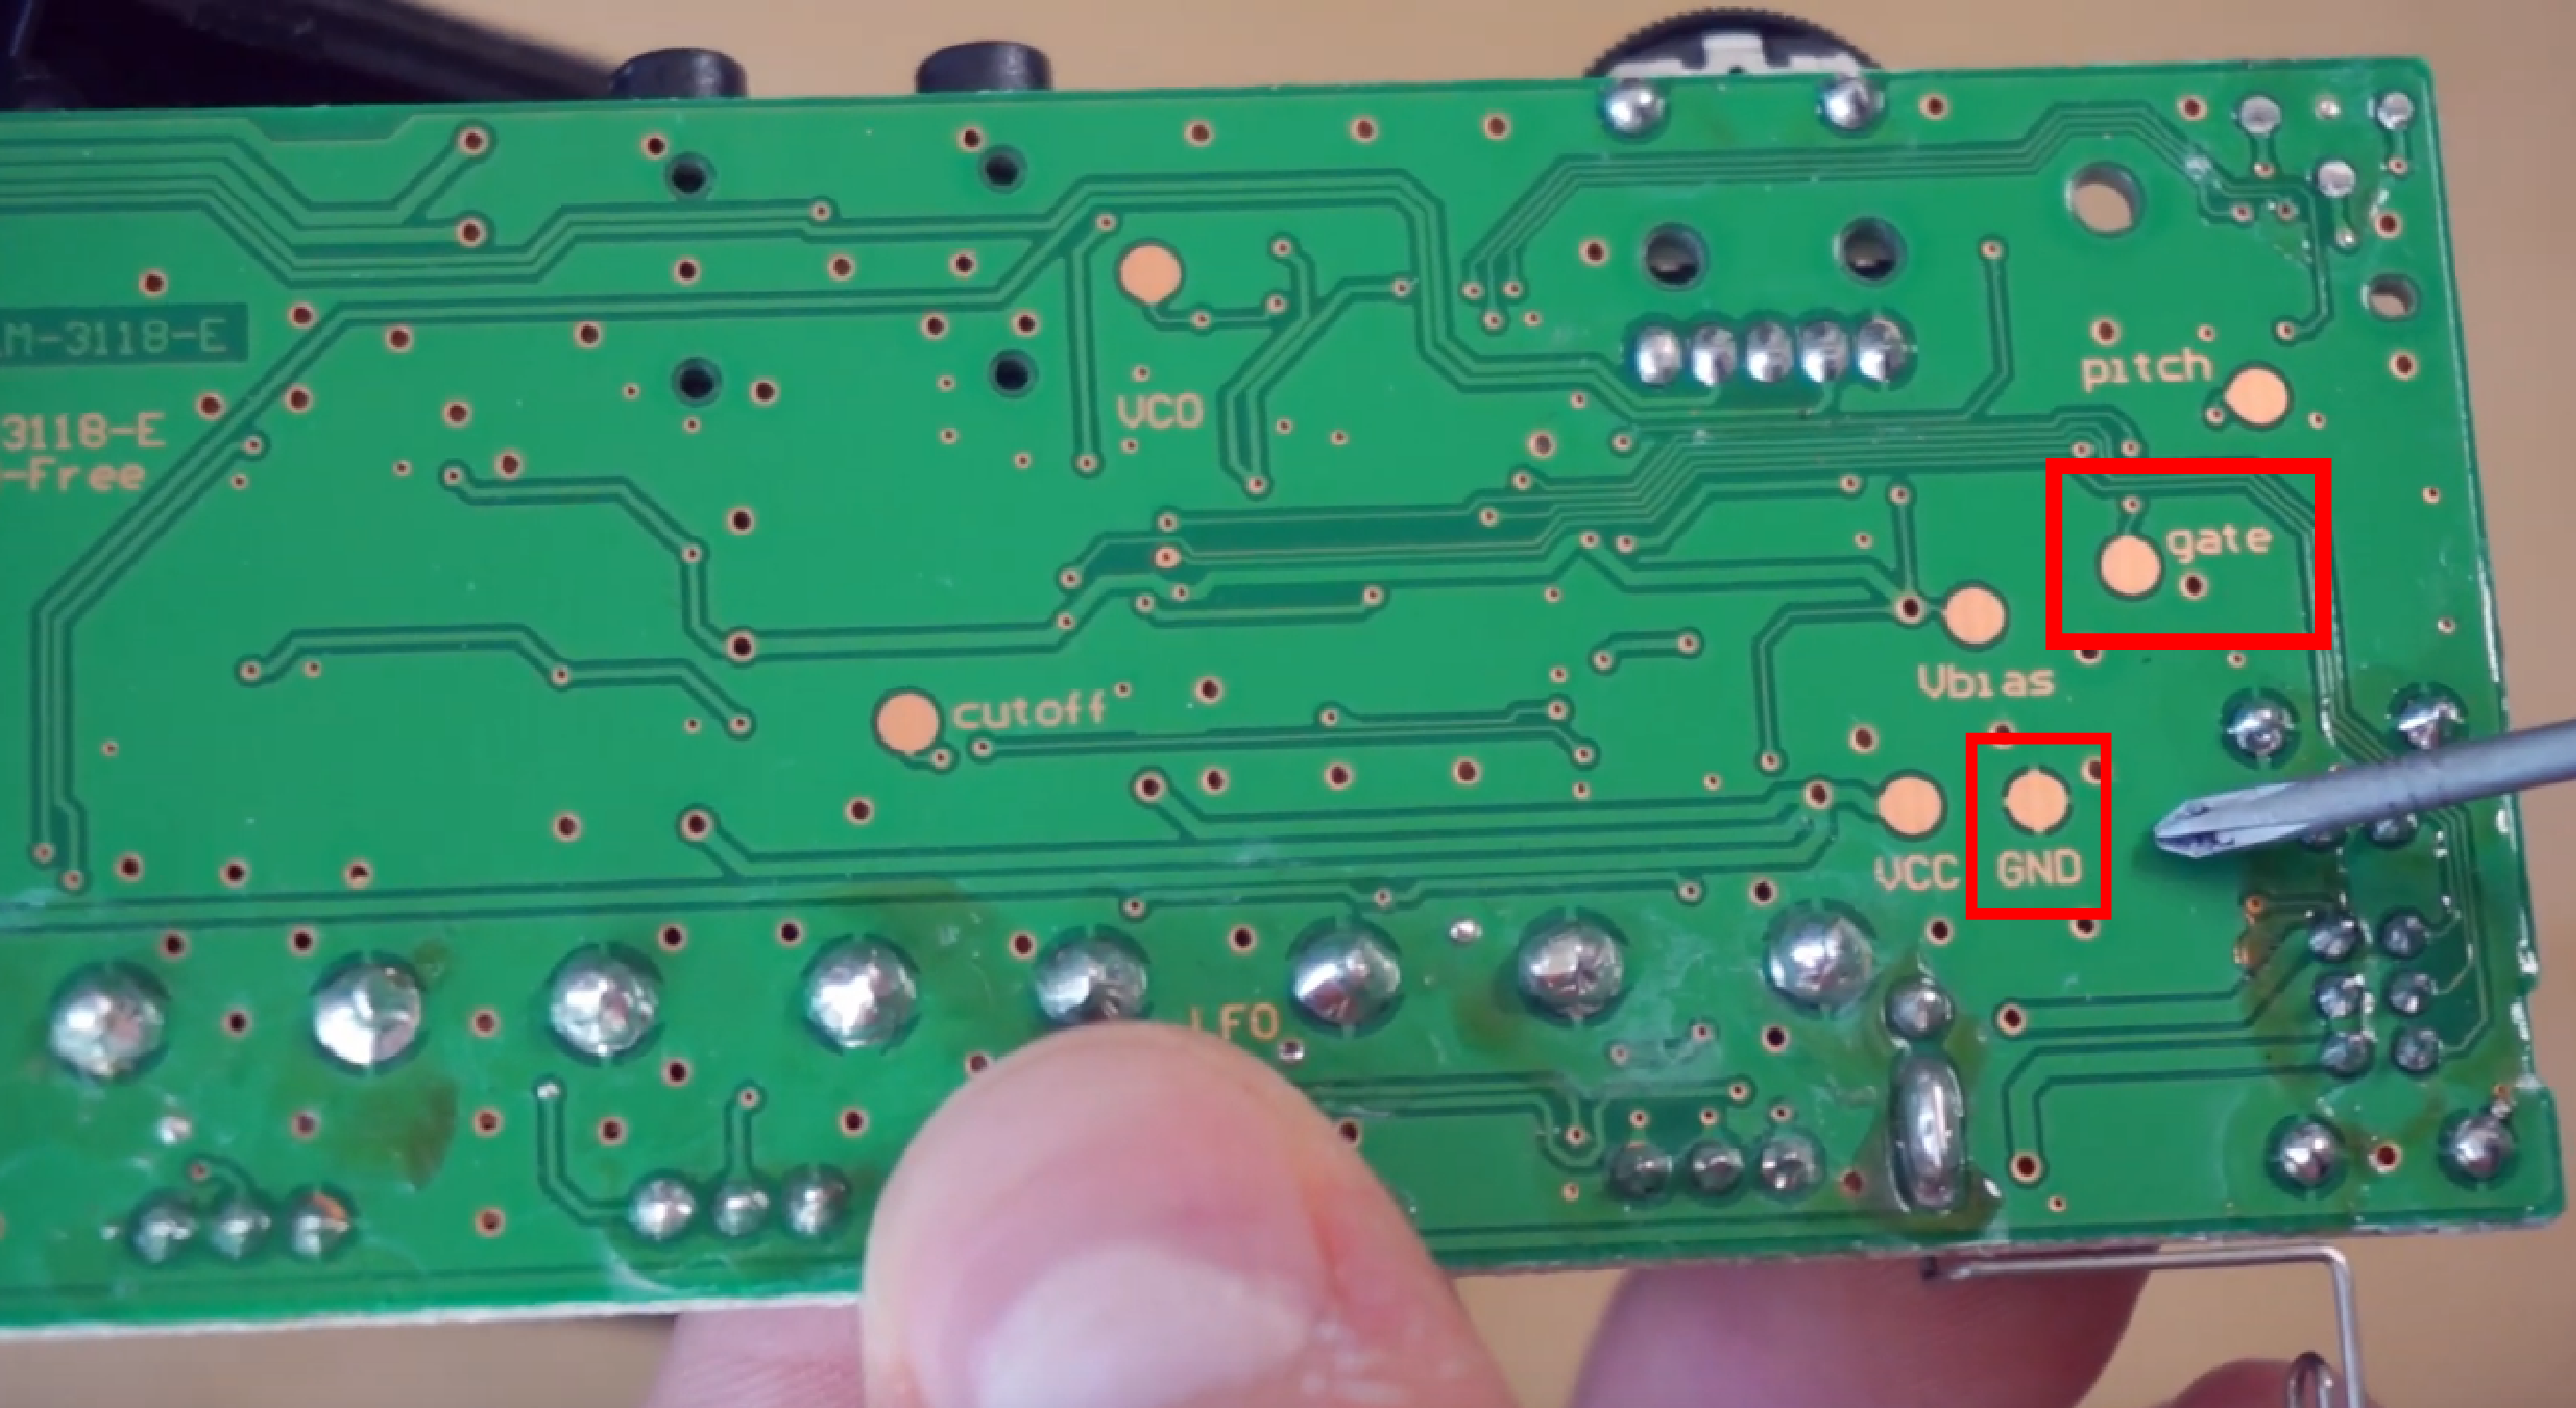
The photocells behave like potentiometers that are set up in a voltage divider. An Arduino UNO takes readings in from the photocells, does some MIDI math, and sends the serial data to a program called Hairless MIDI, which in turn sends it to Ableton live.
[knaylor1] is using a plugin called TAL Noisemaker on top of that to produce the dulcet acid house tones that you can hear in the video after the break.
If you’ve never played with light-dependent resistors before, do yourself a favor and spend a little bit of that Christmas cash on a variety pack of these things. You don’t even need an Arduino to make noise, you can use them as the pots in an Atari Punk console or make farty square waves with a hex inverting oscillator chip like the CD40106. Our own [Elliot Williams] once devoted an entire column to making chiptunes.
Continue reading “Co41D 2020 MIDI Theremin Sounds Pretty Sick”