At this point it’s pretty well-known that you can tack a long wire to the Raspberry Pi’s GPIO, install some software, and you’ve got yourself the worlds easiest pirate FM radio station. We say that it’s a “pirate” station because, despite being ridiculously easy to do, broadcasting on these frequencies without a license is illegal. Even if you had a license, the Raspberry Pi with a dangling bit of wire will be spewing out all kinds of unintentional noise, making it a no-go for any legitimate purposes.

In an effort to address that issue, [Naich] has written up a couple posts on his blog which not only discuss why the Pi is such a poor transmitter, but shows how you can build a filter to help improve the situation. You’ll still be a lawless pirate if you’re transmitting on FM stations with your Pi, but you won’t be a filthy lawless pirate.
In the first post, [Naich] shows us exactly what’s coming out of the wire antenna when the Pi is broadcasting some tunes on the default 107.3 MHz, and it ain’t pretty. The Pi is blasting out signals up and down the spectrum from 50 MHz to 800 MHz, and incredibly, these harmonics are in some cases stronger than the intentional broadcast. Definitely not an ideal transmitter.
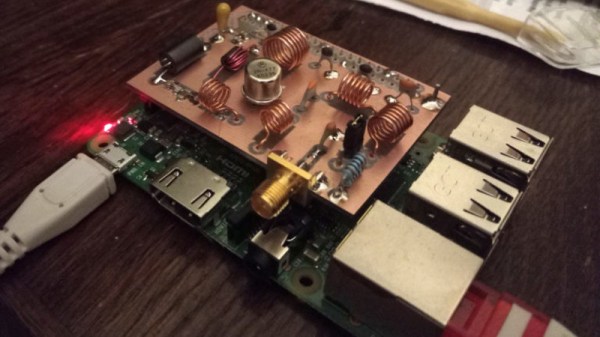
[Naich] then goes on to show how you can build a DIY filter “hat” for the Pi that not only cuts down a lot of the undesirable chatter, but even boosts the intended signal a bit. The design is surprisingly simple, only costs a few bucks in components, and conveniently is powered directly from the Pi’s GPIO. It even gives you a proper antenna jack instead of a bare wire wound around a header pin.
We’ve seen plenty of projects utilizing the Raspberry Pi FM transmission hack, and while this mod still doesn’t make it perfect, it’s always nice to see an awesome hack made even better.