Those who play larger musical instruments, things like drums, piano, harp, tuba, upright bass, or Zeusaphone, know well the challenges of simply transporting their chosen instrument to band practice, a symphony hall, or local watering hole. Even those playing more manageably-sized instruments may have similar troubles at some point especially when traveling where luggage space is at a premium like on an airplane. That’s why [jcard0na] built this electronic saxophone, designed to be as small as possible.
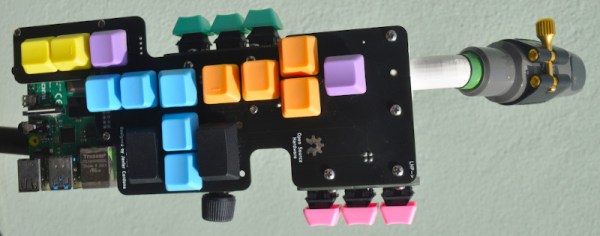
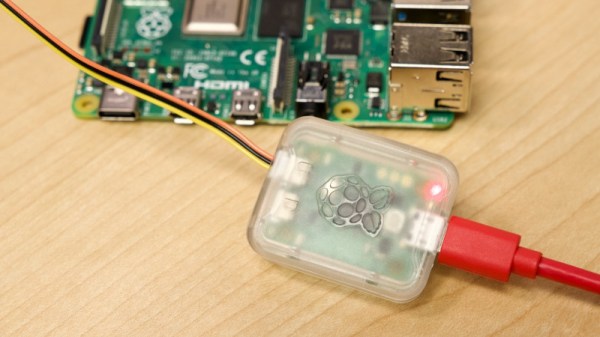
Known as the “haxophone”, the musical instrument eschews the vibrating column of air typical of woodwind instruments in favor of an electronic substitute. Based around the Raspberry Pi, the device consists of a custom HAT with a number of mechanical keyboard switches arrayed in a way close enough to the layout of a standard saxophone that saxophonists will be able to intuitively and easily play. Two pieces of software run on the Pi to replicate the musical instrument, one that detects the player’s breaths and key presses, and another that synthesizes this information into sound.
While [jcard0na] notes that this will never replicate the depth and feel of a real instrument, it does accomplish its design goal of being much more easily transportable than all but the most soprano of true saxophones. As a musical project it’s an excellent example of good design as well, much like this set of electronic drums with a similar design goal of portability.