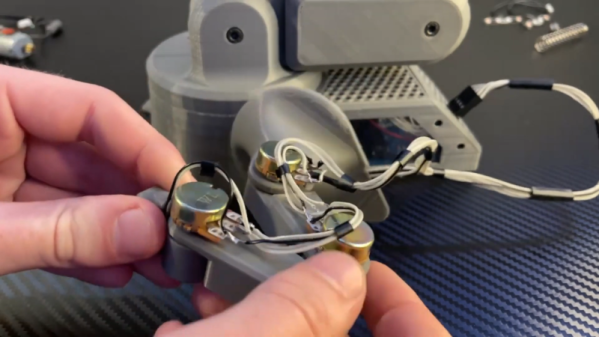
Okay, now this is just plain fun. [Linus Åkesson] modified a Commodore Datassette player to move its “mouth” and, when quadrupled, sing a clever barbershop tune called “Sweet End of Line” that’s a play on “Sweet Adeline“, a top hit from the summer of 1903.
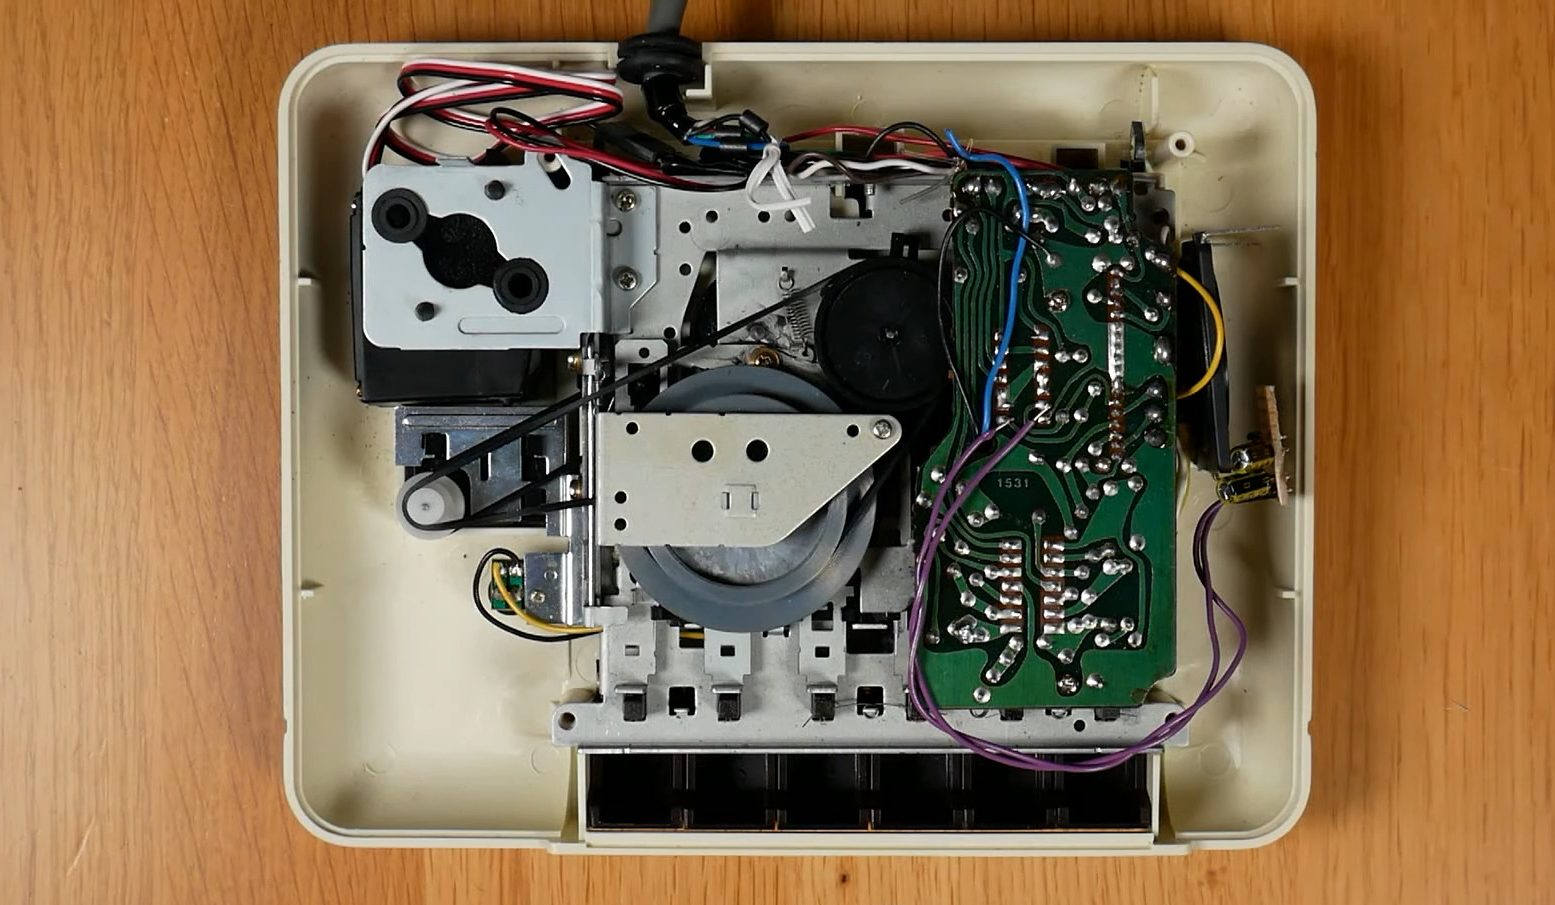 What? Let us explain. Those with Commodore 64s who lacked disk drives often had the Datassette — a magnetic storage tape device, or cassette player used to load and save files. But they couldn’t open the doors themselves with a keypress, and they certainly couldn’t sing barbershop.
First off, [Linus] redirected the current that drives the magnetizing tape head through a speaker coil instead. Then he replaced the motor with a servo that opens the lid from the inside. A simple rubber band pulls the lid back shut. Software-wise, [Linus] is using a timer interrupt to run code that toggles the output signal, the rate of which determines the pitch.
Don’t worry — all of these modifications are reversible, so no Datassettes were truly harmed in the making. Don’t forget to check out the brief build/demo video after the break.
We’ve seen our share of tape players, but we’d never seen one with a crank until recently.
Continue reading “Commodore Datassette Does Barbershop Quartet”


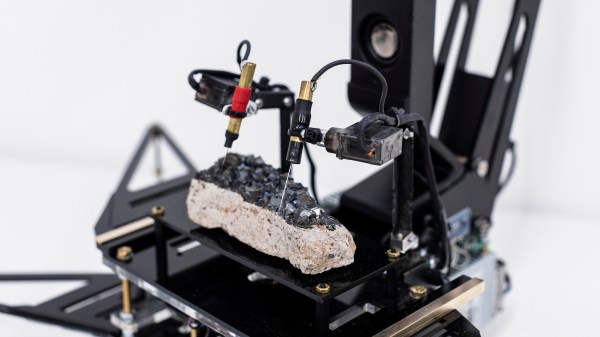
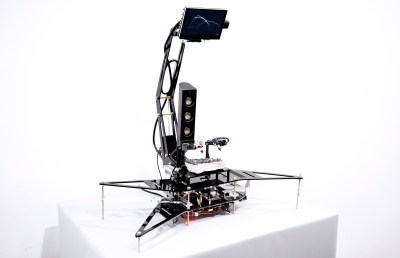 probed per run, but however it works it produces some interesting, almost random results. The premise is that the point-to-point surface resistivity is unpredictable due to the chaotically formed crystals all jumbled up, but somehow uses these measured data to generate some waveshapes vaguely reminiscent of the resistivity profile of the sample, the output of which is then fed into a sound synthesis application and pumped out of a speaker. It certainly looks fun.