Lost A Lightweight Quadcopter? Here Are The Best Ways To Find It

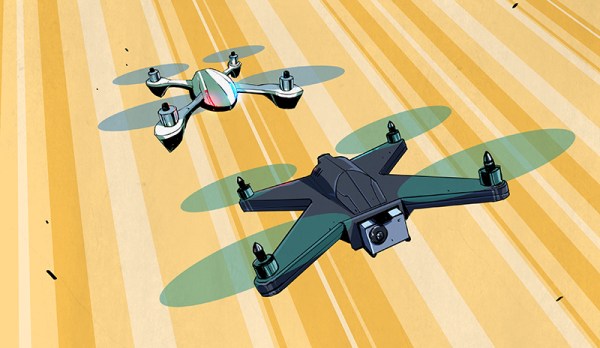
Lost aircraft are harder to find when they are physically small to begin with. Not only are they harder to see, but the smaller units lack features like GPS tracking; it’s not normally possible to add it to a tiny aircraft that can’t handle much more than its own weight in the first place. As a result, little lost quads tend to be trickier to recover in general.

Fluorescent tape adds negligible weight, and will glow brightly at night under a UV light.

The good news is that [Eric Brasseur] has shared some concise tips on how to more easily locate and recover lost aircraft, especially lightweight ones. Recovering aircraft is something every aircraft hobbyist has had to deal with in one way or another, but [Eric] really has gathered an impressive list of tricks and techniques, and some of them go into some really useful additional detail. It occurs to us that a lot of these tips could apply equally well to outdoor robots, or rovers.

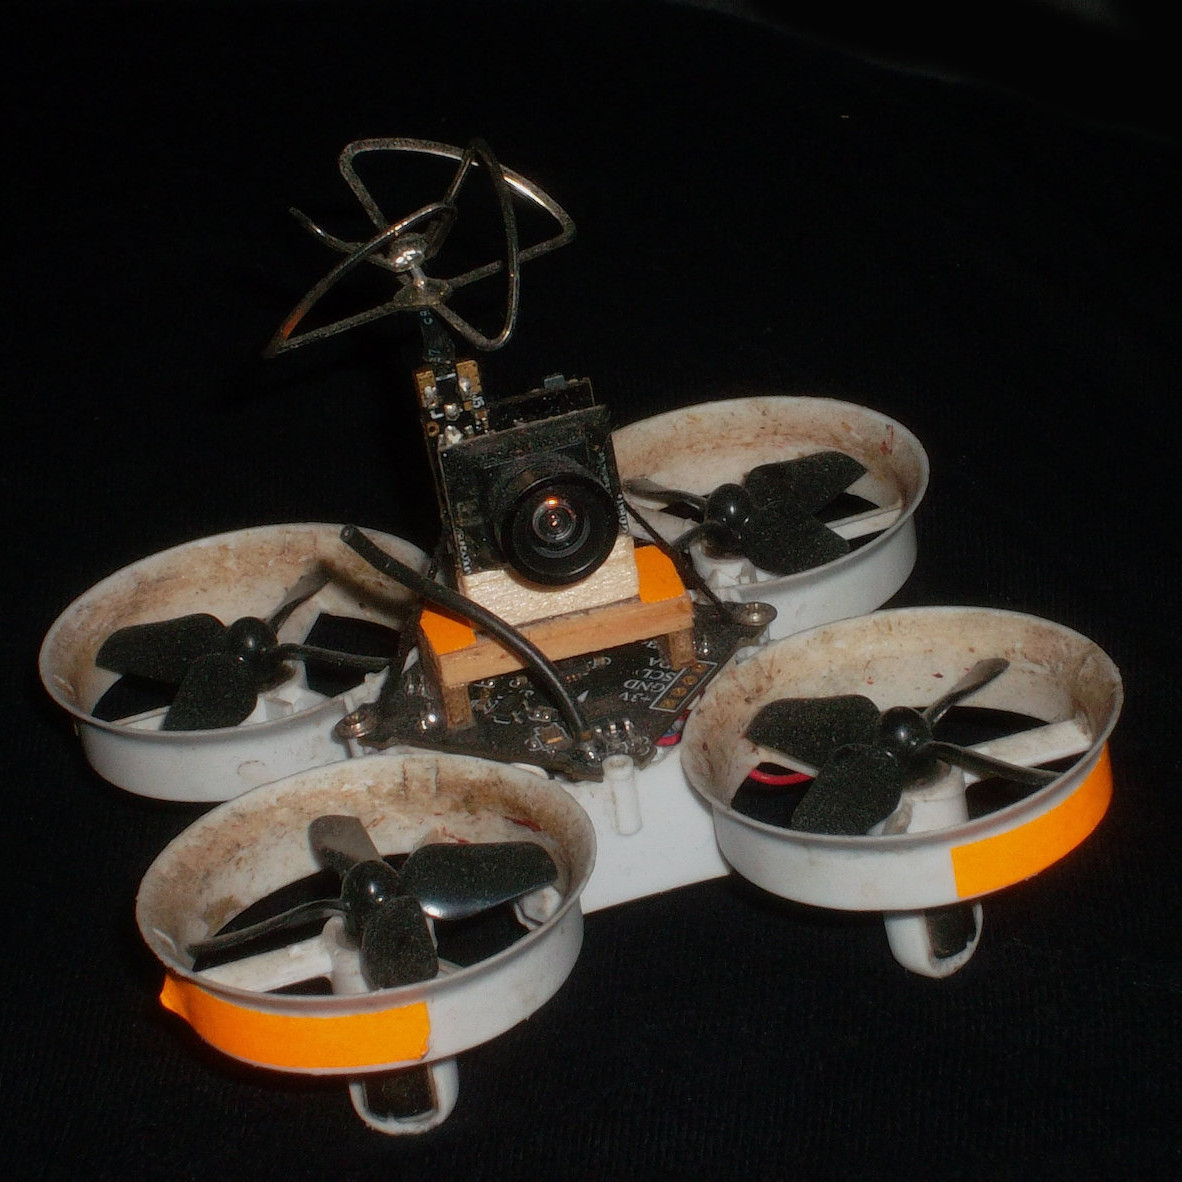
Even simple techniques can be refined. For example, using bright colors on an aircraft is an obvious way to increase visibility, but some colors are better choices than others. Bright orange, white, and red are good choices because they are easily detected by the human eye while still being uncommon in nature. Violet, blue, and even cyan on the other hand may seem to be good choices when viewed indoors on a workbench, but if the quad is stuck in dark bushes, those colors will no longer stand out. Another good tip is to consider also adding a few patches of fluorescent tape to the aircraft. If all else fails, return at night with a UV lamp; those patches will glow brightly, and be easily seen from tens of meters.

Some of the tips are used while the device still has power, while others don’t depend on batteries holding out. [Eric] does a great job of summing up those and many more, so take a look. They might come in handy when test flying quadcopters that are little more than an 18650 cell, motors, and a 3D-printable frame.

Buttonpusher Automates Animal Crossing Tasks

Press button, wait, press button again, repeat. There must be a better way! If that kind of interaction drives you nuts, you’ll probably appreciate [Tommy]’s buttonpusher, which has only one job: automate away some of the more boring parts of Nintendo’s Animal Crossing. On one hand the job the device does is very simple: press a button on the Nintendo joy-con in a preprogrammed pattern. There’s no feedback loop, it just dumbly presses and waits. But there are still quite a few interesting bits to this build.

Rigid mounting combined with interfacing the actuator to the servo horn (instead of to the servo shaft) were the keys to reliable button pushing.

For one thing, [Tommy] discovered that the little 9g RC servo can reliably exert enough force to press the button on the joy-con with the right adapter. He had assumed the servo would be too weak to do the job without a greater mechanical advantage, but a simple hammer-style actuator that attaches to the servo horn easily does the job. Well, it does as long as the servo and joy-con are held rigidly; his first version allowed a little too much wiggle in how well the parts were held, and button presses didn’t quite register. With a 3D-printed fixture to rigidly mount both the servo and the joy-con, things were fine.

In the process of making buttonpusher, which uses CircuitPython, [Tommy] created a tool to automate away another pesky task he was running into: circuitpython_tools was created to automatically watch for code changes, convert the .py files into (smaller) MicroPython bytecode .mpy files, then automatically deploy to the board. This saved [Tommy] a lot of time and hassle during development, but it was only necessary because he quickly ran out of memory on his M0 Metro Express board, and couldn’t fit his code in any other way.

Still, it’s a good example of how one project can sometimes spawn others, and lead to all kinds of lessons learned. You can see buttonpusher automate the crafting process in Animal Crossing in the video, embedded below.

Continue reading “Buttonpusher Automates Animal Crossing Tasks”

Smart Lid Spies On Sourdough Starter, Sends Data Wirelessly

[Justin Lam] created a wonderfully-detailed writeup of his Smart Sourdough Lid project, which was created out of a desire to get better data on the progress and health of his sourdough starters, and to do so more efficiently. The result is a tidy, one-piece lid that constantly measures temperature, humidity, and height of the starter in the jar. Data is sent wirelessly for analysis, but there is also a handy OLED display on the top of the lid that shows immediately useful data like how much the starter has peaked, and how much time has passed since it did so.

The PCB was optimized for size, and not designed with mounting in mind, so a hot-glued machine screw serves as a “button extender”. Issues like this can happen when enclosures are designed after the fact; it’s something to which we can all relate.

We really like how focused the design is, and the level of detail [Justin] goes into to explain his design decisions and describe how well they worked out. This isn’t [Justin]’s first kick at the can when it comes to getting data on his sourdough, after all. We remember his earlier work using computer vision to analyze sourdough starters, and he used what he learned to inform this new design; the smart lid is easier to use and handles data much more efficiently.

The project’s GitHub repository has all the information needed to build your own. The lid is ESP8266-based and integrates a VL6180X time-of-flight (ToF) distance sensor, DHT22 to sense temperature and humidity, and a small SSD1306 OLED display for data. A small custom PCB keeps the modules tidy, and a 3D-printed custom enclosure makes it one tidy package.

[Justin] also analyzes the results he obtained and talks about what they mean in the last part of his writeup, so if you’re into baking and interested in his findings, be sure to give that a look.

3D-Printed Macro Pad Ditches The PCB With Slick Wiring Guides

Reddit user [duzitbetter] showed off their design for a 3D-printed programmable macro keyboard that offers a different take on what can be thought of as a sort of 3D-printed PCB. The design is called the Bloko 9 and uses the Raspberry Pi PICO and some Cherry MX-style switches, which are popular in DIY keyboards.

The enclosure and keycaps are all 3D printed, and what’s interesting is the way that the enclosure both holds the components in place as well as providing a kind of wire guide for all the electrical connections. The result is such that bare copper wire can be routed and soldered between leads in a layout that closely resembles the way a PCB would be routed. The pictures say it all, so take a look.

Bloko 9 is available as a paid model, and while going PCB-free thanks to 3D printing is a technique others have played with, it is very well demonstrated here and shows there is still plenty of room to innovate on the concept. DIY keyboard and macro pad design is also fertile ground for hackers; we have even seen that it’s possible to 3D print one right down to the switches themselves.

Wireless, Low Power E-Ink Weather Gadget

Not that long ago, making a low-power and wireless weather display complete with an e-ink screen would have required a lot of work and almost certainly would have been larger than the device [Dmitry] created.

(1) Weather alert indicator, (2) Current temperature, (3) Humidity and wind, (4) 24-hour temperature graph, (5) 24-hour precipitation probably graph

His low power e-ink weather gadget takes advantage of one of the niftier developer boards out there to create a useful and slim device that does exactly what he needs and not a lick more. It’s fast to look up weather online, but not as fast as glancing at a display in a convenient location.

The board [Dmitry] selected is a LilyGO TTGO T5s, an ESP32-based board that integrates an e-ink display, which requires no power unless being updated. It has been loaded with just enough smarts to fetch weather information using the OpenWeather API, and update the display accordingly.

Powering up the WiFi to fetch an easily-parsed JSON file and update the display only once per hour means that a battery can provide months of runtime. As a bonus, the LilyGO board even includes the ability to charge the battery, making things awfully convenient.

The bill of materials is here and code for the device, including setup directions, is on the project’s GitHub repository. And if your tastes happen to run more towards the artistic than utilitarian, we have just the weather display for you.

Useful Build Tips For Making LED Panel Frames

[NotLikeALeafOnTheWind] has created many LED-based display projects, and shares his method for making attractive LED panel frames and mounts. At first glance it may look as though slapping a rectangle of aluminum extrusion around a display is all it takes, there is also the mounting and management of wiring, power supply, and possibly a Raspberry Pi to deal with. The process of building an attractive frame also has a few hidden gotchas that can be avoided with a bit of careful planning.

Magnetic feet on the LED panels makes mounting much easier and more flexible.

Here is one tip that will resonate with some readers: don’t rely on specified dimensions of parts; measure the actual parts yourself. There can be small differences between what a data sheet says to expect, and the dimensions of the actual part in one’s hands. It may not be much, but it can be the difference between an ideal fit, and something that looks like a bit of a hack job.

[NotLikeALeafOnTheWind] provides some basic frame layouts, and suggests using two- or three-channel extrusions to provide a flat bezel around the display edge if desired. Mounting the LED panel itself is done with magnetic feet and providing a length of steel bar to which the display can attach. This can provide a flush mount while avoiding the whole issue of screw-mounting the display panels themselves, or sliding them into channels. For mounting all the other hardware, a piece of DIN rail and some 3D-printed parts takes care of that.

The result looks slick and sturdy, and some of the tips are sure to be useful even if the whole process isn’t applied. We like the way the basic design scales and is flexible about the thickness and size of the LED panels themselves, making it a promising way to accommodate perfectly functional oddball panels that end up in the trash.

Python Settles Bet About Best Strategy In Children’s Board Game

Simulating a tabletop game can be done for several reasons: to play the game digitally, to create computer opponent(s), or to prove someone wrong. In [Everett]’s case, he used Python to prove which adult was right about basic strategy in a children’s game.

[Everett]’s 5-year-old loves a simple game called Hoot Owl Hoot! in which players cooperatively work to move owls along a track to the safety of a nest. Player pieces move on spaces according to the matching colors drawn from a deck of cards. If a space is already occupied, a piece may jump ahead to the next available spot. The game has a bit more to it than that, but those are the important parts. After a few games, the adults in the room found themselves disagreeing about which strategy was optimal in this simple game.

It seemed to [Everett] that it was best to move pieces in the rear, keeping player pieces grouped together and maximizing the chance of free moves gained by jumping over occupied spaces. [Everett]’s wife countered that a “longest move” strategy was best, and one should always select whichever piece would benefit the most (i.e. move the furthest distance) from any given move. Which approach wins games in the fewest moves? This small Python script simulates the game enough to iteratively determine that the two strategies are quite close in results, but the “longest move” strategy does ultimately come out on top.

As far as simulations go, it’s no Tamagotchi Singularity and [Everett] admits that the simulation isn’t a completely accurate one. But since its only purpose is to compare whether “no stragglers” or “longest move” wins in fewer moves, shortcuts like using random color generation in place of drawing the colors from a deck shouldn’t make a big difference. Or would it? Regardless, we can agree that board games can be fitting metaphors for the human condition.