There’s probably no reason anyone would actually desire a mod like this. Well, no good reason. But [William Osman] had been pondering what it would be like to play some classic games with inputs other than buttons, and decided to make an audio sensor responsible for pressing the B button on an old N64 controller. This “Yell To Press B” mod was also something unique to show his hosts when he visited the YouTube video game aficionados, [Game Grumps].
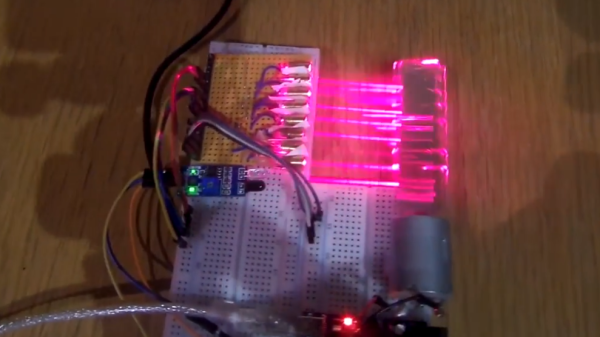
 [William] acknowledges that the build is a bit of a hack job, but the project page does a good job of documenting his build process and covering the kinds of decisions involved in interfacing to a separate piece of hardware. After all, most budding hackers have sooner or later asked themselves “how do I make my gadget press a button on this other thing?” [William] ends up using a small relay to close the connection between the traces for the B button when triggered by a microphone module, but he points out that it should be possible to do a non-destructive version of the mod. Examples exist of reading the N64 controller’s state with an Arduino, which could form the basis of a man-in-the-middle approach of “Yell To Press B” (or anything else) instead of soldering to the button contacts. A video is embedded below, in which you can watch people struggle to cope with the bizarre mod.
Continue reading ““Yell To Press B” Mod Makes N64 Controller Worse”