Build An ESP32 Stock Ticker To Watch Your GME Gains

Meme investing is all the rage these days, and what better way to get in on the loss fun than with your very own old-timey mechanical stock ticker? Unfortunately, they’re about as expensive and rare as you might expect for a piece of Victorian-era electronics. Lucky for us, [secretbatcave] has shown that you can put together a functional look-alike that costs about as much as a GameStop (GME) share was worth before it started heading to the Moon.

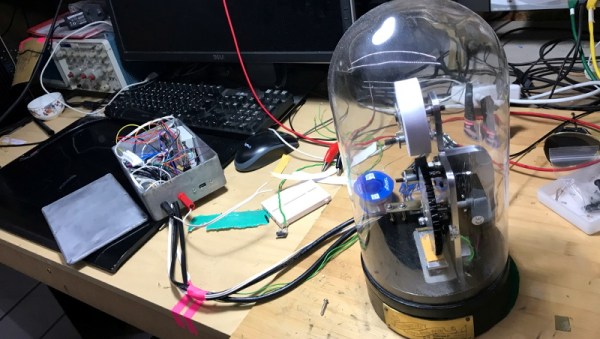
This might seem like an ambitious project, but in actuality the machine only has a few moving parts. There’s a stepper motor to feed the paper, another to spin an inked embossing wheel, and a couple of solenoids attached to a pusher plate. Rather than trying to move the heavy wheel, the pusher plate smashes the paper up into it. The fact that this produces a satisfying “clack” sound as each character is printed is just an added bonus.

Extending the base to hold the solenoids.

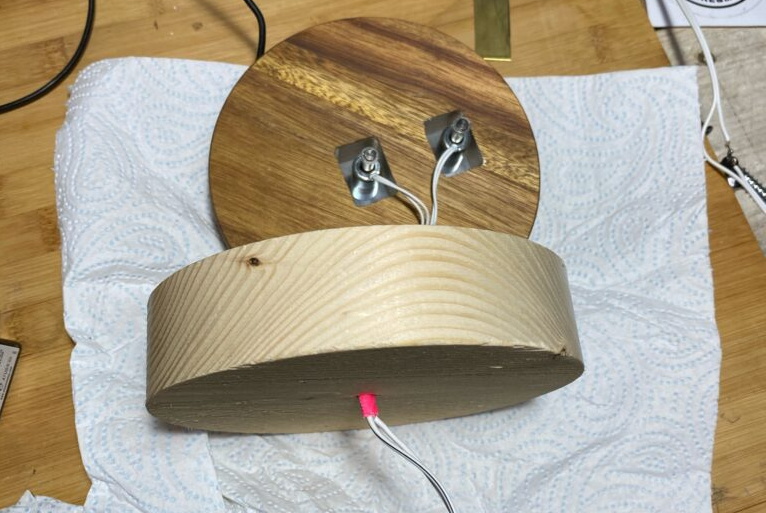
To sell the look, [secretbatcave] put the whole mechanism inside a tall glass dome from IKEA. The matching wooden base was extended so the pusher plate solenoids could fit inside, after which it was dunked in ink and sprayed with a gloss sealer to give it that shiny black finish people seemed to love in the 1900s. With the addition of an engraved brass nameplate, it looks like the machine fell out of a time warp.

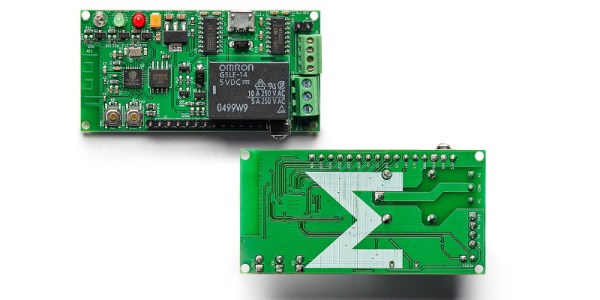
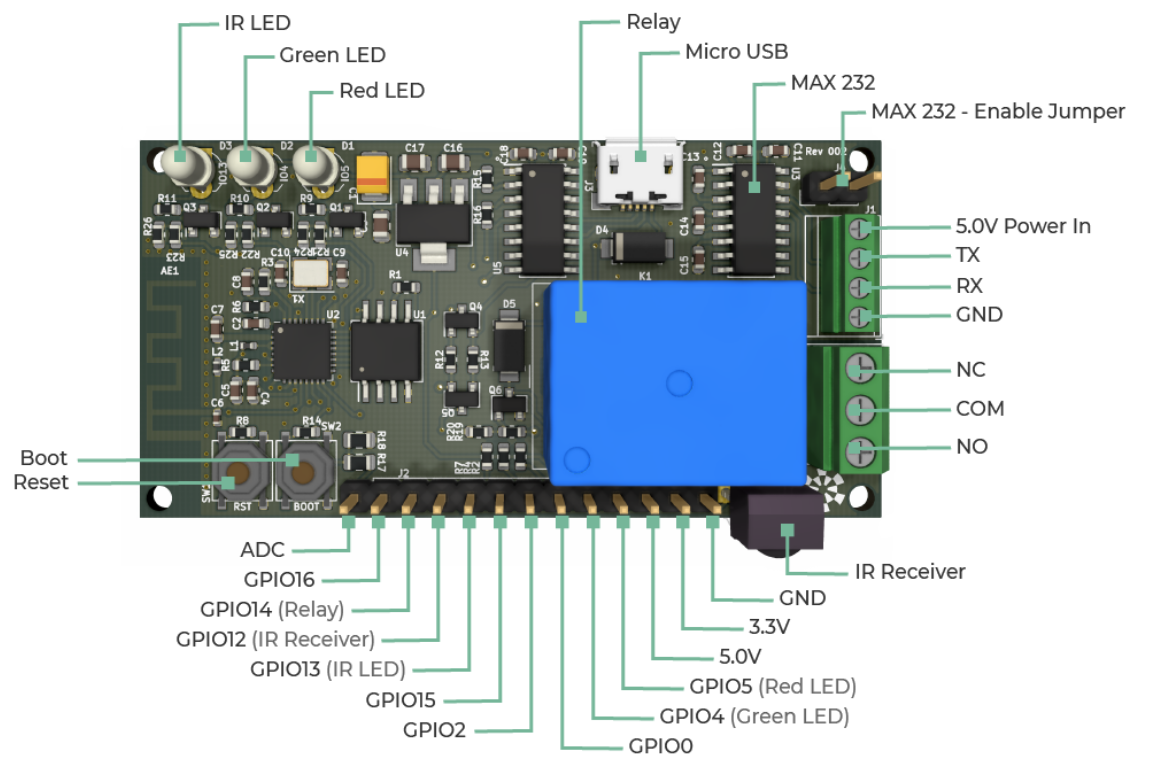
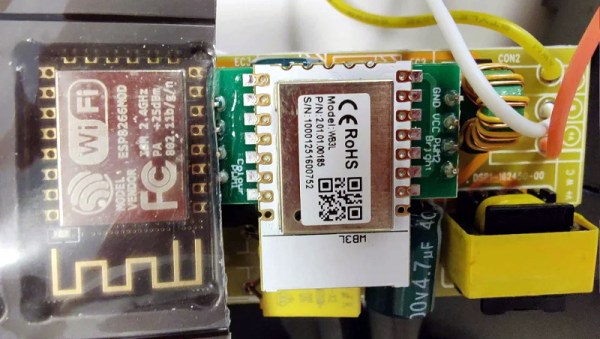
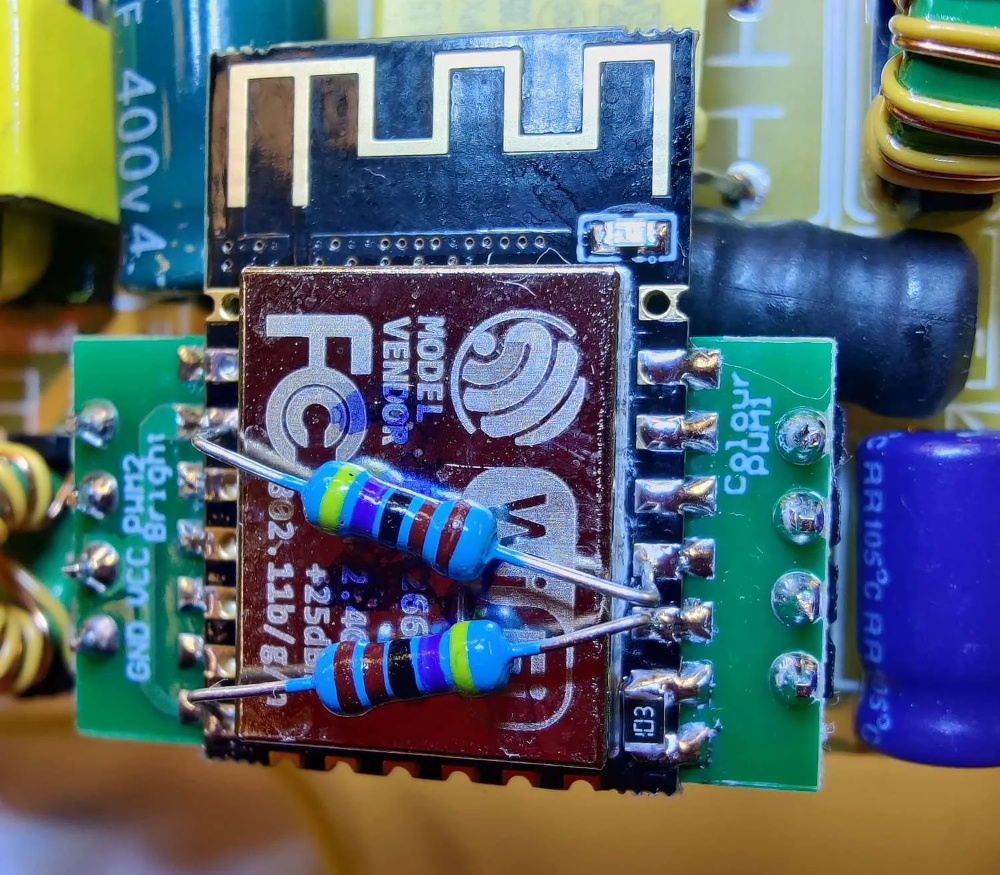
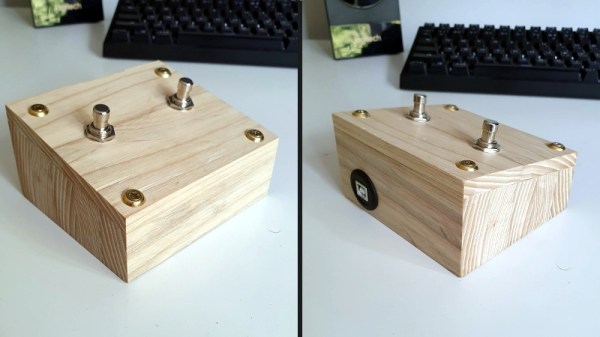
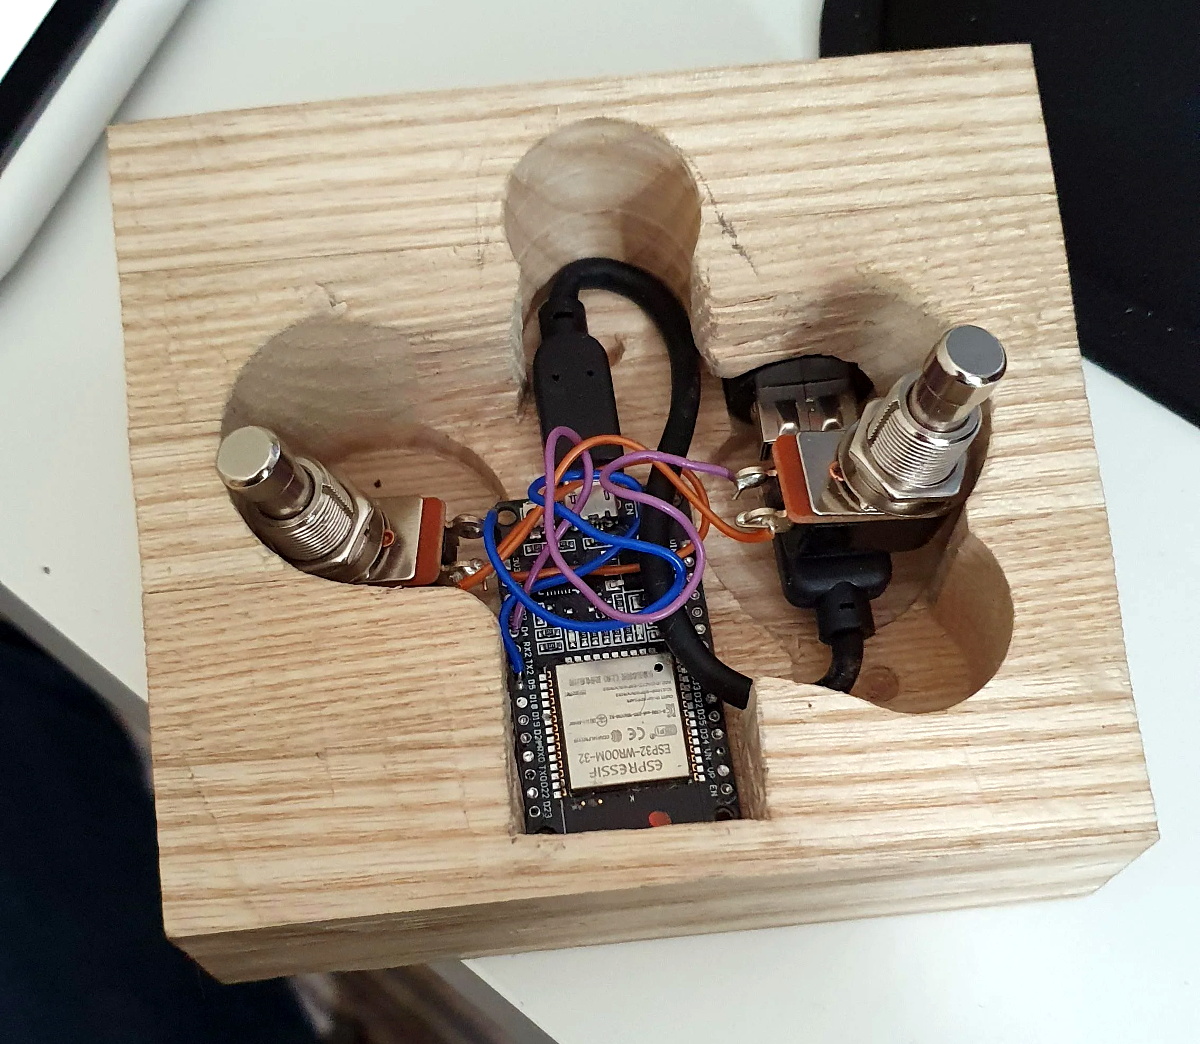
In terms of electronics, there’s an ESP32, a pair of stepper motor controllers, and a relay for the solenoids. As of right now it all lives in a rather utilitarian box that’s tethered to the ticker, but we’re sure the lot could get tucked under the base with the help of a custom PCB should you be so inclined.

With an ESP32 at the helm, the ticker could easily be configured to print out whatever data it receives over the network or picks up from MQTT. With hardware like this and a pair of Diamond Hands, those tendies are as good as yours.

Continue reading “Build An ESP32 Stock Ticker To Watch Your GME Gains”

This ESP8266 Dev Board Has A Surprising Story Behind It

If you’re looking to get started with the ESP8266, there’s no shortage of development boards out there to select from. But we don’t think you’ll find one with a more unique a backstory than the open source ME-ESP8266. That’s because Malouf, the company that makes the $20 USD board, is a home goods company better known for their pillows and bed frames.

So how do you go from mattress toppers to microcontrollers? Well, as unlikely as it might seem, the missing element is Toys R’ Us. Or more specifically, the liquidation of Toys R’ Us. A Texas distribution center Malouf purchased from the iconic toy retailer included an automated conveyor belt system to move product through the gargantuan building, but unfortunately, they couldn’t get it to work with their existing system. The company decided to use their in-house team of engineers to solve the problem, and the ME-ESP8266 was born.

It turns out that an ESP8266 board developed to move bedding around an old Toys R’ Us warehouse has a lot of useful features for hackers and makers. It’s got an integrated relay, 16 MB of flash storage, an IR receiver, beefy screw terminals, and a 2.54mm-pitch GPIO pin header. There’s even a MAX232 on the board so it can talk to RS-232 devices. The hardware is compatible with the standard Arduino IDE as a “Generic ESP8266 Module”,  so you’ll have no problem using existing libraries and example code.

Now under normal circumstances, the public would never know about this sort of behind the scenes engineering. But instead of keeping their new ESP board to themselves, the team at Malouf got the go ahead from the company’s Chief Technology Officer (CTO) to release it as an open source project. Even more impressive, they got the company to put the board into production so it could be sold to the public. So today we not only learned that bedding companies have CTOs, but that they can be exceptionally open-minded.

Our hats off to the engineers at Malouf and the forward thinking brass that green lit production of the ME-ESP8266. It’s not the first interesting development to come from the liquidation of Geoffrey’s kingdom, but it just might be the most useful.

Battery Analyzer Puts Alkaline Cells To The Test

We know, we know. Generally speaking, you should try and switch your household devices over to rechargeable cells rather than using disposable alkaline batteries. But while they might seem increasingly quaint in the lithium-ion era, features such as a long shelf life make it worth keeping a pack of disposables around. So which ones should you buy? That’s what [Moragor] wanted to find out with his personal battery analyzer.

Designed as a shield for the Arduino Mega 2560, the analyzer combines a small programmable electronic load with a INA219 current sensor, OLED display, and SD card reader. The user selects the cutoff voltage and discharge rate before the test begins, and once it’s running, data is collected every second and saved to the SD card for later analysis. Once the battery voltage reaches the predetermined value, the test is over and you’re ready to put a new cell through its paces.

After testing 27 different brands of batteries, [Moragor] tabulated all the data and produced some helpful charts to illustrate the results. With few exceptions, the performance level for most of the batteries was remarkably similar. If anything, the test seemed to show that higher tier batteries from companies like Duracell and Energizer actually performed slightly worse than the mid-range offerings. Perhaps the biggest surprise is that, when the per-cell cost was factored in, the local cheapo batteries provided a better value than anything else in the test.

While the selection of battery brands may be different from where you live, the data [Moragor] collected is still a fascinating even if you don’t recognize some of the names on the chart. Of particular note is the confirmation that lithium batteries handily outperformed any of the Alkaline cells tested when it came to high-drain applications. We’d still rather they came in rechargeable form, but at least it’s a step in the right direction.

Camera Hack Peels Back Layers Of Embedded Linux

Embedded Linux devices are everywhere these days, and sooner or later, you’re going to want to poke around in one of them. But how? That’s where posts like this one from [Felipe Astroza] come in. While his work is focused on the Foscam C1 security camera, the techniques and tools he outlines here will work on all sorts of gadgets that have a tiny penguin at their core.

Rather than trying to go in through the front door, [Felipe] starts his assault with the nuclear option: removing the SPI MX25L12835F flash chip from the camera’s PCB and dumping its contents with a Raspberry Pi. From there he walks through the use of different tools to determine the partition scheme of the chip and eventually extract passwords and other interesting bits of information from the various file systems within.

Getting ready to remove the flash chip.

That alone would be worth the read, but things really get interesting once [Felipe] discovers the FirmwareUpgrade program. Since the Foscam’s software updates are encrypted, he reasons that reverse engineering this binary would uncover the key and allow for the creation of custom firmware images that can be flashed through the stock interface.

Further investigation with Ghidra and friends identifies an interesting shared library linked to the executable in question, which is then disassembled in an effort to figure out how the key is being obfuscated. We won’t ruin the surprise, but [Felipe] eventually gets what he’s after.

This isn’t the first time [Felipe] has played around with the firmware on these Internet connected cameras, and we dare say it won’t be his last. For those who are really into tinkering with these sort of devices, it’s not unheard of to install a socket for the flash chip to make software modifications faster and easier.

LED Hack Teaches DJI Mini 2 Drone New Tricks

Despite its diminutive proportions, the thrust to weight ratio of the DJI Mini 2 is high enough that it can carry a considerable amount of baggage. So it’s no surprise that there’s a cottage industry of remotely controlled payload releases that can be bolted onto the bottom of this popular quadcopter. But [tterev3] wanted something that would integrate better with DJI’s software instead of relying on a separate transmitter.

As explained in the video below, his solution was to tap into the signals that control the RGB LED on the front of the drone. Since the user can change the color of the LED at any time with the official DJI smartphone application, decoding this signal to determine which color had been selected is like adding several new channels to the transmitter. In this case [tterev3] just needed to decode a single color to use as a “drop” signal, but it’s not hard to imagine how this concept could be expanded to trigger several different actions with a few more lines of code.

Examining the LED control signal.

[tterev3] wrote some software to decode the 48 bits of data being sent to the LED with a PIC18F26K40 microcontroller, which in turn uses an L9110H H-Bridge to control a tiny gear motor. To get feedback, he’s using a small magnet glued to the release arm and a Hall-effect sensor.

Concerned about how much power he could realistically pull from a connection that was intended for an LED, he gave the release its own battery that is slowly charged while the drone is running. You could argue that since the motor only needs to fire up once to drop the payload, [tterev3] probably could have gotten away with not recharging it at all during the flight. But as with the ability to decode additional color signals, the techniques being demonstrated here hold a lot of promise for future development.

Folks have been strapping additional hardware to commercial quadcopters for years, but modifications like this one that actually let the craft release its payload and fly away hold particular promise for environmental monitoring and building mesh communication networks.

Continue reading “LED Hack Teaches DJI Mini 2 Drone New Tricks”

Replacing An ESP8266 Clone With The Real Thing

The first time [konbaasiang] ordered some ceiling LED lights from Tuya, he was pleased to find they contained an ESP-12F that could easily be flashed with a different firmware. So when he ordered 30 more of them at a cost of nearly $900 USD, you can understand his frustration to find that the popular WiFi-enabled microcontroller had been swapped out for a pin-compatible clone that Tuya developed called the WB3L.

Some people would have just chalked this one up to bad luck and used the Tuya-supplied software to control their new lights, but not [konbaasiang]. Since the new chip was outwardly identical to the ESP8266, he decided to take the nuclear option and replace them with the genuine article. With a comfortable spot to work from and a nice microscope, he started on his desoldering journey.

Now it would have been nice if he could have just dropped in a real ESP-12F and called it a day, but naturally, it ended up being a bit more complex than that. The WB3L apparently doesn’t need external pull up and pull down resistors, but [konbaasiang] needed them for the swap to work. He could have come up with some kind of custom adapter PCB, but to keep things simple he decided to run a pair of through hole resistors across the top of the ESP-12F for GPIO 1/2, and use a gingerly placed SMD resistor to hold down GPIO 15.

[konbaasiang] reports that all 30 of the lights survived the transplant and are now running his own  homebrew firmware. While this story had a happy ending, it’s still a cautionary tale. With a growing trend towards replacing the venerable ESP8266 with cheaper and less hacker-friendly silicon, buying IoT hardware with the intent to replace its firmware is likely to get riskier in the near future.

The Beat Goes On With This ESP32 Page Turner

Looking for a hands-free way to page through sheet music on an iPad, [The_Larch] came up with this simple Bluetooth input device based on the ESP32. The microcontroller just needed to have two switches wired into the GPIO pins, in this case the same heavy-duty plungers you’d find on a guitar pedal, and a USB bulkhead pass-through to provide power. Thanks to the excellent ESP32-BLE-Keyboard library, it only took a few lines of code to fire off the appropriate key strokes when the left or right button was pressed.

While undeniably a simple project from an electronics standpoint, the wooden enclosure [The_Larch] built is an interesting change of pace from the 3D printed fare we normally see around these parts. It started life as strips of oak reclaimed from an old kitchen table, which were laminated together to make a solid block. A large spade bit was then used to bore into the block to make a void for the electronics, and a second flat piece of oak was fashioned into a front panel.

Creating Bluetooth input devices with the ESP32 is so incredibly straightforward that we’re honestly a little surprised we don’t see the trick used more often. Especially when you consider all of the custom made keyboards that have graced these pages over the last couple of years. The tools are available for anyone who wants them, so you have to wonder if hackers just aren’t fond of using Bluetooth for something as important as a keyboard?