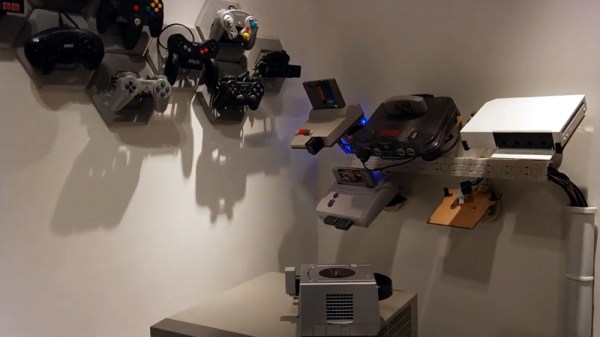
If you’ve got a collection of classic game consoles, finding the space to set them all up can be a challenge. But the bigger problem is figuring out how to hook them all up to a TV that, at best, might only have two or three inputs. [odelot] recently wrote in to tell us how he solved both problems with his voice-controlled wall of gaming history.
To mount the systems to the wall, [odelot] designed and printed angled brackets that attach to specially shaped pieces of 3 mm MDF. They do a pretty good job of holding the systems at a visually interesting angle while making themselves scarce, with only the notoriously slick-bottomed Wii needing some extra clips on the front to keep it from sliding off. He also printed up a series of blocks and pipes, no doubt a reference to Mario Bros., to hold the power and video cables for each system.
 As to connecting them all up to his TV, [odelot] picked up an eight-device Extron VGA switch that features a serial port for remote control. After getting all the systems adapted over to the appropriate video standard, he then wired an ESP8266 to the switch and wrote some code that ties it into Amazon’s Alexa voice assistant.
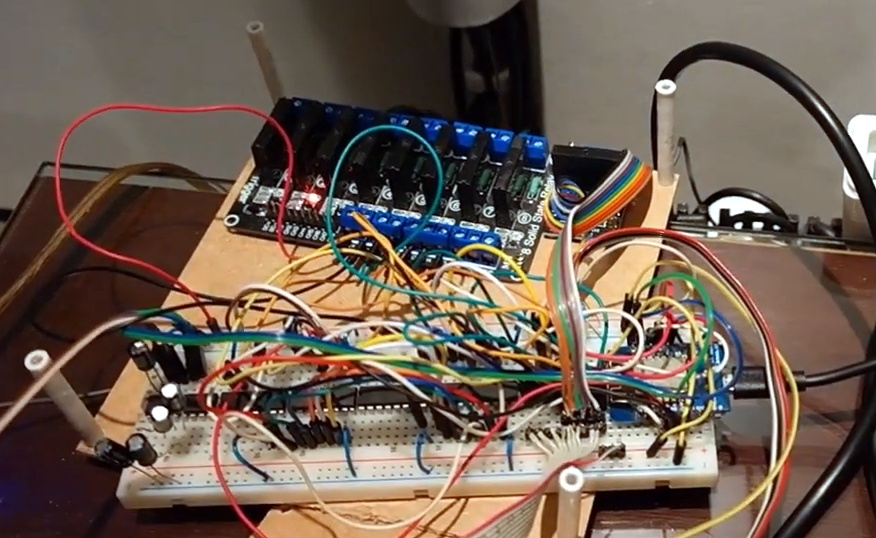
By just saying the name of the system he wants to play, the microcontroller will flick the switch over to the appropriate input and turn on a ring of blue LEDs under the appropriate shelf to signify which console has been selected. There’s even an array of solid state relays that will eventually control the mains power going to each system, though [odelot] hasn’t fully implemented it yet. Currently the electronics for this project live on a fairly packed breadboard, but it looks like he’s in the early stages of designing a proper PCB to clean it all up.
Not content to simply control a commercial A/V switch? In the past we’ve seen truly dedicated console collectors design their own custom switches from the ground up, complete with a display to show the currently selected system’s logo.
Continue reading “Consoles, Consoles On The Wall, Can Alexa Help Me Play Them All?”