If you’ve ever done any small production runs of anything that needs a bit of assembly, you know that jigs and fixtures are a huge time saver. However, these usually need to be mounted, which means you end up drilling holes in your workbench or making one-off mounting plates. [Jim Smith] is no stranger to this problem, and created the Pact Plate, an affordable modular fixture plate and is running a Kickstarter campaign to get it produced.
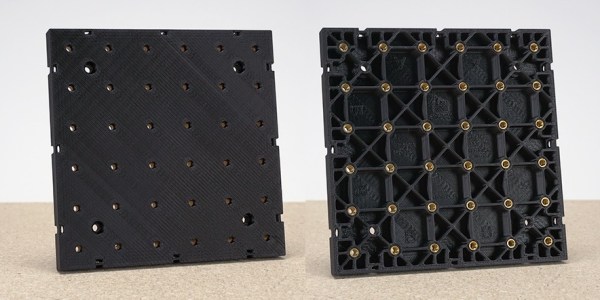
Each plate 150 mm × 150 mm in size with a 25 × 25 mm grid of holes with M4 threaded inserts. This allows quickly and easily mounted to and removed from the plate without the need to drill additional holes. Plates can be bolted together to form larger plates. The demo video shows him using a variety of 3D printed jigs, toggle clamps, PCB and part holders (available for download) and even a robot to quickly set up small assembly stations. This could also save a lot of time during the prototyping and development phases to hold parts in place.
[Jim]’s prototypes are all 3D printed, but want’s to get tooling made to produce the plates using injection moulding. He doesn’t say what material he intends to use, but it’s likely some type of fibre reinforced plastic. He claims the rigidity is close to that of die-cast aluminium. One addition we would like to see is some plugs for the unused hole to prevent small components from falling into them.
Continue reading “Modular Fixture Plates Perfect For Small Production Runs”


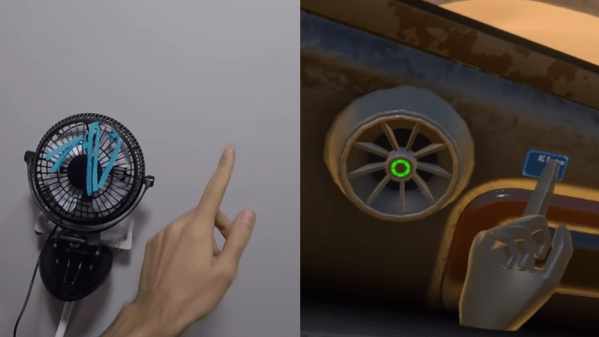

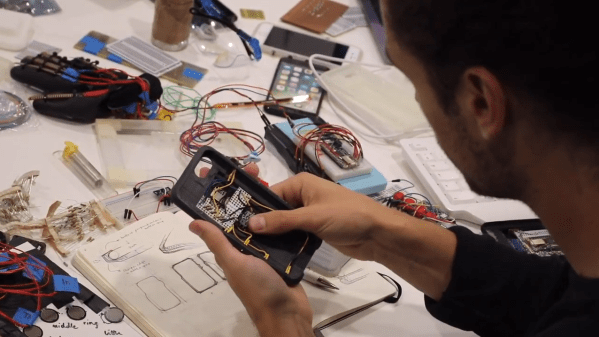
 Smartphones and other modern computing devices are wonderful things, but for those with disabilities interacting with them isn’t always easy. In trying to improve accessibility, [Dougie Mann] created