Unless you’ve held on to an old tube TV, did the hack that lets you use a light gun with an LCD via Wiimote receiver and a couple of microcontrollers, or live close to one of those adult arcades, you might be really jonesing to play Duck Hunt by now. It’s time to renew that hunting license, because [Danko] has recreated the game for NodeMCU boards, and it’s open season.
Instead of ducks, you get to shoot cute little Twitter-esque birds of varying sizes and point values, and a tiny cab-over truck if you wish. There’s a 60-second free-for-all, and then time is up and your score is displayed. As a special bonus, there’s no smug dog to laugh at you if don’t hit anything. Be sure to check out the demo and build video after the break.
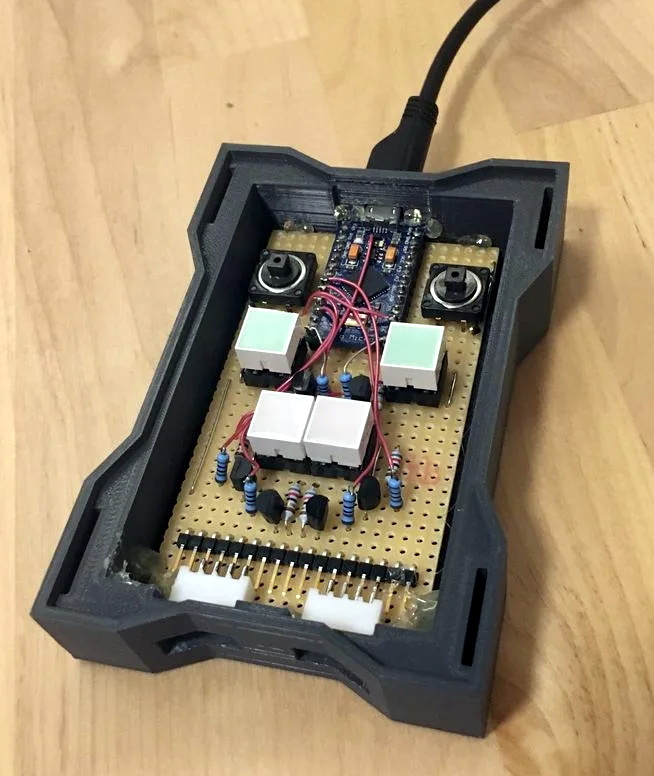
This pocket console lives on a nicely-wired breadboard for now while [Danko] works on a custom PCB. He’s also planning to add support for Arduboy games in the future, and maybe a joystick instead of a D-pad of buttons.
There are a lot of myths floating around about how the old CRTs read the NES light gun, but our own [Will Sweatman] shot them down in his fascinating Duck Hunt: Reloaded write-up.