Name any retrocomputer — Apple II, Sinclair, even TRS-80s — and you’ll find a community that’s deeply committed to keeping it alive and kicking. It’s hard to say which platform has the most rabid fans, but we’d guess Commodore is right up there, and the Amiga aficionados seem particularly devoted. Which is where this Amiga PS/2 mouse port comes from.
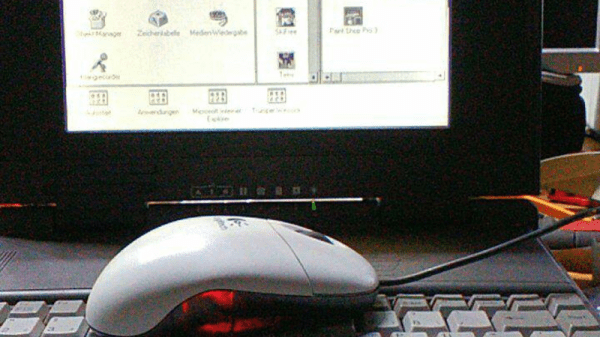
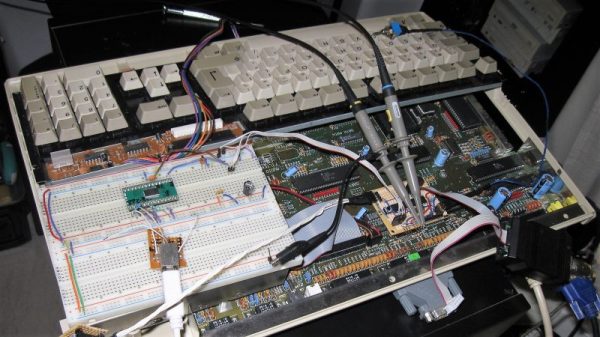
The Amiga was a machine that was so far ahead of its time that people just didn’t get it. It was a true multimedia machine before multimedia was even a thing, capable of sound and graphics that hold up pretty well to this day. From the looks of [jtsiomb]’s workstation, he’s still putting his Amiga to good use, albeit with an inconvenient amount of cable-swapping each time he needs to use it. The remedy this, [jtsiomb] put together an emulator that translates scancodes from an external PS/2 keyboard into Amiga keyboard signals. Embedded inside the Amiga case where it can intercept the internal keyboard connector, the emulator is an ATmega168 that does a brute-force translation by way of lookup tables. A switch on the back allows him to choose the internal keyboard or his PS/2 keyboard via a KVM switch.
Are Amigas really still relevant? As of two years ago, one was still running an HVAC system for a school. We’re not sure that’s a testament to the machine or more a case of bureaucratic inertia, but it’s pretty impressive either way.
[via r/electronics]