Tools Of The Trade – Test And Programming

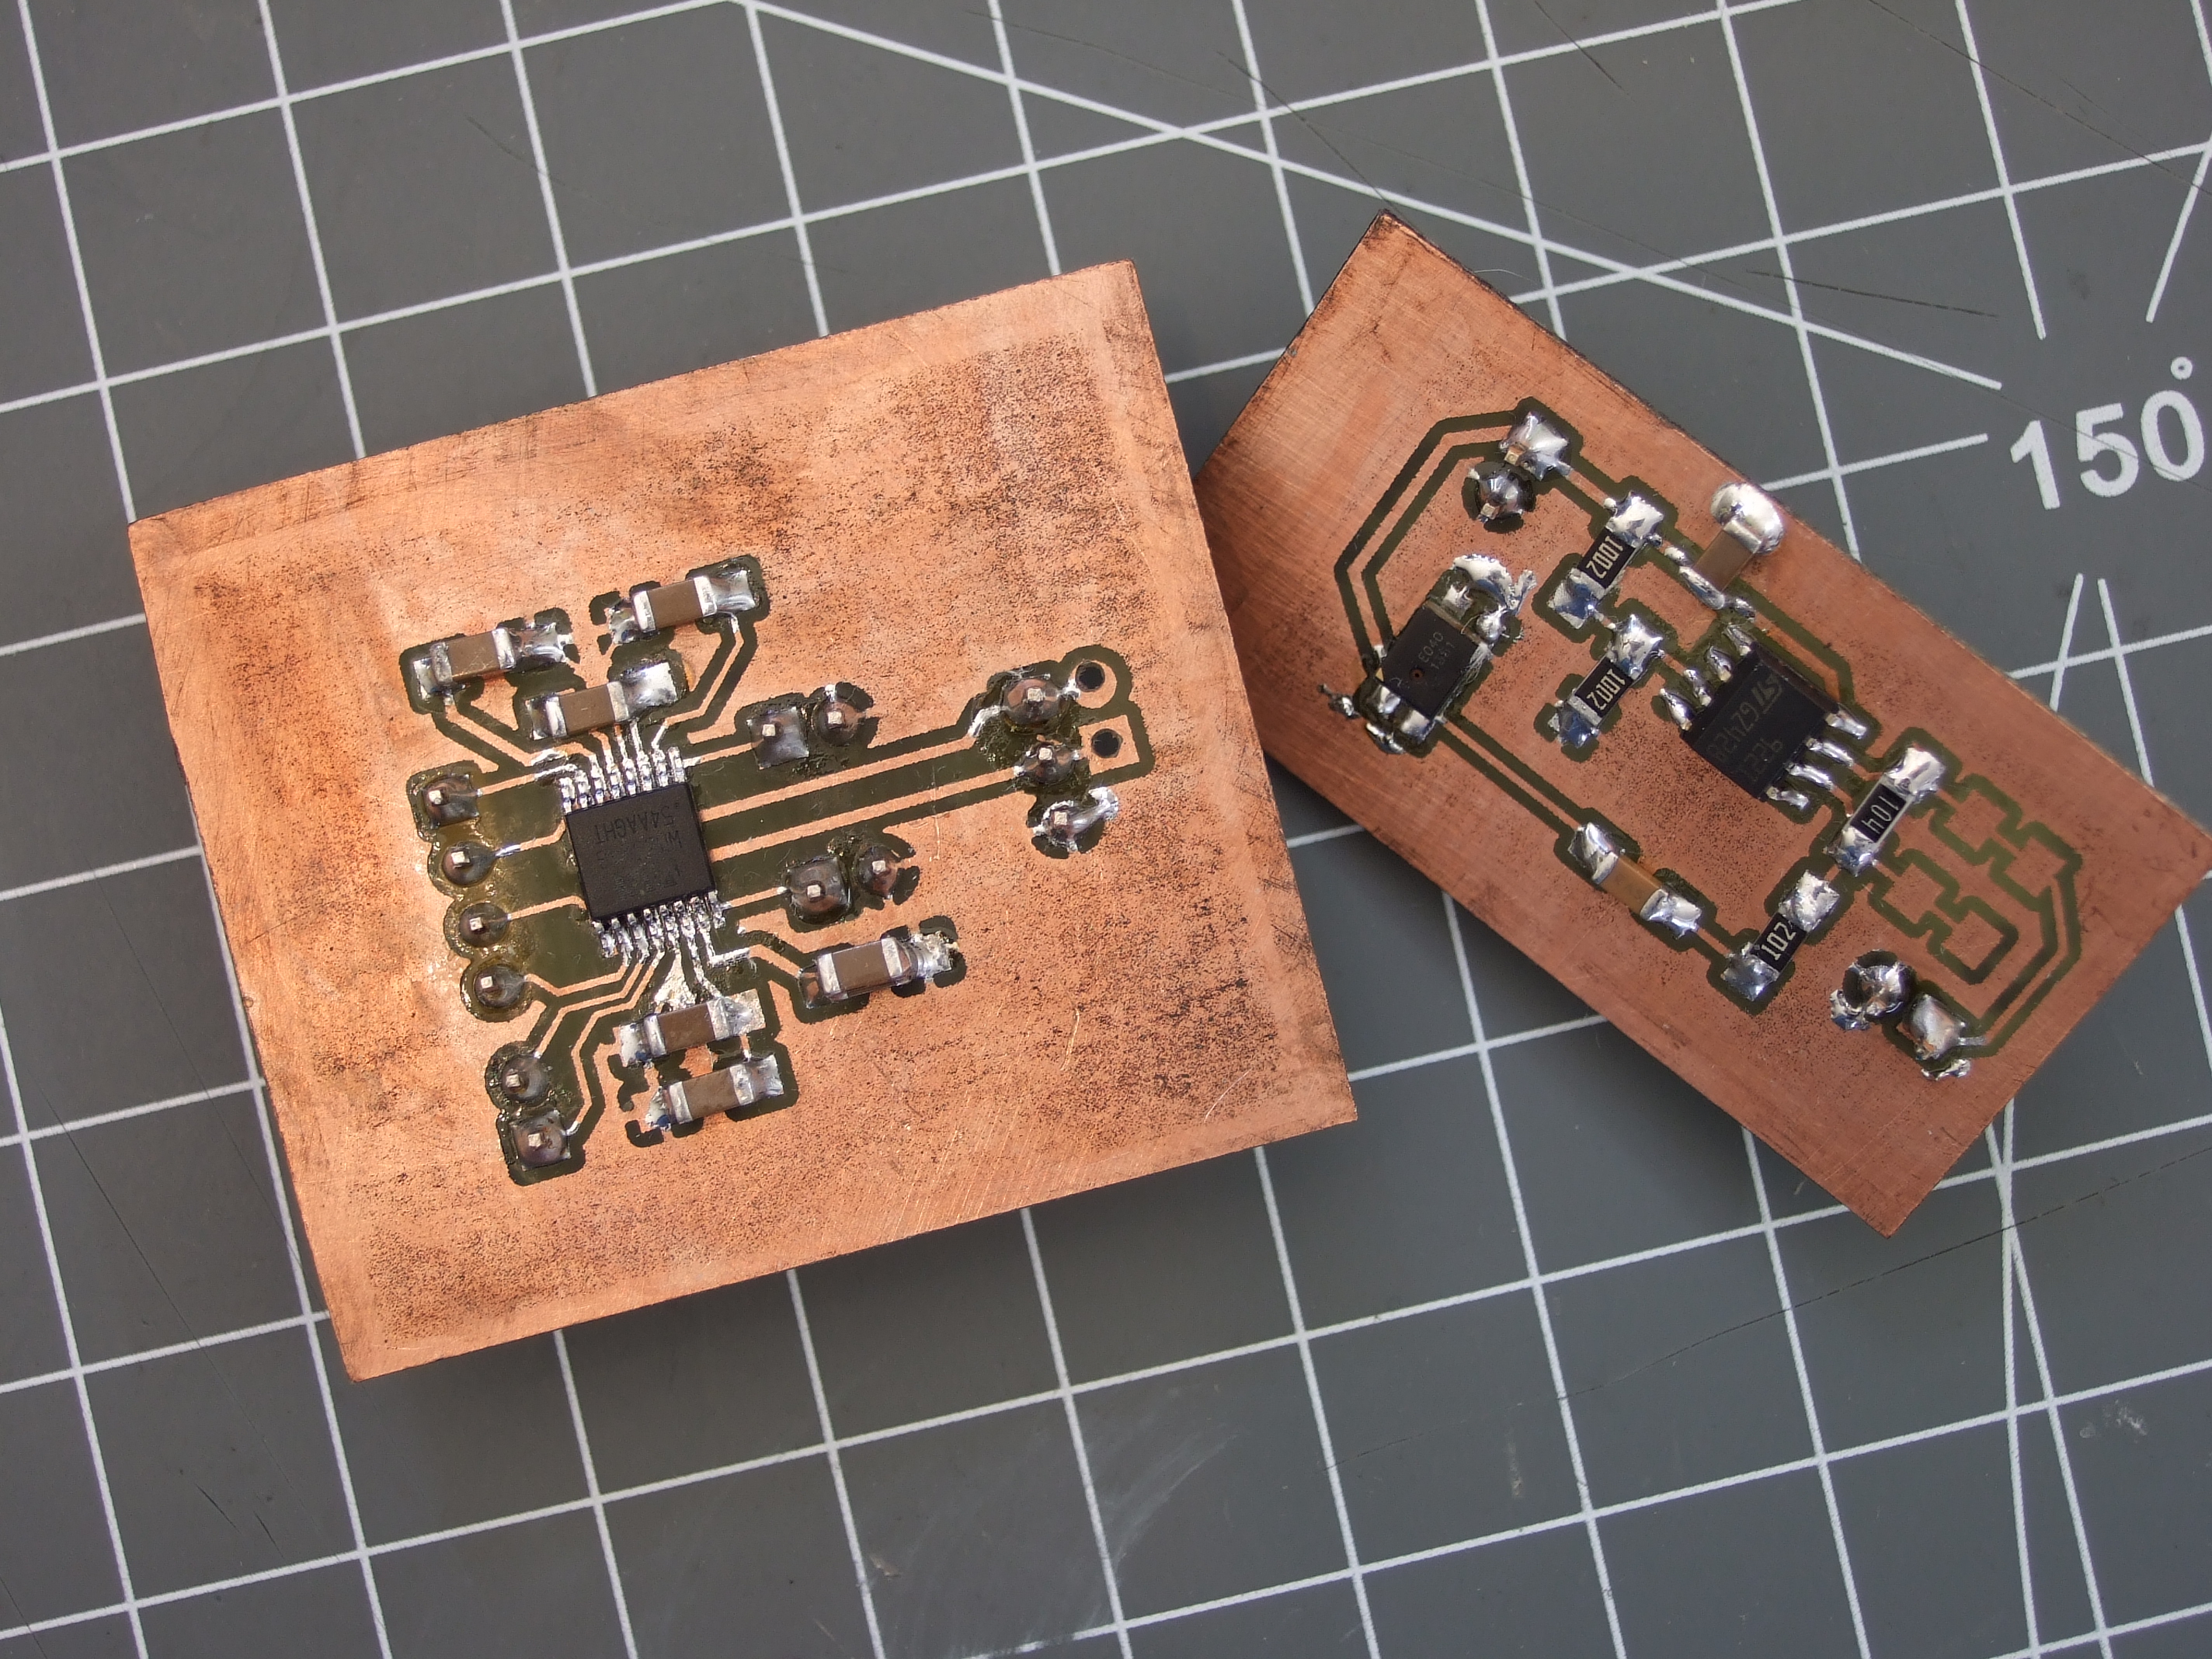
In our final installment of Tools of the Trade (with respect to circuit board assembly), we’ll look at how the circuit board is tested and programmed. At this point in the process, the board has been fully assembled with both through hole and surface mount components, and it needs to be verified before shipping or putting it inside an enclosure. We may have already handled some of the verification step in an earlier episode on inspection of the board, but this step is testing the final PCB. Depending on scale, budget, and complexity, there are all kinds of ways to skin this cat.

Continue reading “Tools Of The Trade – Test And Programming”

Roomba Vs Poop: Teaching Robots To Detect Pet Mess

Imagine this: you come home after a day at work. As you open the door, your nose is the first alert that something is very, very wrong. Instead of the usual house smell, your nose is assaulted with the distinctive aroma that means your dog had an accident. The smell is stronger though — as if Fido brought over a few friends and they all had a party. Flipping the lights on, the true horror is revealed to you. This was a team effort, but only one dog was involved.

At some point after the dog’s deed, Roomba, your robot vacuum, took off on its scheduled daily run around the house. The plucky little robot performed its assigned duties until it found the mess. The cleaning robot then became an agent of destruction, smearing a foul smelling mess throughout the space it was assigned to clean. Technology sometimes has unintended consequences. This time, your technology has turned against you.

This scene isn’t a work of fiction. For a select few families, it has become an all too odoriferous reality just begging for a clever fix.

Continue reading “Roomba Vs Poop: Teaching Robots To Detect Pet Mess”

RGB LEDs: How To Master Gamma And Hue For Perfect Brightness

You would think that there’s nothing to know about RGB LEDs: just buy a (strip of) WS2812s with integrated 24-bit RGB drivers and start shuffling in your data. If you just want to make some shinies, and you don’t care about any sort of accurate color reproduction or consistent brightness, you’re all set.

But if you want to display video, encode data in colors, or just make some pretty art, you might want to think a little bit harder about those RGB values that you’re pushing down the wires. Any LED responds (almost) linearly to pulse-width modulation (PWM), putting out twice as much light when it’s on for twice as long, but the human eye is dramatically nonlinear. You might already know this from the one-LED case, but are you doing it right when you combine red, green, and blue?

It turns out that even getting a color-fade “right” is very tricky. Surprisingly, there’s been new science done on color perception in the last twenty years, even though both eyes and colors have been around approximately forever. In this shorty, I’ll work through just enough to get things 95% right: making yellows, magentas, and cyans about as bright as reds, greens, and blues. In the end, I’ll provide pointers to getting the last 5% right if you really want to geek out. If you’re ready to take your RGB blinkies to the next level, read on!

Continue reading “RGB LEDs: How To Master Gamma And Hue For Perfect Brightness”

Colossus: Face To Face With The First Electronic Computer

When the story of an invention is repeated as Received Opinion for the younger generation it is so often presented as a single one-off event, with a named inventor. Before the event there was no invention, then as if by magic it was there. That apple falling on Isaac Newton’s head, or Archimedes overflowing his bath, you’ve heard the stories. The inventor’s name will sometimes differ depending on which country you are in when you hear the story, which provides an insight into the flaws in the simple invention tales. The truth is in so many cases an invention does not have a single Eureka moment, instead the named inventor builds on the work of so many others who have gone before and is the lucky engineer or scientist whose ideas result in the magic breakthrough before anyone else’s.

The history of computing is no exception, with many steps along the path that has given us the devices we rely on for so much today. Blaise Pascal’s 17th century French mechanical calculator, Charles Babbage and Ada, Countess Lovelace’s work in 19th century Britain, Herman Hollerith’s American tabulators at the end of that century, or Konrad Zuse’s work in prewar Germany represent just a few of them.

So if we are to search for an inventor in this field we have to be a little more specific than “Who invented the first computer?”, because there are so many candidates. If we restrict the question to “Who invented the first programmable electronic digital computer?” we have a much simpler answer, because we have ample evidence of the machine in question. The Received Opinion answer is therefore “The first programmable electronic digital computer was Colossus, invented at Bletchley Park in World War Two by Alan Turing to break the Nazi Enigma codes, and it was kept secret until the 1970s”.

It’s such a temptingly perfect soundbite laden with pluck and derring-do that could so easily be taken from a 1950s Eagle comic, isn’t it. Unfortunately it contains such significant untruths as to be rendered useless. Colossus is the computer you are looking for, it was developed in World War Two and kept secret for many years afterwards, but the rest of the Received Opinion answer is false. It wasn’t invented at Bletchley, its job was not the Enigma work, and most surprisingly Alan Turing’s direct involvement was only peripheral. The real story is much more interesting.

Continue reading “Colossus: Face To Face With The First Electronic Computer”

You’re Overdue For A Visit To The Library

When was the last time you went to a library? If it’s been more than a couple of years, the library is probably a very different place than you remember. Public libraries pride themselves on keeping up with changing technology, especially technology that benefits the communities they serve. No matter your age or your interests, libraries are a great resource for learning new skills, doing research, or getting help with just about any task. After all, library science is about gathering together all of human knowledge and indexing it for easy lookup.

It doesn’t matter if you’re not a researcher or a student. Libraries exist to serve everyone in a class-free environment. In recent years, patrons have started looking to libraries to get their piece of the burgeoning DIY culture. They want to learn to make their lives better. Public libraries have stepped up to meet this need by adding new materials to their collections, building makerspaces, and starting tool libraries. And this is in addition to ever-growing collections of electronic resources. Somehow, they manage to do all of this with increasingly strained budgets.

The purpose of this article is to explore the ways that libraries of all stripes can be a valuable resource to our readers. From the public library system to the sprawling academic libraries on college campuses, there is something for hackers and makers at all levels.

Continue reading “You’re Overdue For A Visit To The Library”

Books You Should Read: Basic Electronics

I learned some basic electronics in high school physics class: resistors, capacitors, Kirchhoff’s law and such, and added only what was required for projects as I did them. Then around 15 years ago I decided to read some books to flesh out what I knew and add to my body of knowledge. It turned out to be hard to find good ones.

The electronics section of my bookcase has a number of what I’d consider duds, but also some gems. Here are the gems. They may not be the electronics-Rosetta-Stone for every hacker, but they are the rock on which I built my church and well worth a spot in your own reading list.

Grob’s Basic Electronics

Grob's Basic Electronics 12th Edition
Grob’s Basic Electronics 12th Edition

Grob’s Basic Electronics by Mitchel E Schultz and Bernard Grob is a textbook, one that is easy to read yet very thorough. I bought mine from a used books store. The 1st Edition was published in 1959 and it’s currently on the 12th edition, published in 2015. Clearly this one has staying power.

I refer back to it frequently, most often to the chapters on resonance, induction and capacitance when working on LC circuits, like the ones in my crystal radios. There are also things in here that I couldn’t find anywhere else, including thoroughly exhaustive online searches. One such example is the correct definitions and formulas for the various magnetic units: ampere turns, field intensity, flux density…

I’d recommend it to a high school student or any adult who’s serious about knowing electronics well. I’d also recommend it to anyone who wants to reduce frustration when designing or debugging circuits.

You can find the table of contents here but briefly it has all the necessary introductory material on Ohm’s and Kirchhoff’s laws, parallel and series circuits, and so on but to give you an idea of how deep it goes it also has chapters on network theorems and complex numbers for AC circuits. Interestingly my 1977 4th edition has a chapter on vacuum tubes that’s gone in the current version and in its place is a plethora of new ones devoted to diodes, BJTs, FETs, thyristors and op-amps.

You can also do the practice problems and self-examination, just to make sure you understood it correctly. (I sometimes do them!) But also, being a textbook, the newest edition is expensive. However, a search for older but still recent editions on Amazon turns up some affordable used copies. Most of basic electronics hasn’t changed and my ancient edition is one of my more frequent go-to books. But it’s not the only gem I’ve found. Below are a few more.

Continue reading “Books You Should Read: Basic Electronics”

From Project To Kit: Bringing It All Together

This is the fourth article in a series examining the process of turning an electronic project into a marketable kit.We’ve looked at learning about the environment in which your kit will compete, how to turn a one-off project into a costed and repeatable unit, and how to write instructions for your kits that will make your customers come back for more. In this article we will draw all the threads together as we think about packing kits for sale before bringing them to market.

If you had made it this far in your journey from project to kit, you would now have a box of electronic components, a pile of printed instructions, and a box of plastic bags, thin card boxes, or whatever other retail packaging you have chosen for your kit. You are ready to start stuffing kits.

It’s All In The Presentation

Label all your hard-to-identify components, your customers will appreciate it.

Your priorities when stuffing a kit are to ensure that your customer receives all the components they should, they can easily identify each component, and that the whole kit is attractively presented such that it invites them to buy or build it when they first see it. This starts before you have packed any components, you must carefully prepare each component into units of the required number and label them if they are otherwise not easy to identify. Pre-cut any components supplied on tape, and write the part number or value on the tape if it is not easily readable. You may even have to package up some difficult-to-identify components in individual labeled bags if they can not have their values written on them, though this incurs an extra expense of little bags and stickers. Some manufacturers will insist on using black tape on which an indelible pen doesn’t show up!

Take care cutting tapes of components, it is sometimes easy to damage their pins. Always cut the tape from the bottom rather than the side with the peelable film, and if necessary carefully bend the tape slightly to open up the gap between components for your scissors.

If you start by deciding how many kits you want to stuff in a sitting, list all the kit components and prepare that number of each of them in the way we’ve described. Then take the required number of packages or bags, and work through each component on the list, stuffing all the bags with one component before starting again moving onto the next. In time you will have a pile of stuffed kits ready to receive their instructions and labeling.

The next step will be to fold your instruction leaflet and pack it in the kit. Take a moment to consider how it can be most attractively presented. For example with a kit packaged in a click-seal plastic bag it makes sense to fold the leaflet such that the colour photo of a completed kit is visible from the front. And when you place it in the bag make sure that the PCB is visible top-outwards in front of it. A customer looking at your kit wants to immediately see what they are likely to create with it.

LED-flasher-kit-labelYou can now seal the bag or box, the kit is packed. It only remains to give it a label that has all the pertinent information and is attractive to the customer. You will probably want to put your logo or web address on the label as well as any small print required, alongside the most important feature — the kit description. We’ve put a warning about small parts and curious children, you may also want to put any reglatory or compliance information here. For example in Europe you might have a CE mark and a WEEE logo. Once you have your design sorted you can run it up in your favourite label designing software – we used gLabels – and print as many as you like on sheets of sticky labels. We strongly suggest buying good quality branded labels, the extra money is well worth it when you consider that they will have much more reliable glue, and the extra cost per individual kit will be marginal. Pick a label size which fills a decent space and is easy to read on your packaging without being too big, we used 70mm x 37mm laser labels of which 24 can be had on a single sheet.

Your First Finished Product

if Hackaday made electronic kits, they might look a little like this.
If Hackaday made electronic kits, they might look a little like this.

It’s an exciting moment when you apply a label to your first fully packed kit and see for the first time what your customers will see: a finished product. You aren’t quite done though, because there is still the small matter of quality control. Take a kit or two from your batch at random, and count all their contents off against your list of what they should contain. This should help you ensure you are packing the kits correctly. Finally, give a completed kit to a friend who has never seen it before, and tell them to build it as a final piece of quality control. They are simulating your customer in every way, if they have no problems then neither should anyone who buys the kit.

Once you’ve built your batch of kits, you will now have the stock you will send out to your customers. Imagine yourself as a customer, if you order a kit you will expect it to arrive in pristine condition. You should therefore now take care of this stock of kits to ensure that it does not come to any harm, its packaging is as crisp and new when you send it out as when you packed it, and it has not attracted any dust while in storage. We would suggest having a separate plastic box for the stock of each kit in your range, and protecting the kits from dust with a lid, or by storing them inside a larger plastic bag.

As we’ve worked through this series of articles, we’ve tried to give you a flavour of the process of bringing an electronic kit from a personal project to the masses. We’ve looked at learning about the market for your kit, we’ve discussed turning a project into a product before writing the best instructions possible and now stuffing your first kits ready for sale. In the next article in the series we’ll talk about how you might sell your products, the different choices open to you for online shops, marketplaces, and crowdfunding.