If you’re looking for a get-rich-quick scheme, you can scratch “Doing small-scale manufacturing of ultralight aircraft” off your list right now. Turns out there’s no money in it. At least, not enough money that you can outsource production of all the parts. Not even enough to setup a huge shop full of customized machining tools when you realize you have to make the stuff yourself. No, this sounds like one of those “labors of love” we always hear so much about.
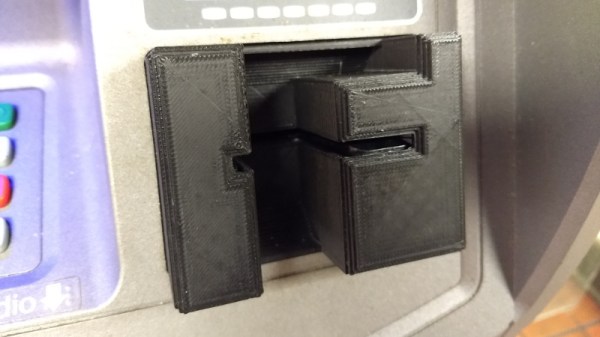
So how does one do in-house manufacturing of aircraft with a bare minimum of tools? Well, since you’re reading this on Hackaday you can probably guess that you’ve got to come up with something a bit unorthodox. When [Brian Carpenter] of Rainbow Aviation needed a very specific die to bend a component for their aircraft, he decided to try designing and 3D printing one himself.
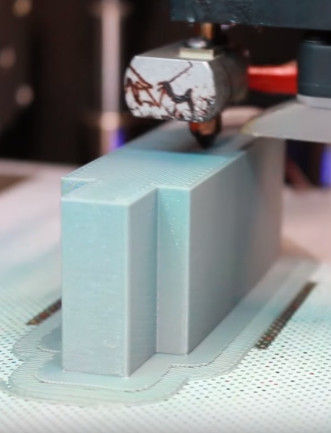
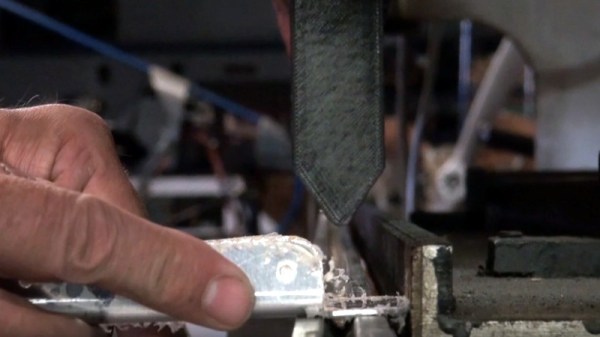
He reasoned that since he had made quick and dirty dies out of wood in the past, that a 3D printed one should work for at least a few bends before falling apart. He even planned to use JB Weld to fill in the parts of the printed die which he assumed would start cracking and breaking off after he put it through a few cycles. But even after bending hundreds of parts, wear on the dies appears to be nearly non-existent. As an added bonus, the printed plastic dies don’t mar the aluminum pieces they are bending like the steel dies do.
So what’s the secret to printing a die that can bend hundreds of pieces of aluminum on a 20 ton brake without wearing down? As it turns out…not a whole lot. [Brian] attributes the success of this experiment to designing the die with sufficiently accurate tolerances and having so high of an infill that it may as well be solid plastic.
In fact, the 3D printed die worked out so well that they’ve now expanded the idea to a cheap Harbor Freight brake. Before this tool was going more or less unused as it didn’t have features they needed for the production of their parts, namely a radius die or backstop. But by 3D printing these components [Brian] was able to put the tool back to work.
We’ve previously covered the art and science of bending sheet metal, as well as a homebuilt brake that let’s you do it on a budget even Rainbow Aviation would scoff at. So what are you waiting for? Go build an airplane.
Thanks to [Oahupilot] for the tip.
Continue reading “Aluminum No Match For 3D Printed Press Brake Dies”