How often do you find Easter eggs in old vinyl records?
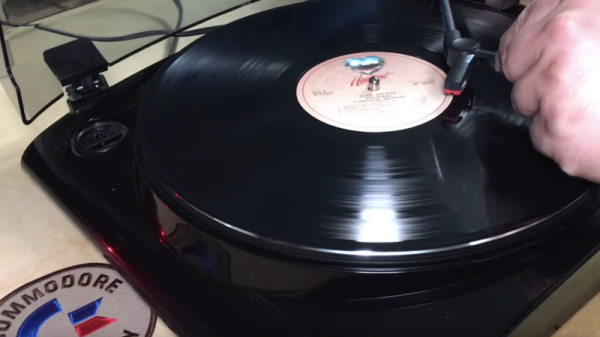
It sure was a surprise for [Robin Harbron] when he learned about a Commodore 64 program hidden on one of the sides of a record from the 1985 album of Christian rock band Prodigal. The host of the YouTube channel 8-Bit Show and Tell shows the “C-64” etching on one side of the vinyl, which he picked up after finding out online that the record contained the hidden program.
The run-out groove on records is typically an endless groove that keeps the record player from running off the record (unless there is an auto-return feature, which just replays the record). On side one of the vinyl, the run-out groove looks normal, but on side two, it’s a little thicker and contains some hidden audio. Recording the audio onto a cassette and loading it onto a dataset reveals a short C64 program.
The process is a little more troublesome that that, but after a few tries [Harbron] reveals a secret message, courtesy of Albert Einstein and Jesus Christ. It’s not the most impressive program ever written, but it’s pretty cool that programmers 35 years ago were able to fit it into only a few seconds of audio.
Unfortunately, we won’t be hearing much actual music from the album – [Harbron] chose not to play the songs to avoid copyright issues on YouTube.
Continue reading “Secret C64 Program Found On A Christian Rock Band’s Vinyl Record”